Search history
Clear

- Topics
X-Sign User Manual
In this section, we'll explain how to manage content in X-Sign, control the player, and set up playlists.
X-sign 2.0 / X-sign User manual / Local Delivery
Playing content with Local Delivery
2020 / 08 / 24
With X-Sign Local Delivery, you only have to connect your PC (Designer) with BenQ Smart Signage in the same subnet. Then you can play and schedule the content with the device(s) without other servers or Internet.
Note: The maximum number of devices that can be played by Local Delivery is 16.
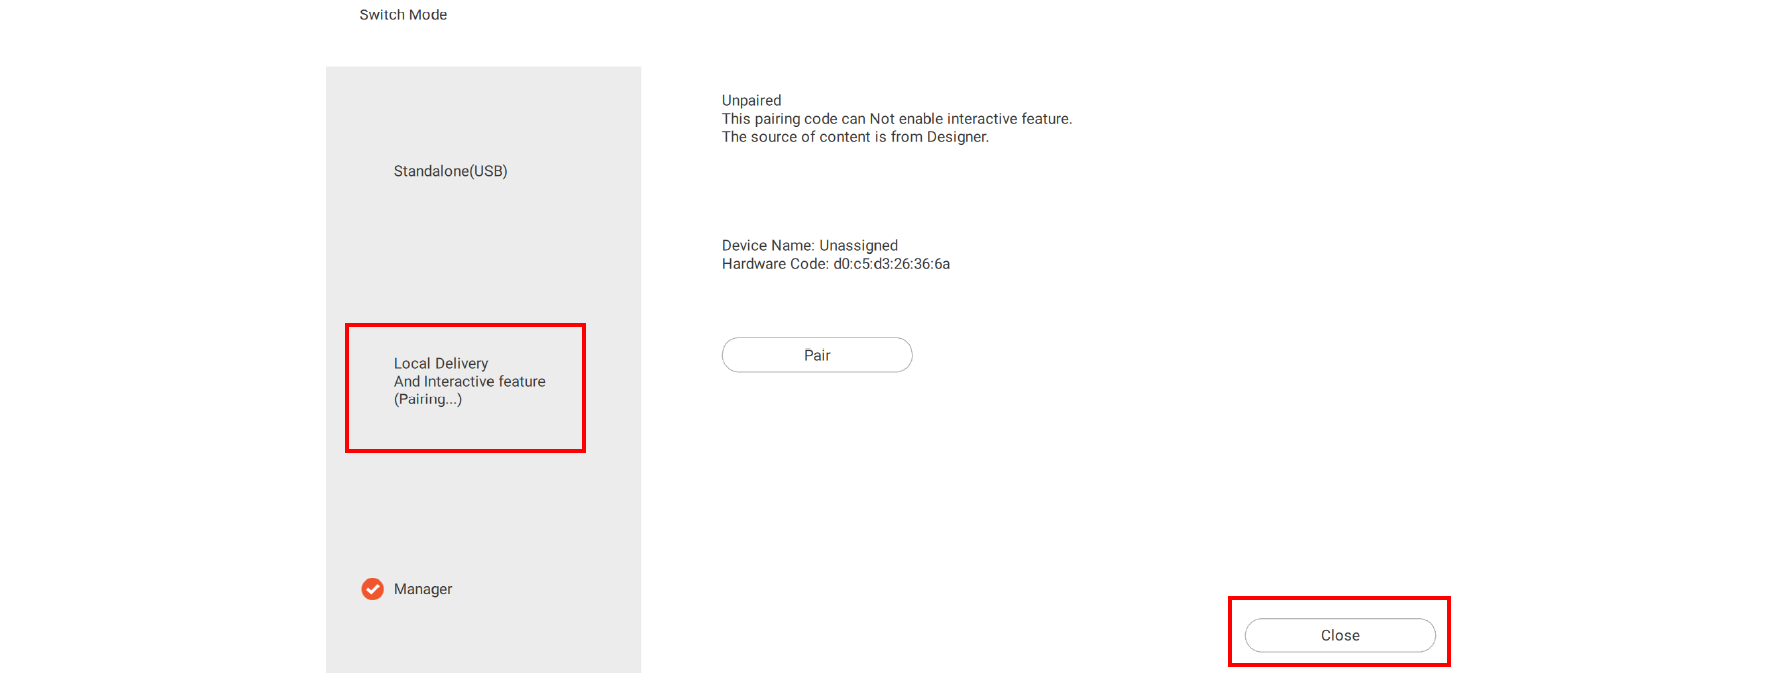
1. Switch to Local Delivery and Interactive feature, then press Close. Refer to Creating a new project file in X-Sign Designer for more imformation.
2. Make sure your PC and devices are in the same subnet. Open X-Sign Designer on your PC.
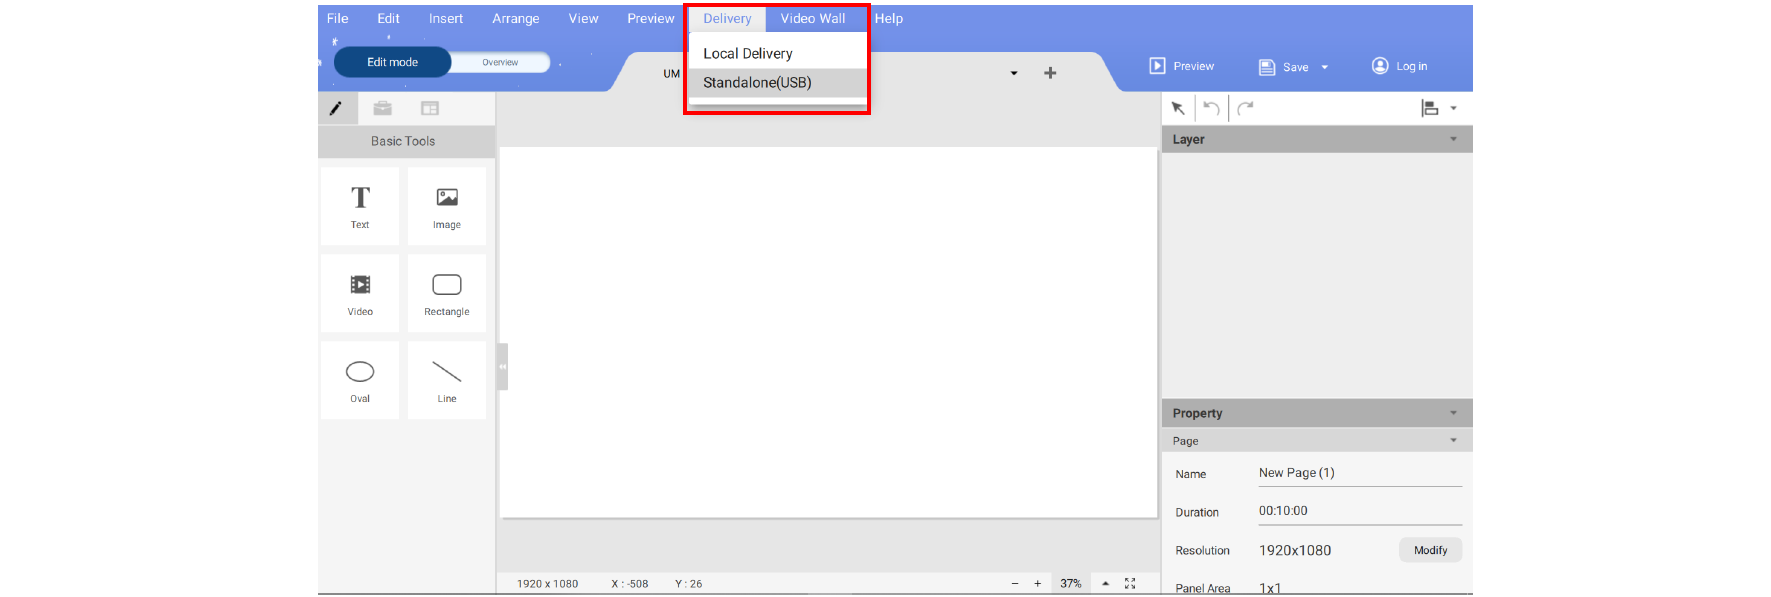
3. You can press Delivery on the main page or on the top function bar. You can choose Local Delivery or Standalone(USB) to deliver files.
Standalone(USB)
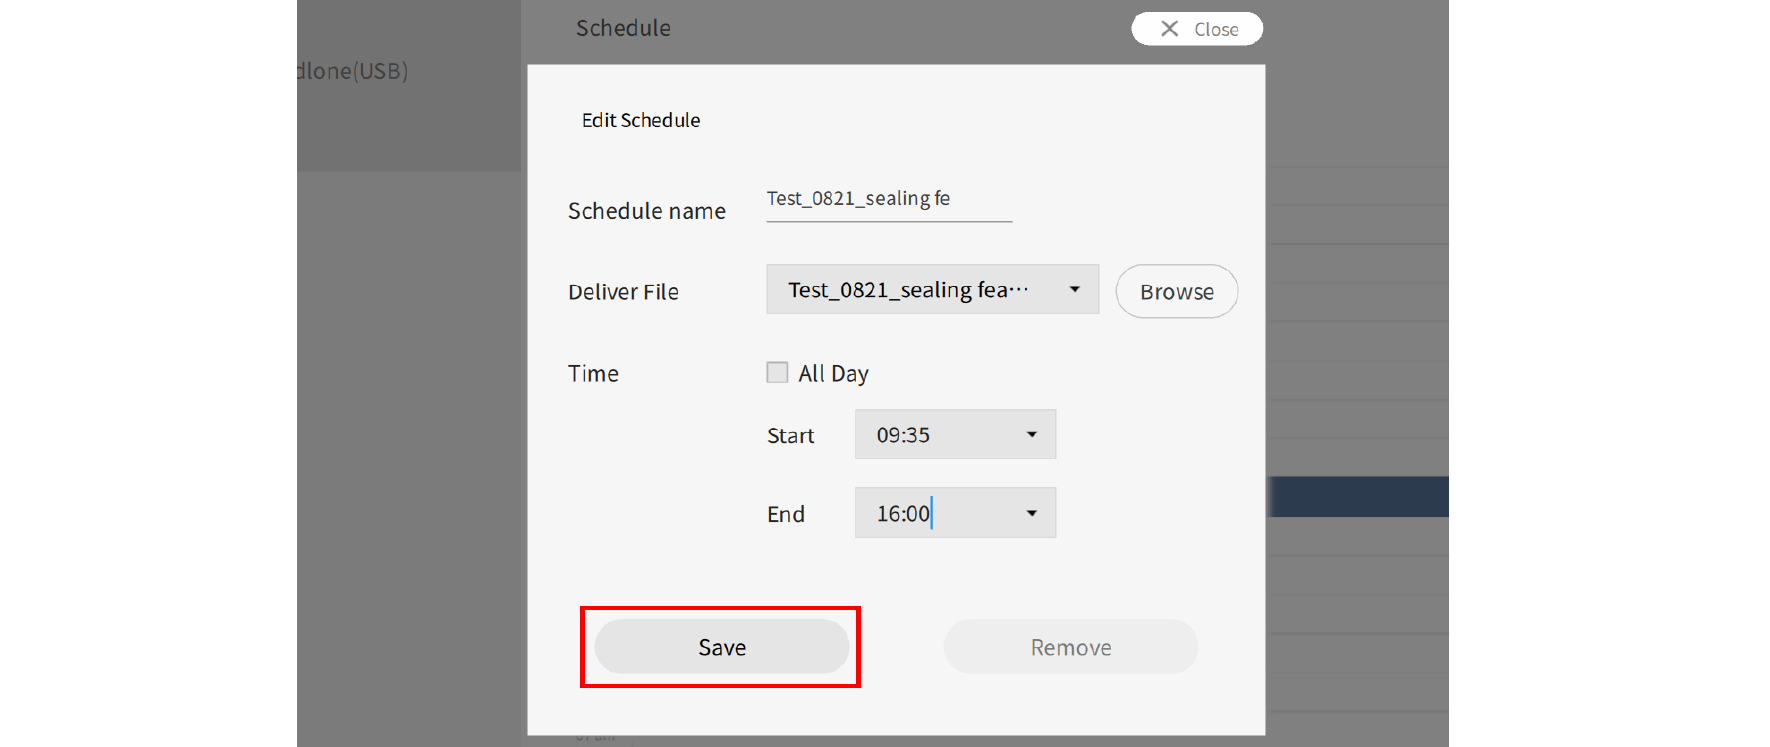
1. For Standalone(USB), fill in the schedule name, choose the project you want to play in the schedule and select the start and end time. Press Save to continue.
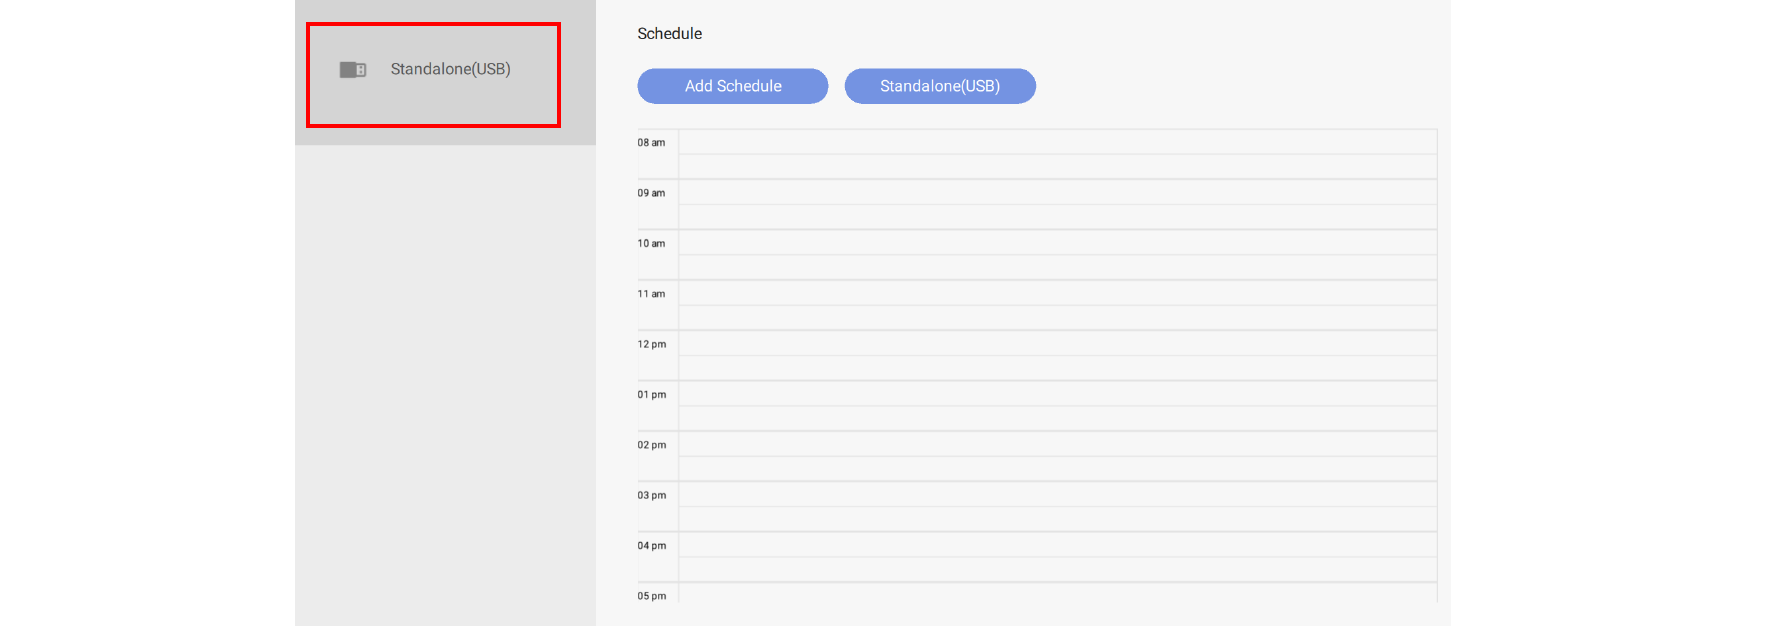
2. Select Standalone(USB) to play the file.
Local Delivery
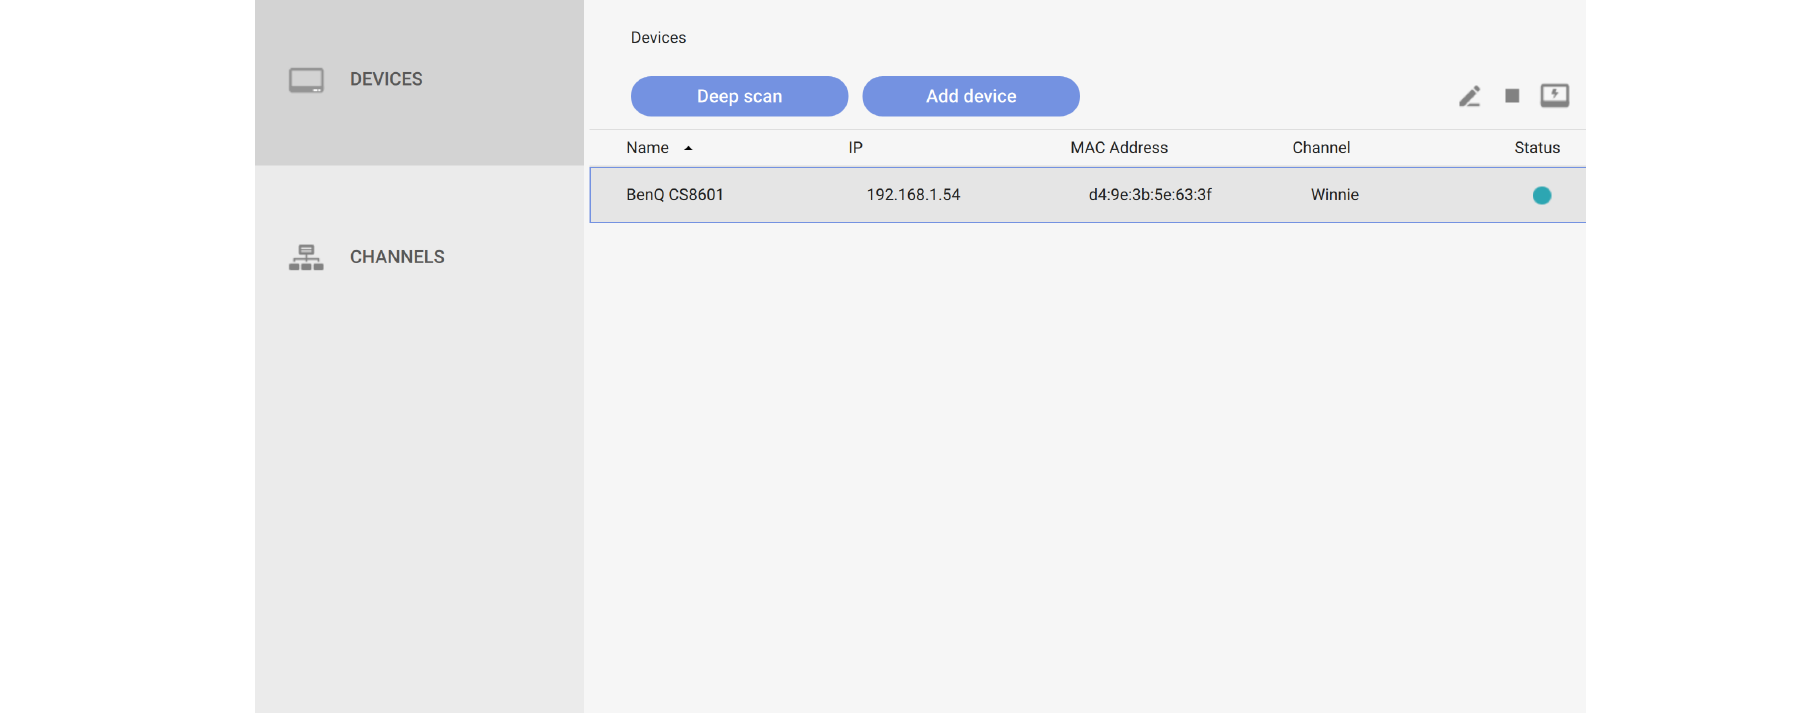
1. On the Devices page, you will see all devices which are in the same subnet and in Local Delivery and Interactive function mode.
Edit Device: Change the name for the device.
Stop Device: Stop current playing content of the device.
Flash the screen: Device screen has the flash effect to let you distinguish which device is being used now.
2. Before setting schedule and playing content, you must add the device into the channel.
3. Go to CHANNELS, then press Add Channel.
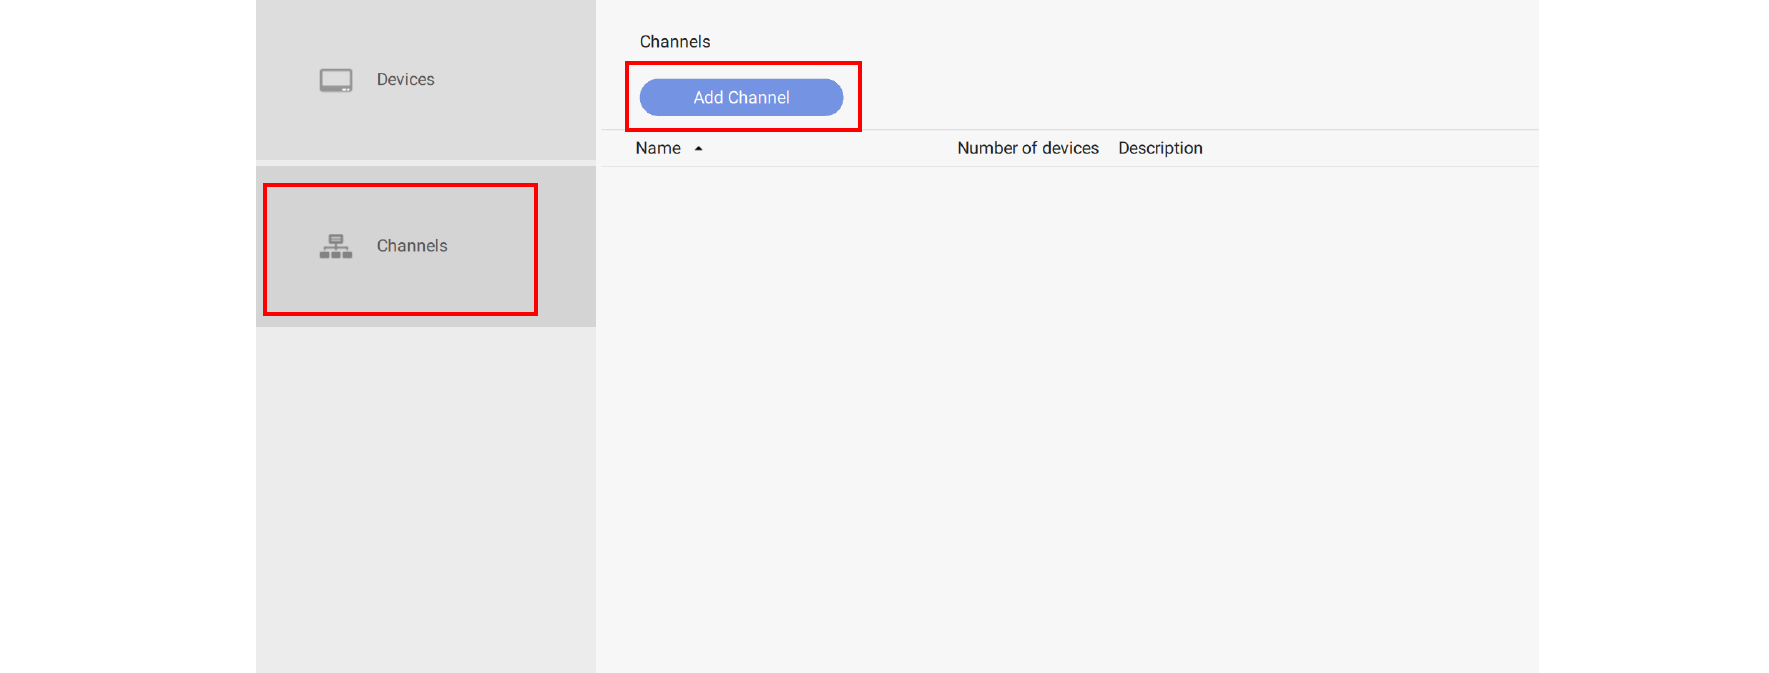
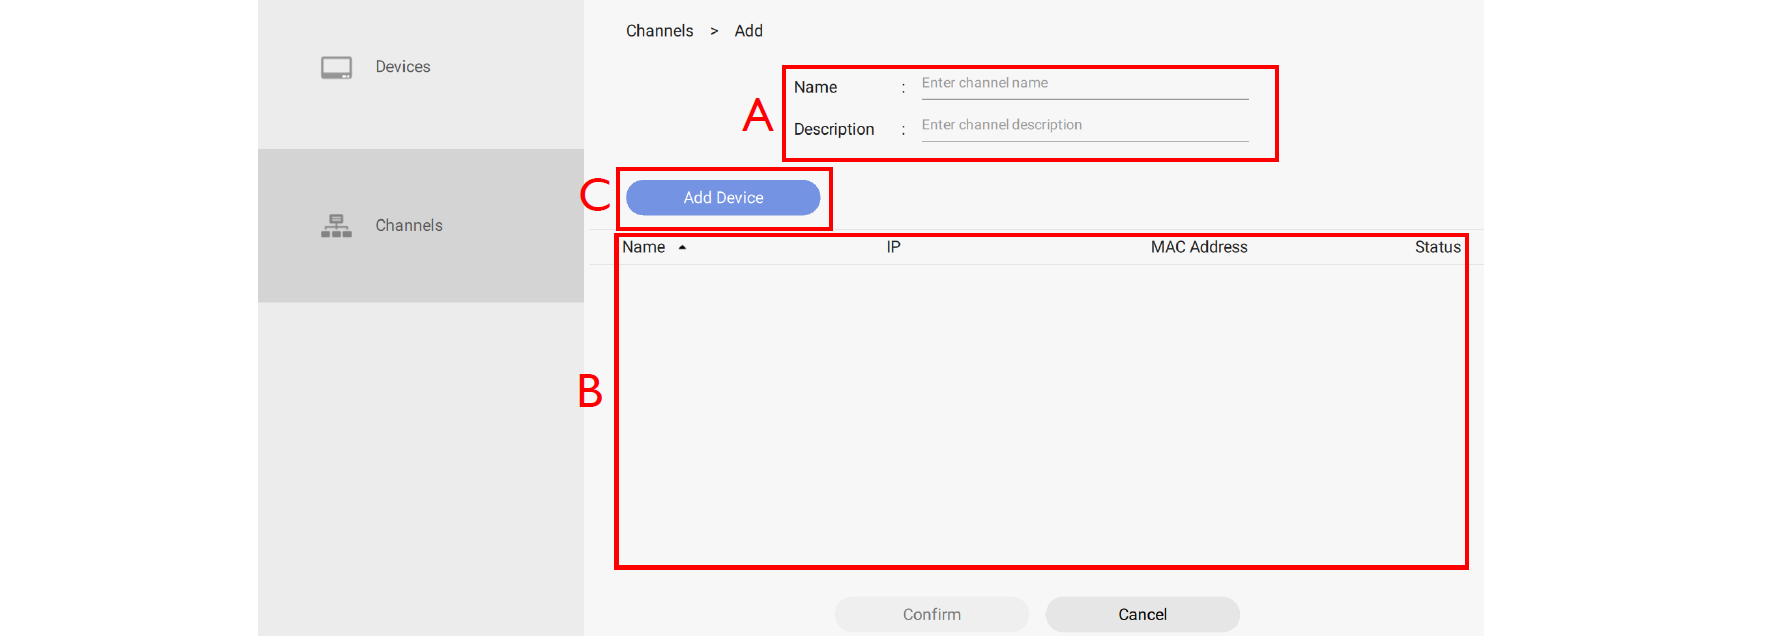
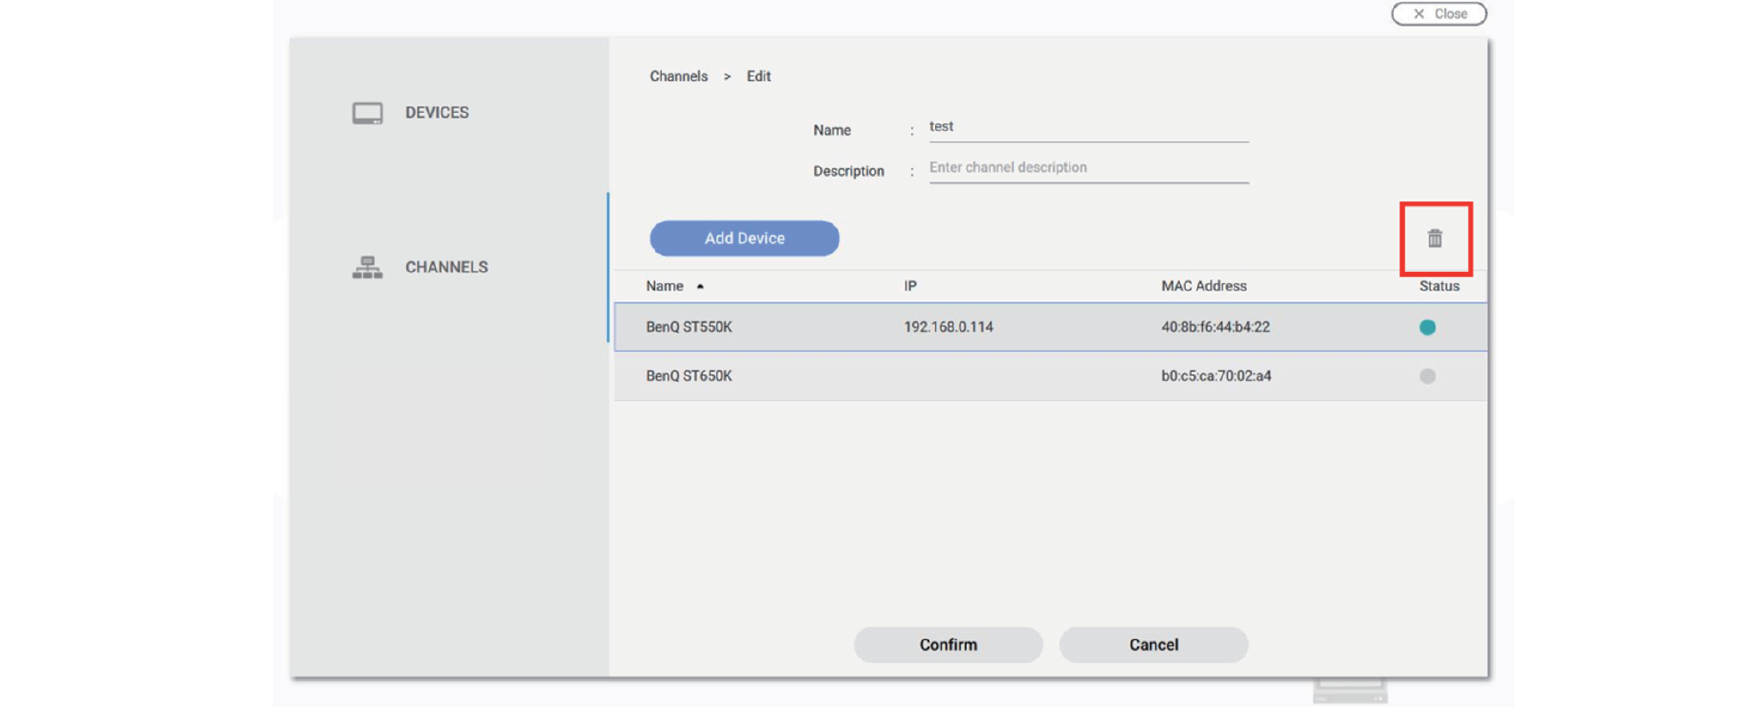
4. For creating the channel:
A. Enter the basic information of the channel.
B. The device list is already in the channel.
C. Add a new device into this channel.
5. Select the device you want to add to the channel, then press Confirm.
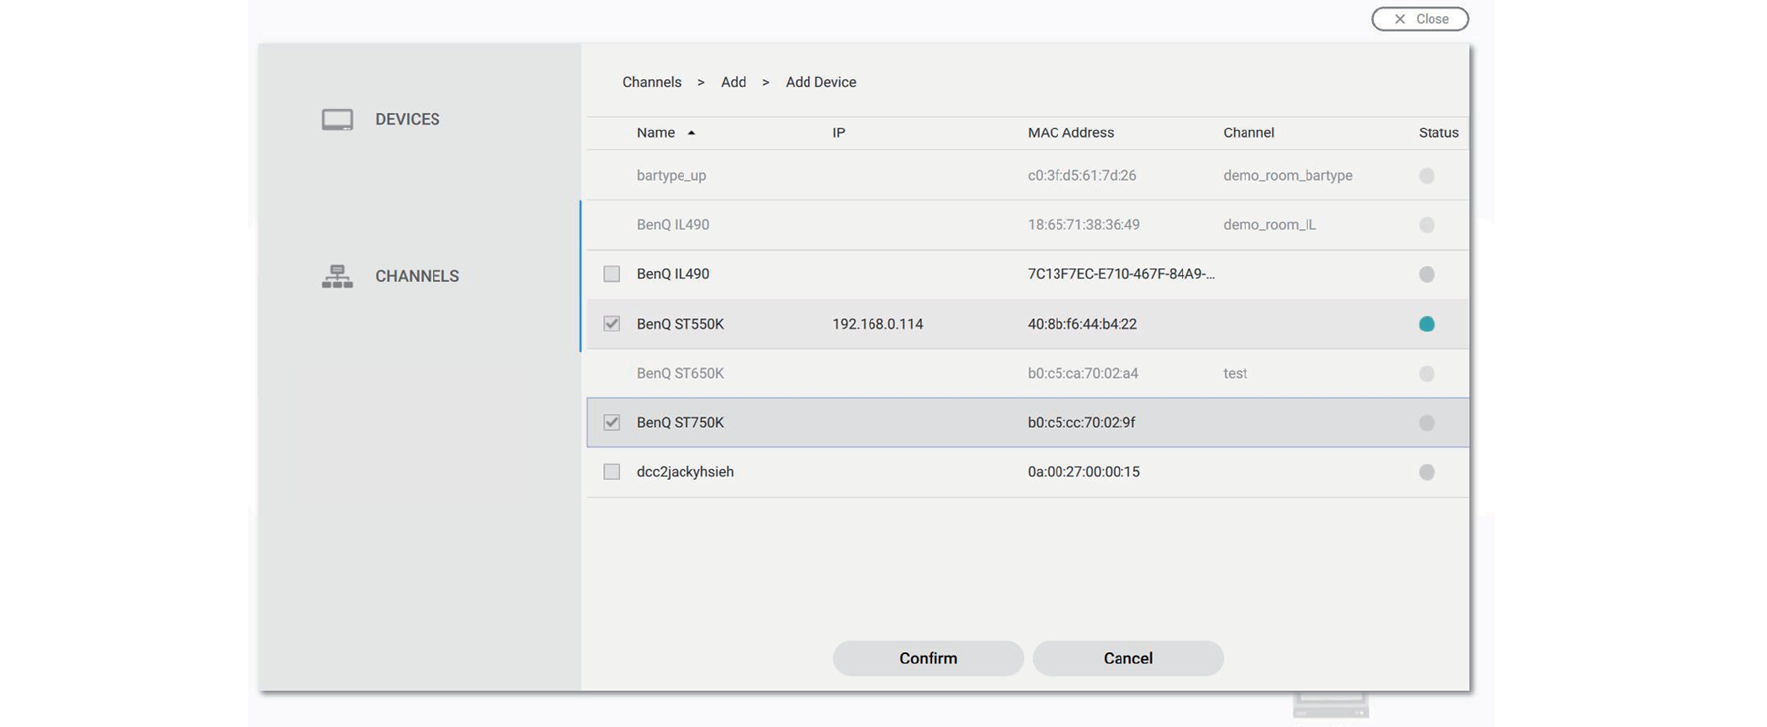
Note: A device which is already added to one channel can't be added to another channel. You have to remove it from its channel first.
6. You can Also press the icon to remove devices from the channel.
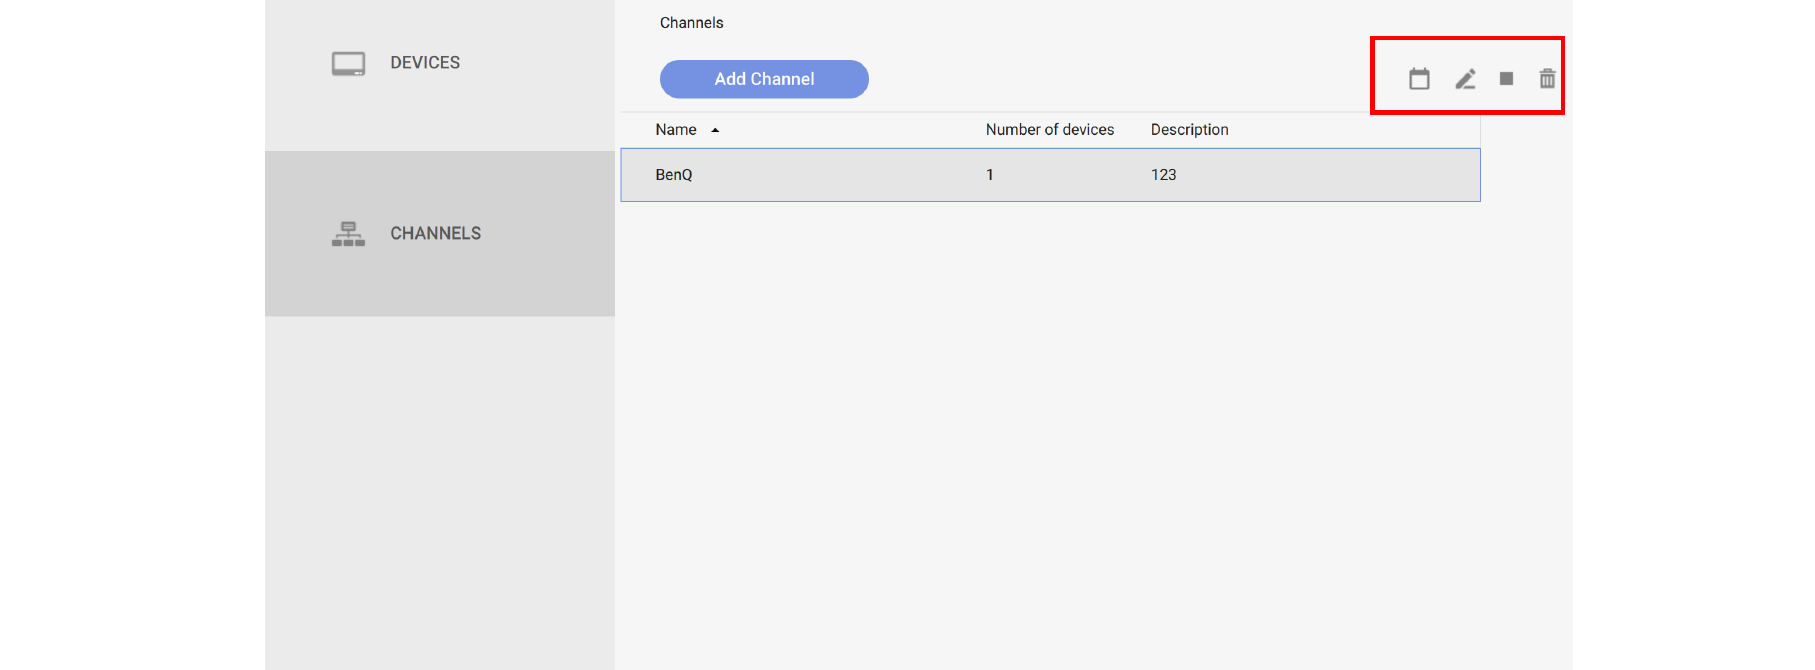
7. After the channel is created successfully, you can control channels as below.
Edit Schedule: Set Schedule for the channel.
Edit Channel: Edit the channel for the basic information and the devices in it.
Stop Channel: Stop the curent playing content of the channel.
Delete Channel: Delete the channel.
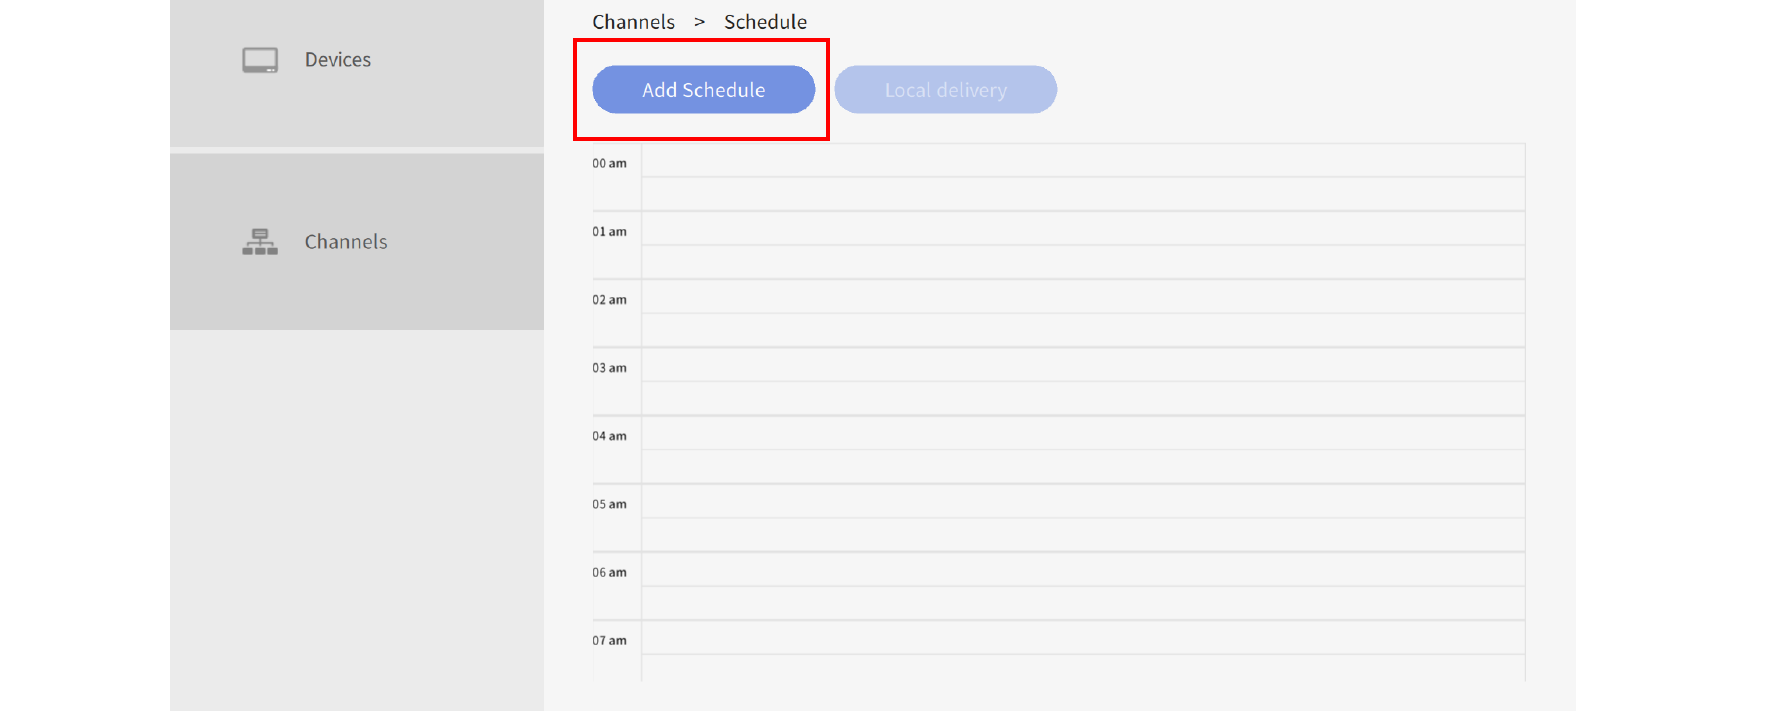
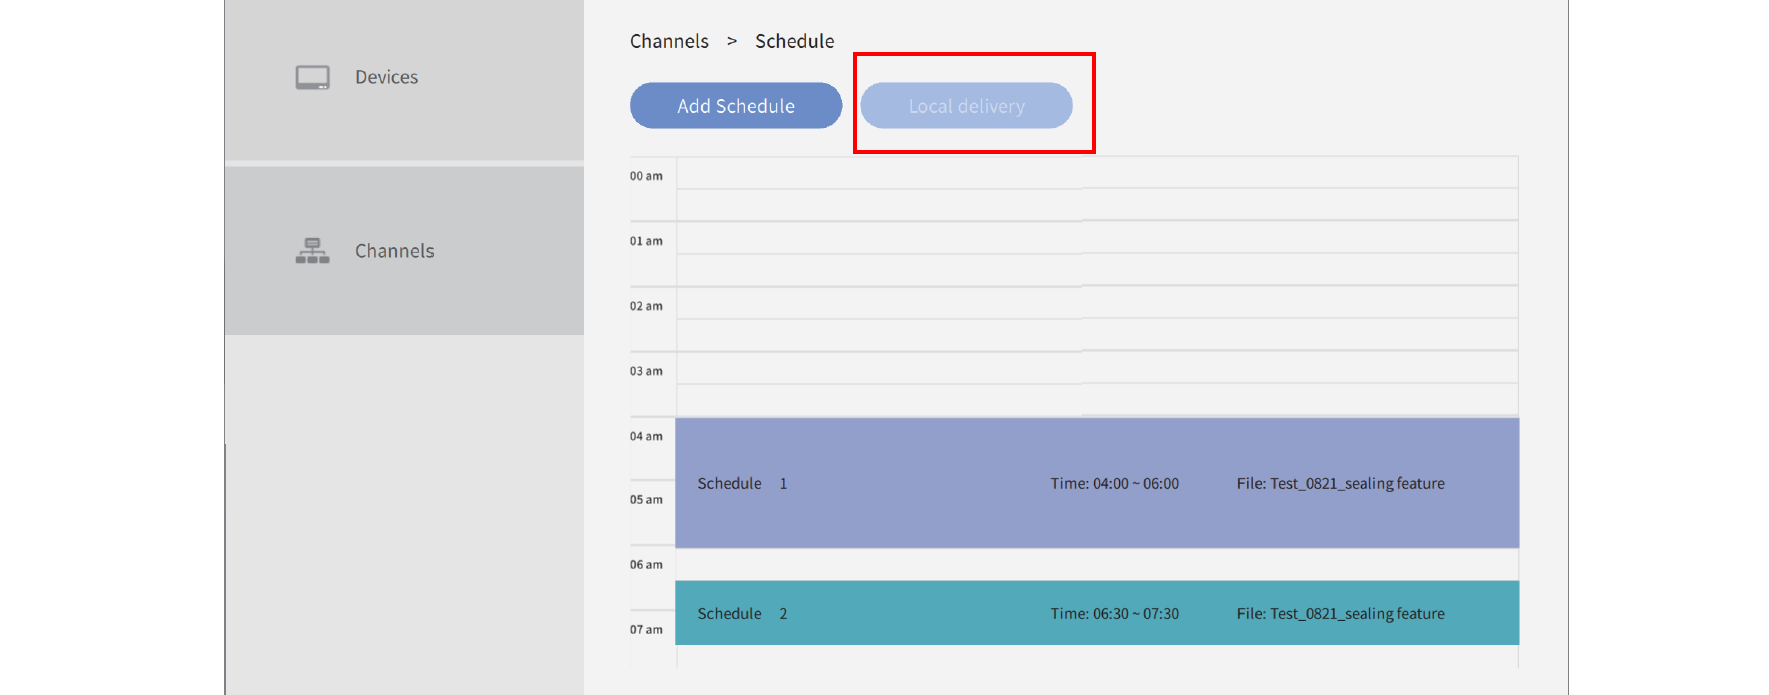
8. Press the icon and you can set schedule for the channel. Press Add Schedule to create a new schedule for the channel. You can also double click the time table to create it based on the time you choose.
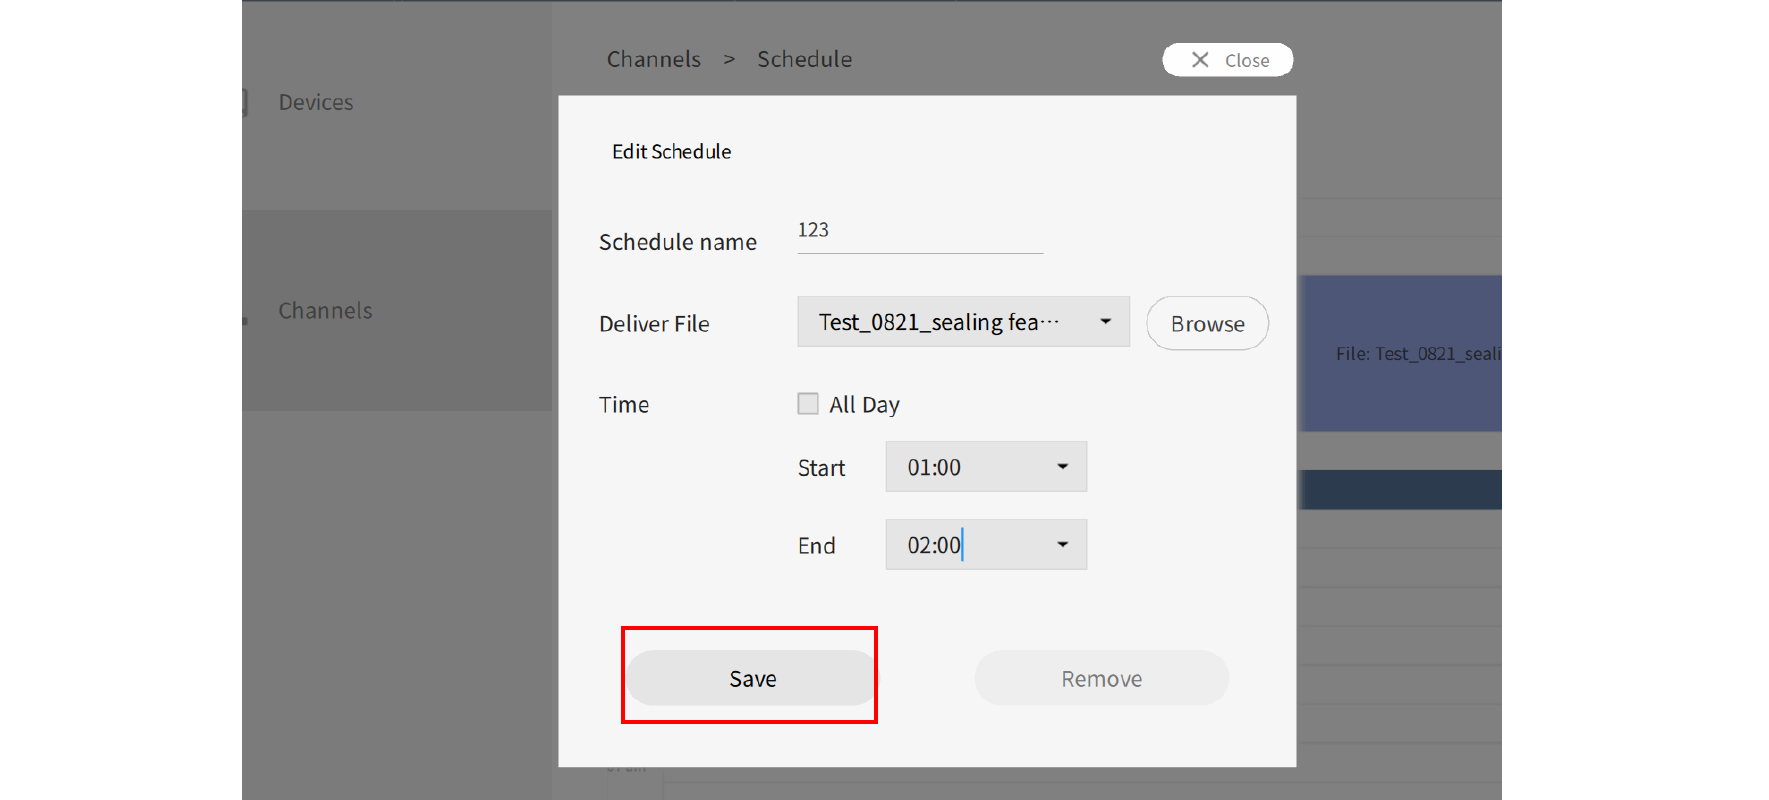
9. After pressing Add Schedule, you can start to set the schedule.
A. Choose the project you want to play in the schedule. Press the icon and you can see the recent file. Press Browse to select the file from the file explorer.
B. Choose the project you want to play in the schedule and select the start and end time. Press Save to continue.
10. Select Local delivery to play the file.
TOP