Creating the perfect gaming room setup goes beyond simply purchasing the latest equipment, it's about crafting a space that maximizes both comfort and immersion. Start by choosing the ideal wall or area for your display, whether it’s a large screen for a projector or a gaming monitor. Next, set up your gaming gear, ensuring that your console or PC, projector, and furniture are arranged ergonomically for long, comfortable sessions. Finally, once everything is in place, all that’s left to do is power on and play, transforming your room into an immersive gaming environment tailored to your needs.
In This Article We Cover:
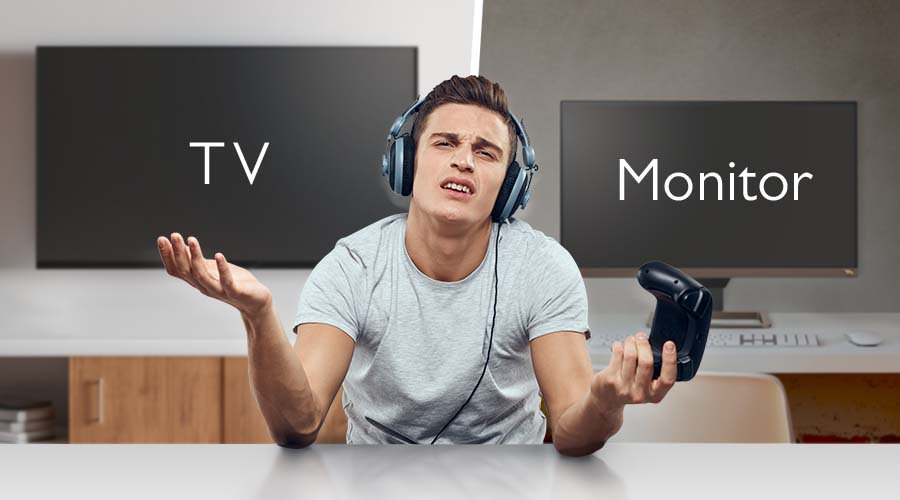
1. Pick Your Wall: Understanding Your Gaming Needs
Define Your Space
Before diving into the details, consider the size and layout of your room. Whether you have a dedicated room or a cozy corner, planning will help you make the most of your setup. It’s important to focus on seating, equipment arrangement, and lighting to avoid clutter and create a smooth gaming flow.
Space Considerations: Assess the available space in your home for the gaming setup
When designing your gaming room, it’s crucial to assess the available space in your home. Whether you’re working with a sprawling entertainment room or a more compact area, tailoring the setup to your specific needs can enhance both comfort and functionality.
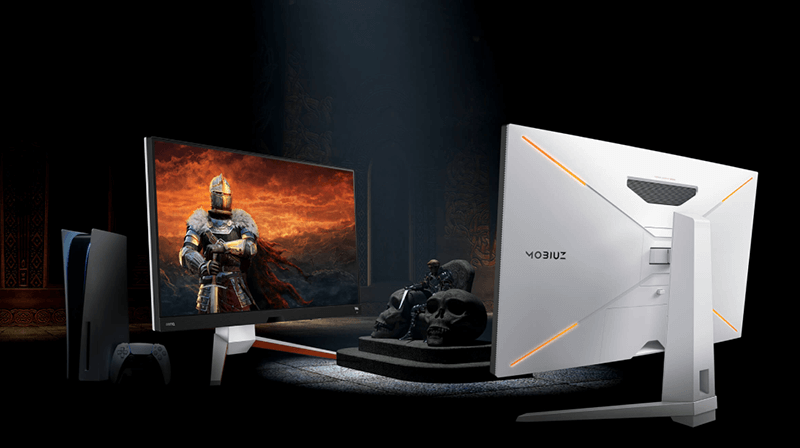
Room Size: Maximize the Experience
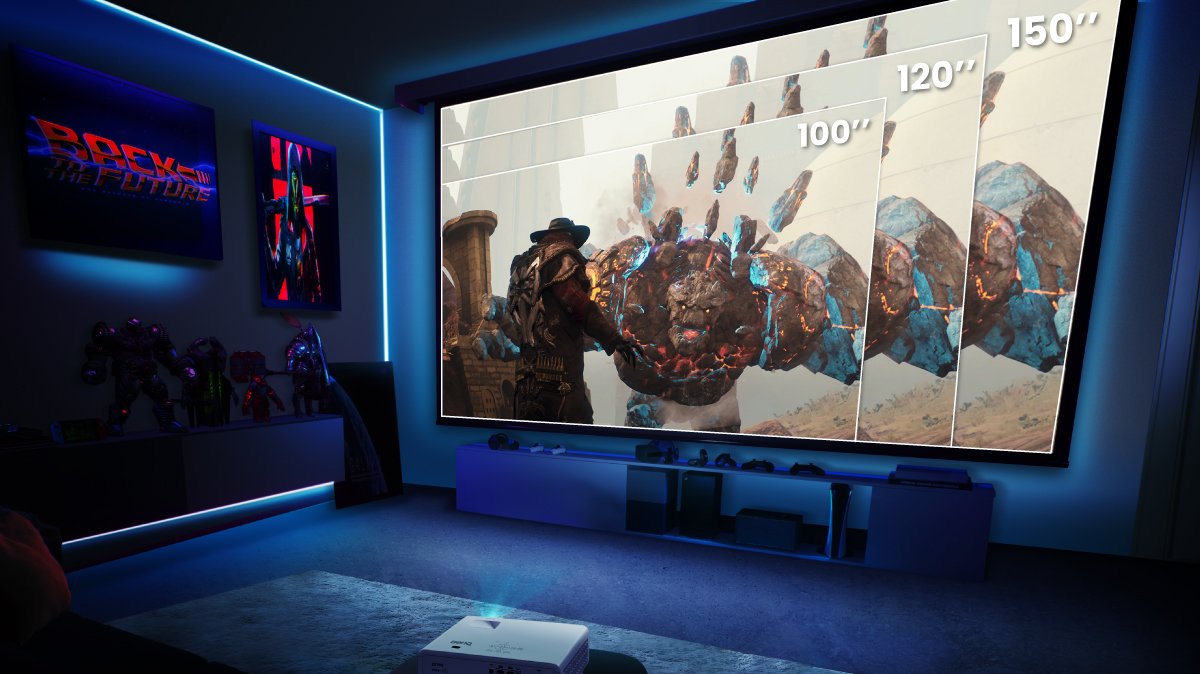
Larger rooms provide a golden opportunity to create an immersive, cinema-like gaming experience. Consider using a gaming projector paired with a large screen for ultra-realistic visuals if space permits. This setup is ideal for open-world RPGs and story-driven games where a bigger screen brings the game to life.
For smaller spaces, don't worry—you can still enjoy a premium setup with the right technology. A short-throw projector can project a massive screen size from a closer distance, and using a retractable screen can save space while maintaining an impressive display when gaming.
Pro tip: Projectors now offer adjustable throw distances, meaning you can enjoy top-notch visuals even in a smaller room. This flexibility makes projectors a practical choice, regardless of room size.
Layout: Flow and Functionality
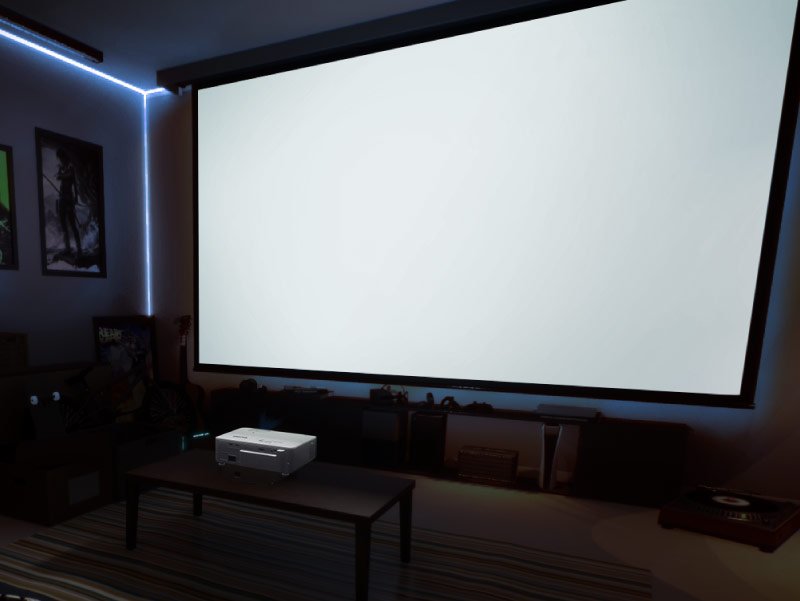
When planning the layout, consider how your furniture, gaming equipment, and accessories will fit together. Your gaming chair and desk should be positioned to allow optimal comfort and line of sight to your screen or projector. Keep enough room between your seating area and the screen to avoid eye strain and ensure a clear, immersive view.
For those using a gaming projector, ensure the projector's placement aligns with your seating and doesn't obstruct movement. You'll also need to plan for any extra accessories like sound systems, storage shelves, or gaming tables.
Bonus tip: If you're sharing the gaming room as a multi-purpose space, consider modular furniture that’s easy to move or rearrange. That way, you can switch between different gaming setups with ease.
Ventilation: Stay Cool During Intense Sessions
High-performance gaming rigs, consoles, and projectors can generate heat over extended gaming sessions, so it's important to factor in ventilation and cooling. Ensure your room has adequate airflow to keep the temperature in check and consider using fans or cooling mats for equipment that tends to overheat.
If you plan to run an extensive setup with multiple gaming devices, make sure the area stays coolto avoid damaging your equipment or degrading performance. Proper ventilation not only prolongs the life of your gaming gear but also keeps you comfortable during long gaming marathons.
2. Set It Up: Placing the Projector and Console
After you've carefully evaluated the aspects of your gaming room setup, the next step is to determine the ideal projection method—this refers to where your projector and console will be positioned in relation to the screen. The placement of your projector, combined with the screen size mentioned earlier, is key to selecting the right projector by focusing on the projector's throw ratio.
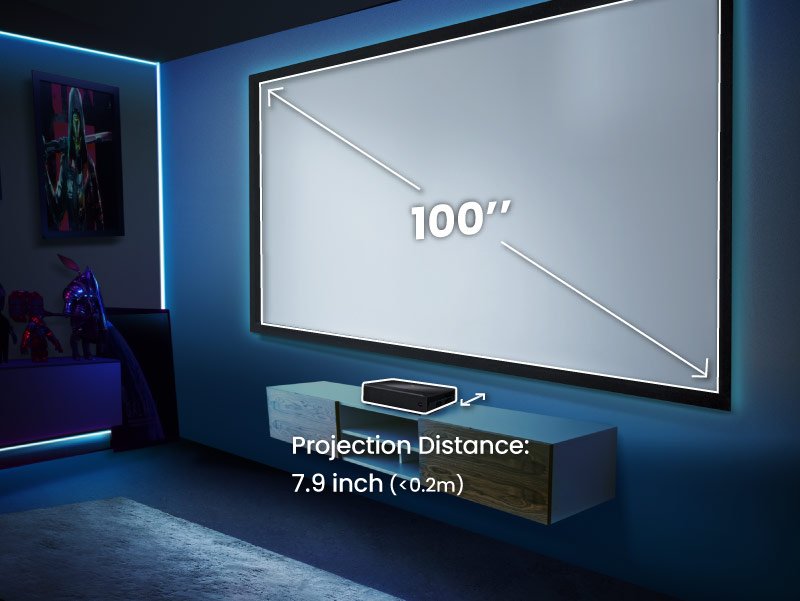
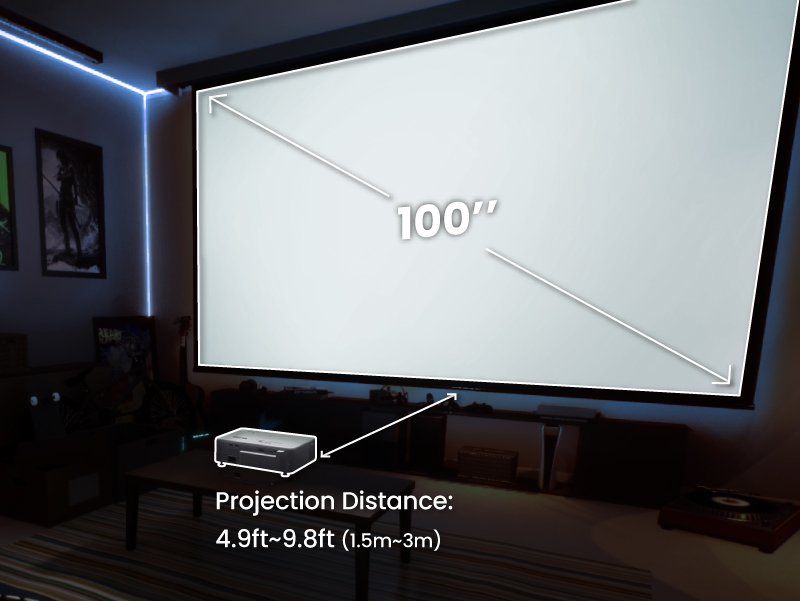
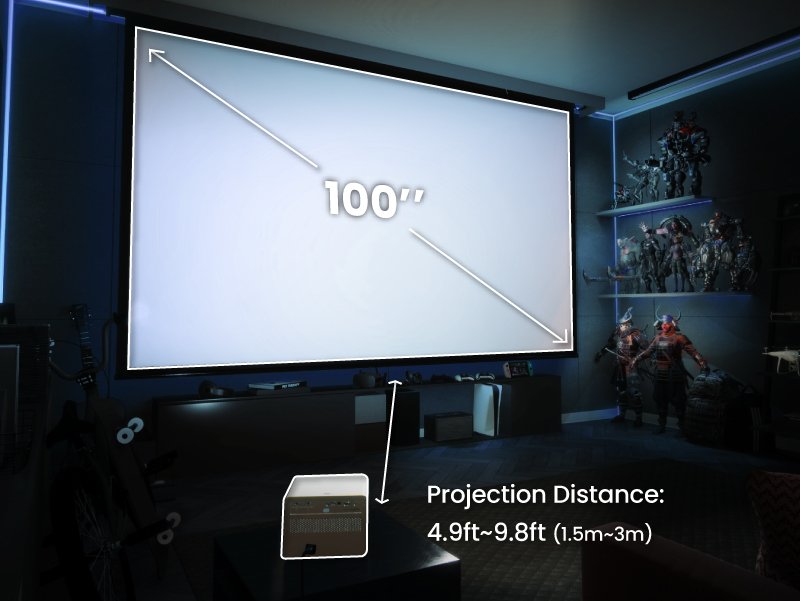
The throw ratio describes the size of the image a projector can produce based on the distance between the projector and the screen. It's calculated by dividing the throw distance by the screen width.
For most gaming room setups, there are three common projection methods to consider: front projection, where the projector is placed directly in front of the screen; side projection, where the projector is positioned at an angle; and ceiling projection, where the projector is mounted on the ceiling for a clean and unobtrusive setup. Each method has its advantages depending on your room's size and layout, making it crucial to choose the right one for an optimal gaming experience.
Front Projection

Side Projection
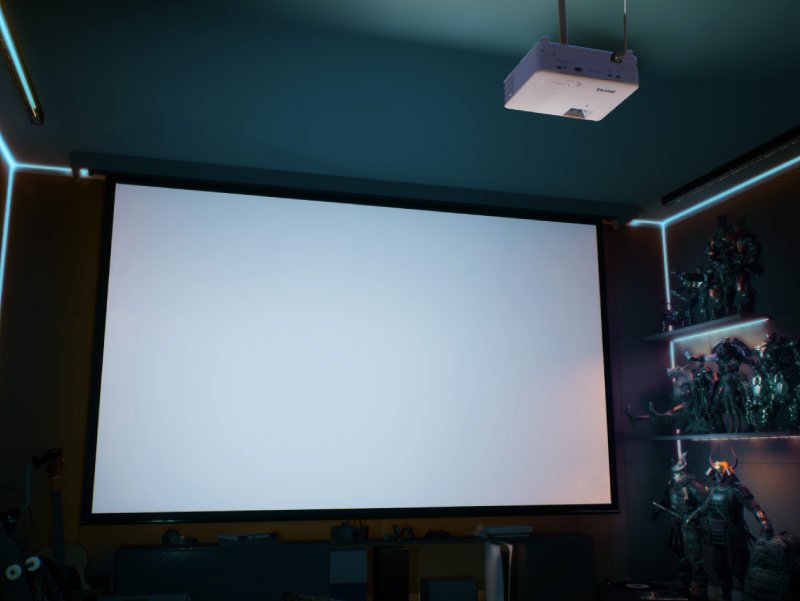
Ceiling Projection
The following sections describe some of the different options for each projection method and the corresponding throw ratio that is suitable for a projector under such conditions.
Front Projection
If you’re looking to front project from a TV stand placed up against your designated wall, the best option is to look for an Ultra Short Throw TV projector. If you plan on placing the projector on a coffee table in front of the screen, measure the distance from the projector’s most likely position to the wall and then calculate the corresponding throw ratio based on your desired screen size. This will be the throw-ratio value you should look for in a projector.
On the other hand, if you plan on playing motion-sensor games or if you’re worried about obstructed views, you should consider short throw, side, or ceiling projections options (though side or ceiling projection will also need to be mindful of obstructed views).
Side Projection
If side projection is your best option, your first concern regarding a projector is to check whether the projector supports side projection with features that help correct warped images due to off-center projection, such as 3D Keystone correction and Corner Fit. Once you’ve made sure a projector includes these features the next step is to calculate the throw ratio in the same way described above.
One thing to note about side projection, is that the image correction features necessary for side projection may increase the projector’s input lag, which could be a concern for some gamers. Since image processing is required for the keystone function, input lag will be slightly longer* but not affecting the smoothness in games when the keystone is enabled.
*Latency will hardly be noticeable with the keystone function enabled though, as lag time will merely increase by no more than 1 frame (4ms - 16ms).
Ceiling Projection
For ceiling projection, beyond the obvious step of ensuring that you’re able to install a projector on your ceiling, you’re also going to have to take into consideration how to route the cables associated with the projector in a way that both facilitates operation as well as aligns with your aesthetic preferences for the room. Once those two issues are settled you can calculate the throw ratio in the same way as the methods above.
3. Power on and Play: Immersing Yourself in the Gaming Experience
Now that your gaming room setup is complete, it’s time to power on your devices and dive into the action! Before you start, double-check all connections, ensure your projector is synced with your console or PC via HDMI, and that your sound systems are properly connected. Modern gaming projectors make this even easier with auto-adjustment features. Simply turn it on, and the projector will automatically adjust the screen size, focus, and brightness to fit your space perfectly. With this hassle-free setup, you're instantly ready to start gaming.
X-Series gaming projectors now come with “game modes” designed to optimize image quality, giving you an edge in various games. Once everything is powered on, your gaming room is ready to deliver a truly immersive experience. Whether you’re exploring vast open-world RPGs, competing in intense FPS matches, or enjoying a relaxed couch co-op session, your setup will ensure maximum comfort and top-tier performance, with no additional adjustments required. Just turn it on, let the auto-adjustment kick in, and you're ready to play!

Choose a Gaming Projector That Fits Your Gaming Room
4. Choosing a Projections Screen
Choosing the right projection screen (or whether to use one at all) is mainly about personal preference. Whereas previous sections provided concrete calculations and specs to guide you, the choice of a projection screen is based on what type of installation method they employ along with a weighing of the pros and cons for each type. Below is a basic breakdown of the various projection screen options.
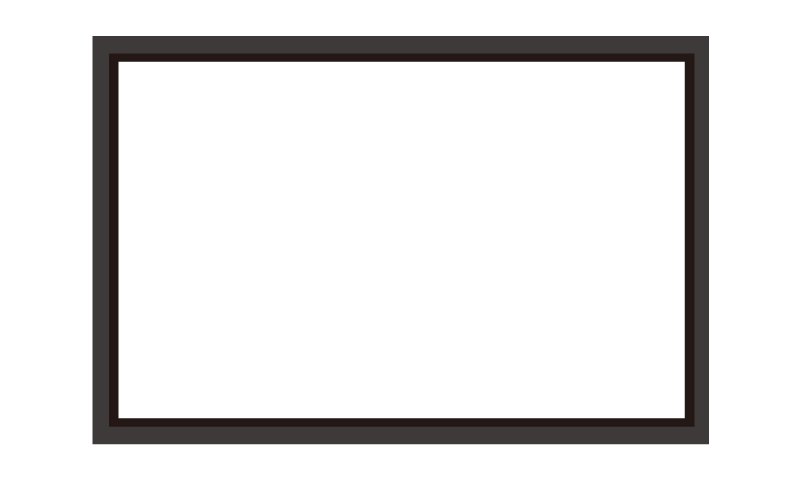
Fixed Frame Screen
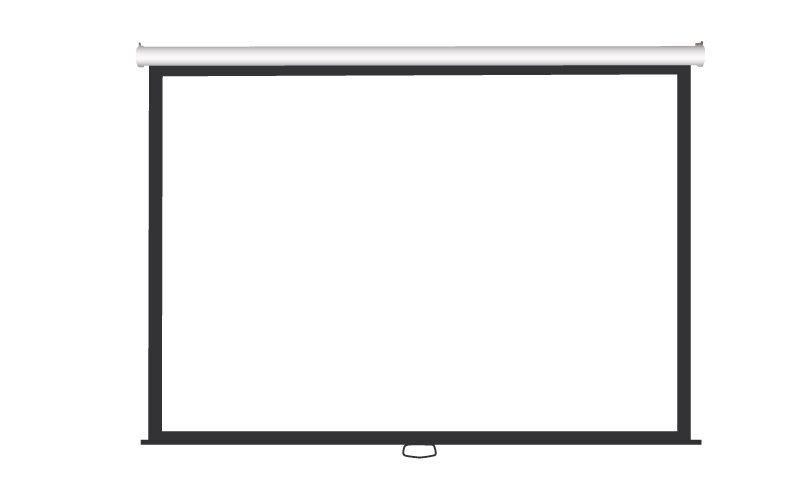
Ceiling (Pull-Down) Screen
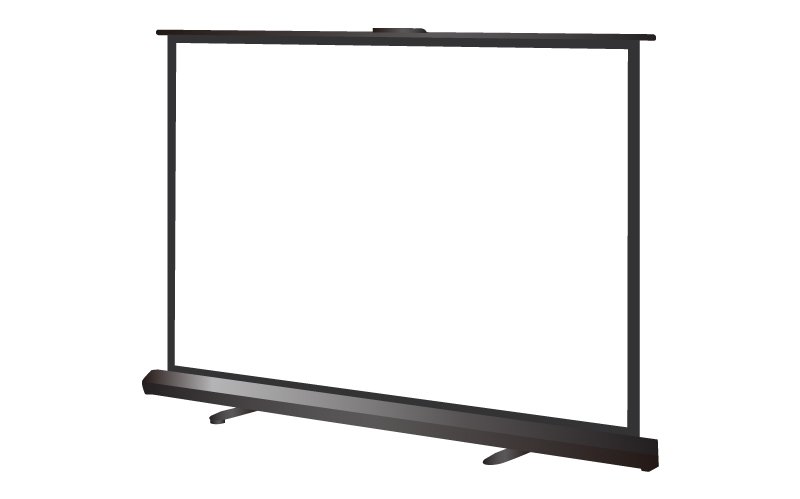
Floor Rising Screen
5. Budgeting Your Gaming Room Setup
When planning your gaming room setup, budgeting is crucial to ensure you get the best value for your investment. Whether you have a large or small budget, you can create an effective and enjoyable gaming space. Here’s a comparison of what you can expect for different budget levels:
Choose a Gaming Projector That Fits Your Gaming Room

The latest gaming projector discount and set-up tips