Search history
Clear
Start Video Conferencing with a Smart Business Projector in 4 Easy Steps
- BenQ
- 2021-05-07

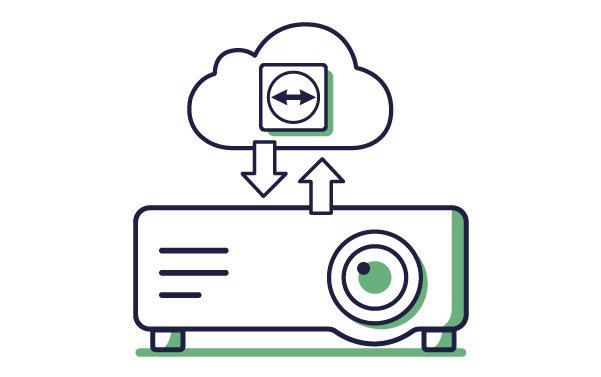
As the global pandemic has accelerated the evolution of traditional business meetings into hybrid meetings, companies have increasingly looked for ways in which both they and the equipment they use can help streamline the video conferencing process to make their meetings more efficient. With this in mind, BenQ’s line of smart business projectors have become ideal tools for jump starting a video conference in no time. For companies utilizing these projectors, all they have to do is follow the 4 basic steps below to get going.
NOTE: The descriptions below use the BenQ EH600 projector as the basis for the steps outlined. Other smart business projector models from BenQ may have slight variations in their steps.


To download the TeamViewer Meeting App:
1. Open the All Apps menu on the projector.
2. Open the BenQ Suggests app.
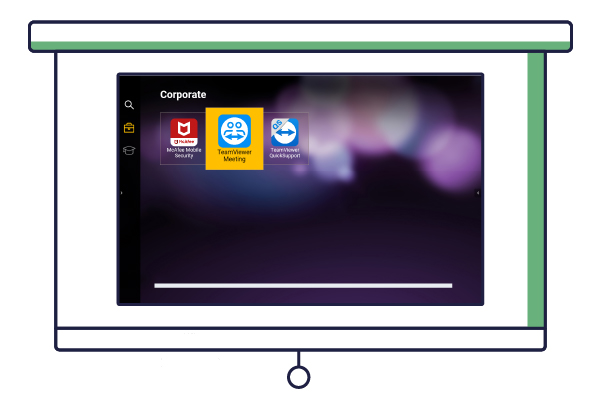
3. Select the TeamViewer Meeting icon in the Corporate tab.

4. Select Download in the pop-up confirmation to begin the download and installation process.
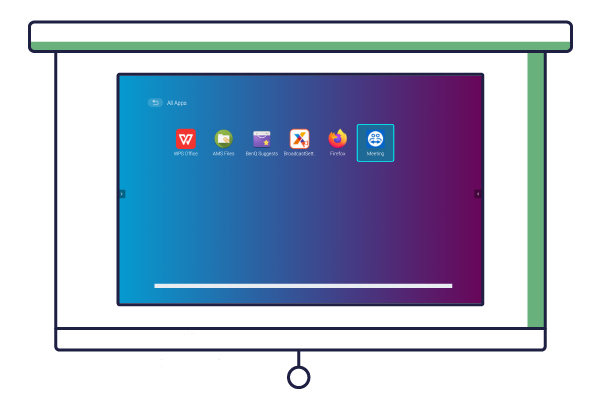
Once the installation process is complete you will see a Meeting icon in the All Apps menu.
Step 2: Connect a webcam and any peripheral devices needed
For video conferences where the participants in the meeting room will mainly be listening, you will only need to connect your webcam to the other USB port on your projector. For video conferences where the participants will be talking extensively, it’s suggested that you also connect external speakers to boost the meeting’s overall audio. To do so we further suggest that you use a USB hub for the webcam and speaker connections, due to the increased power requirements for both connections. The use of a hub will also allow you to connect other accessories, like a keyboard, based on any additional needs.

Once you’re ready, launch the TeamViewer Meeting app and follow the steps below:
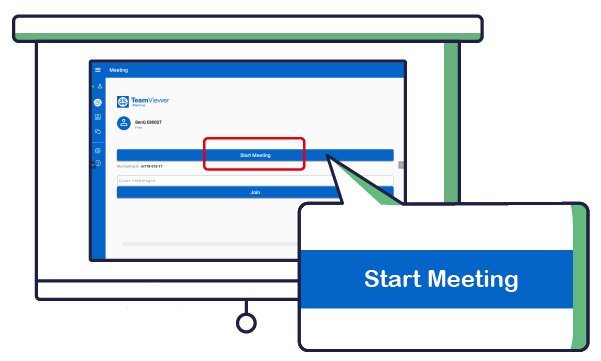
1. In the TeamViewer Meeting homepage, select the Start Meeting button.
NOTE: If you are launching the TeamViewer Meeting app for the first time, it will take a moment before the Start Meeting button is activated, as the app generates a My meeting ID.
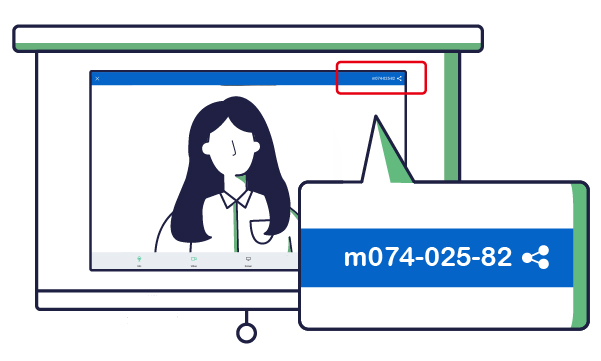
2. Once you have successfully created a meeting, the following screen will be shown. Provide the My meeting ID displayed at the top right corner to all remote participants to the video conference.
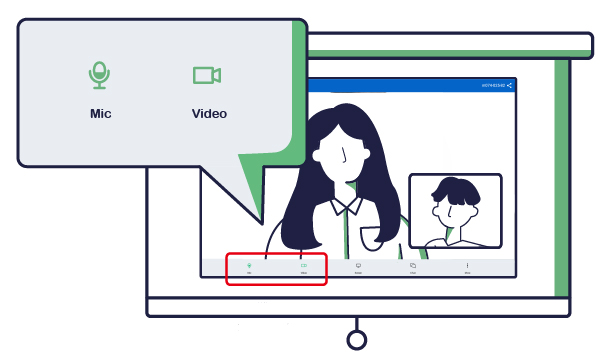
3. Click the Mic and Video buttons at the bottom of the screen to enable both the speaker and webcam. Once enabled, each respective button will switch from red to green and a window featuring a video stream from the webcam will appear in the bottom-right corner.
4. Adjust the volume on the speaker to a suitable level.
Once the video conference has started you may need to make adjustments to your projector and/or webcam’s orientation based on your physical setup. We suggest that you:

1. Raise the projection angle for the projector using the height adjustment components on the projector.

2. Place the webcam at a level slightly above your head and then adjust the lens to point at your eyes to ensure proper eye contact for the video.
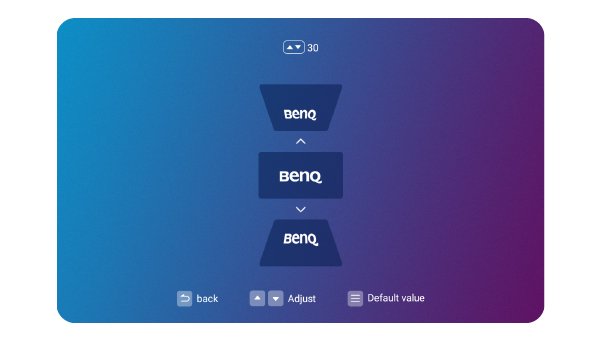
3. Adjust the keystone settings via the remote control or the settings menu to compensate for any distortions to the image due to the adjustments described above.
NOTE: When adjusting keystone, a higher value will shrink the bottom portion of the image while a lower value will shrink the top portion of the image.
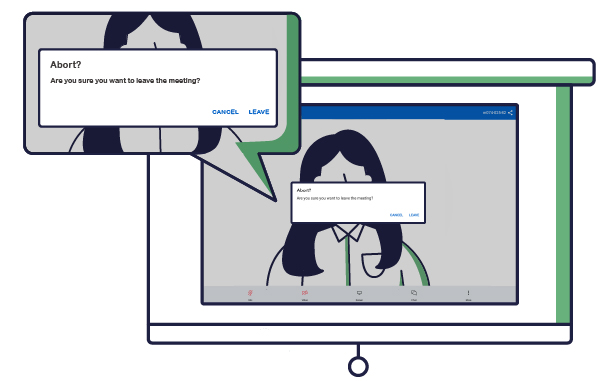
When you’re ready to end your video conference, select the back button on your projector (or the right-click button on the mouse) and select LEAVE in the confirmation dialog. All participants will be logged out of the meeting.
Recommended Articles
-
Success Stories
PGI Group Gears Its Meeting Room with Smart and Wireless Video Conferencing Solutions
2020.07.07 -
Success Stories
IMPLS Entertainment Recruits BenQ’s Go-Anywhere Smart Projector to Its eSports Business
Being a multi-purpose device, EH600 is easy to set up anywhere and could handle conference calls, wireless projection, device mirroring, and other tasks
2021.01.07
TOP