{{item.name}}
Price: {{currency}}{{item.price| numberThousandsCommas | numberDecimalPoint}}
Qty: {{item.amount}}
Job References

Beauty,Portrait Photographer/ UK
Glyn Dewis is a photographer, author and educator currently based just outside of Oxford in the UK.
I think it’s fair to say that one of the most frustrating tasks can be calibrating your monitor correctly so that the colours you see on screen are then correctly represented in a final print. I can’t even begin to imagine how much time and money I wasted in the early days trying to get this right. What I thought looked great on screen with regards to the colour and the brightness, when printed looked completely different.
This frustration meant that for some time now I’ve handed over the printing process to a lab but even then I’ve experienced issues; mainly with images coming back too dark compared to what I had on my screen.
Anyway, I’m happy to say I’ve now sorted it so thought I’d add a couple of posts showing the process for a) Calibrating your Monitor and b) Getting the Perfect Print.
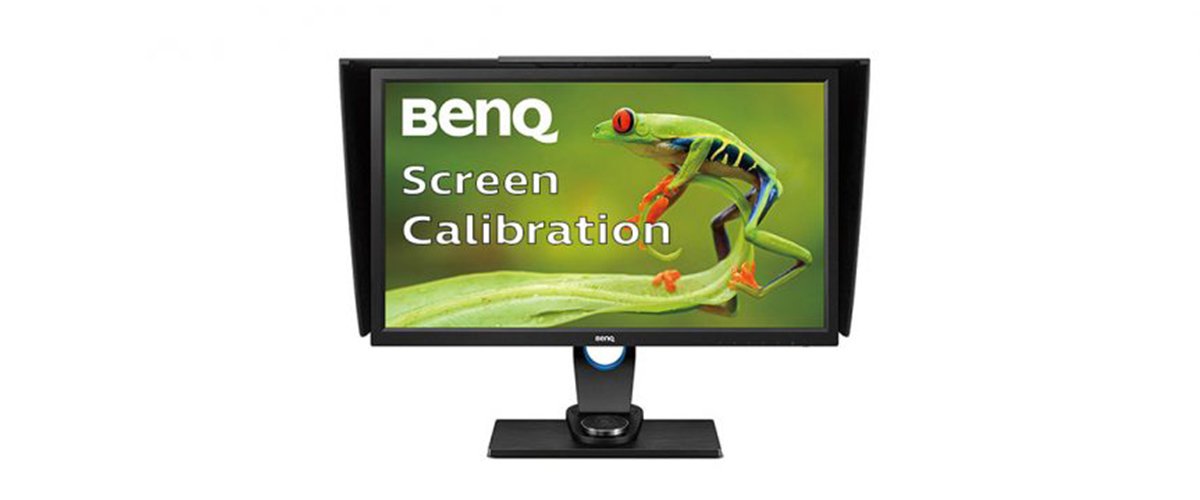
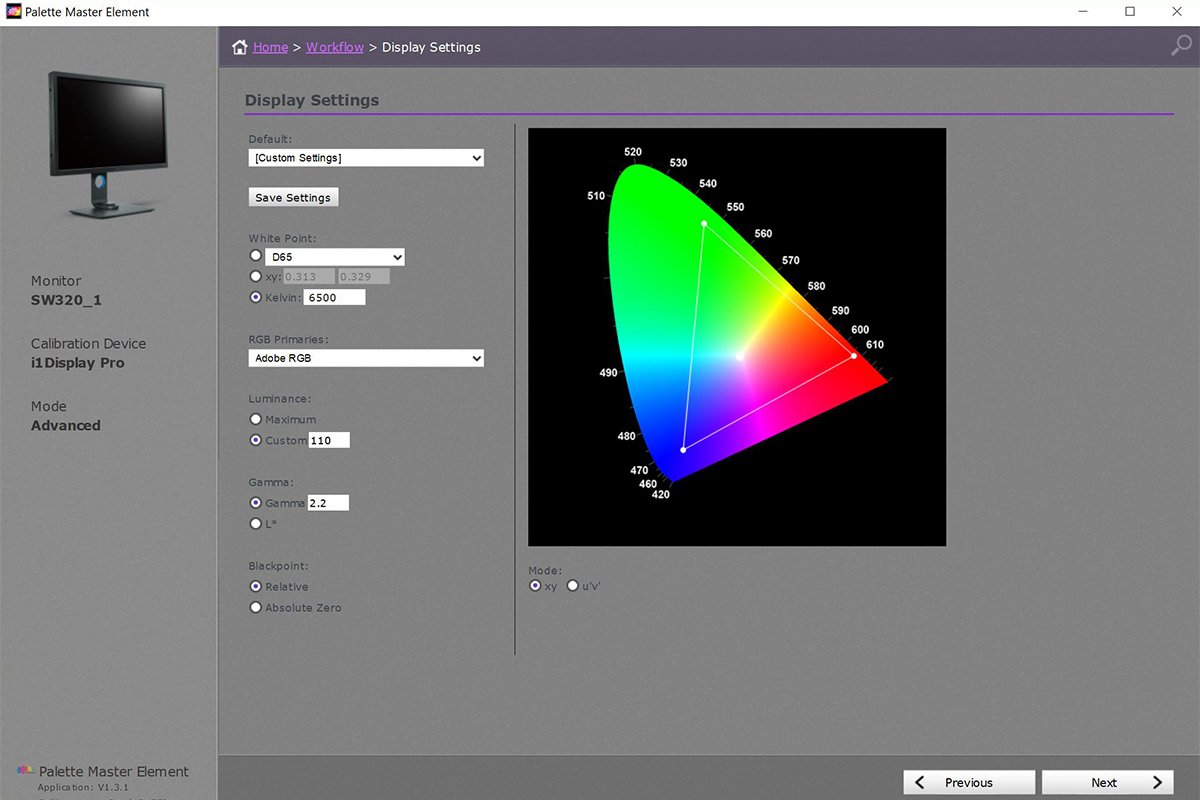
For this post I’ll show you the settings I use to calibrate my BenQ Monitors which are my brand of choice quite simply because they do exactly what they are supposed to, I’ve never experienced any dead pixels (as I have in more expensive brands) and the price is great.
So let’s get started…
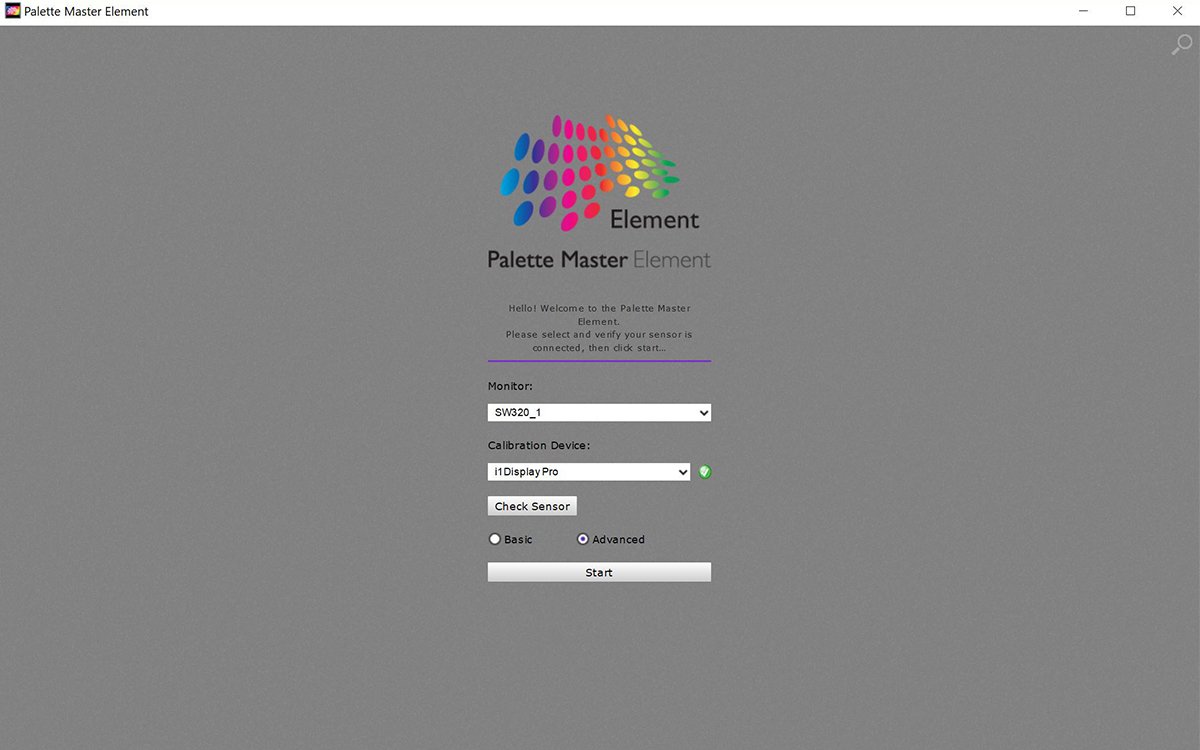
There’s quite a few out there in the market but my choice is the X-rite i1 Display Pro /Calibrite ColorChecker Display Pro for no other reason than I was recommended it a couple of years back and it works great.
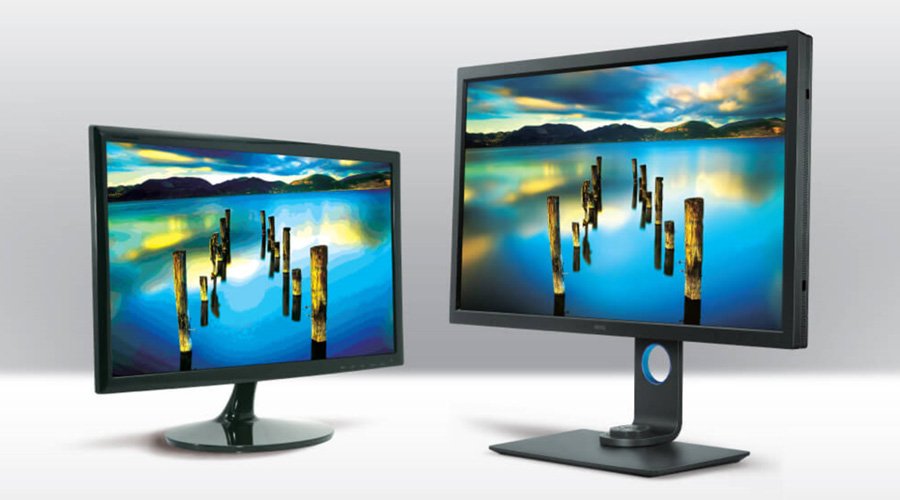
My main monitor is the BenQ SW320; a 32” monitor giving 99% Adobe RGB. It comes with a monitor hood to minimize light spill on the screen so (once calibrated correctly) what you see is what you get. I also have the BenQ SW271 as my 2nd monitor and the SW2700 which I only use when doing LIVE Broadcasts i.e. I can work on my main monitor, have the streaming software (OBS) on another and YouTube or Facebook on the 3rd so that I can see what viewers see and know that all is working as it should).
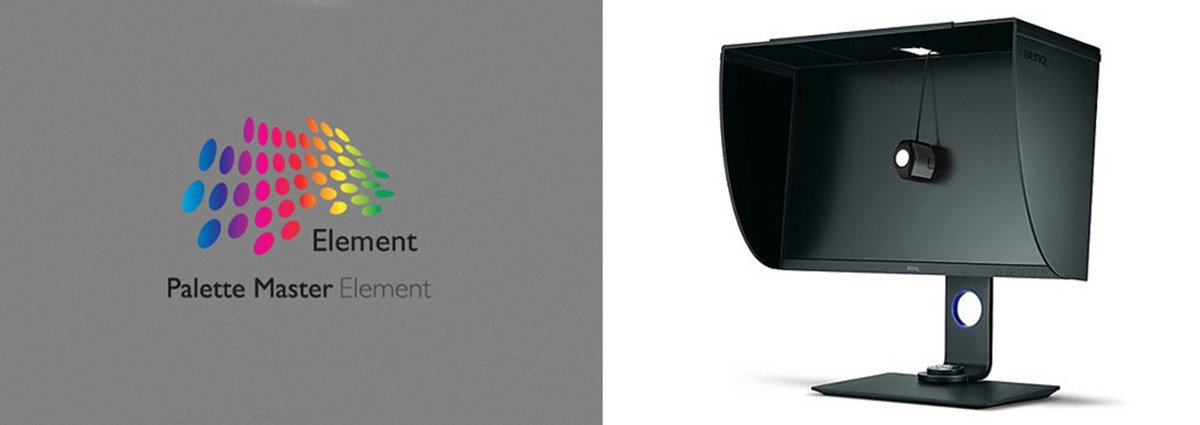
As I use BenQ Monitors, I choose to use the software provided by BenQ, Palette Master Element. This just makes sense to me to use software created by the folks who make the monitor and the results speak for themselves. I also use the X-rite i1 Display Pro /Calibrite ColorChecker Display Pro to calibrate my laptop screen but use the Calibrite Software.
So, here’s the settings I use and find (after much trial and error) that give me the best, consistent results. Please note though that I do tend to work in the same lighting in my office using black out blinds and daylight balanced bulbs.
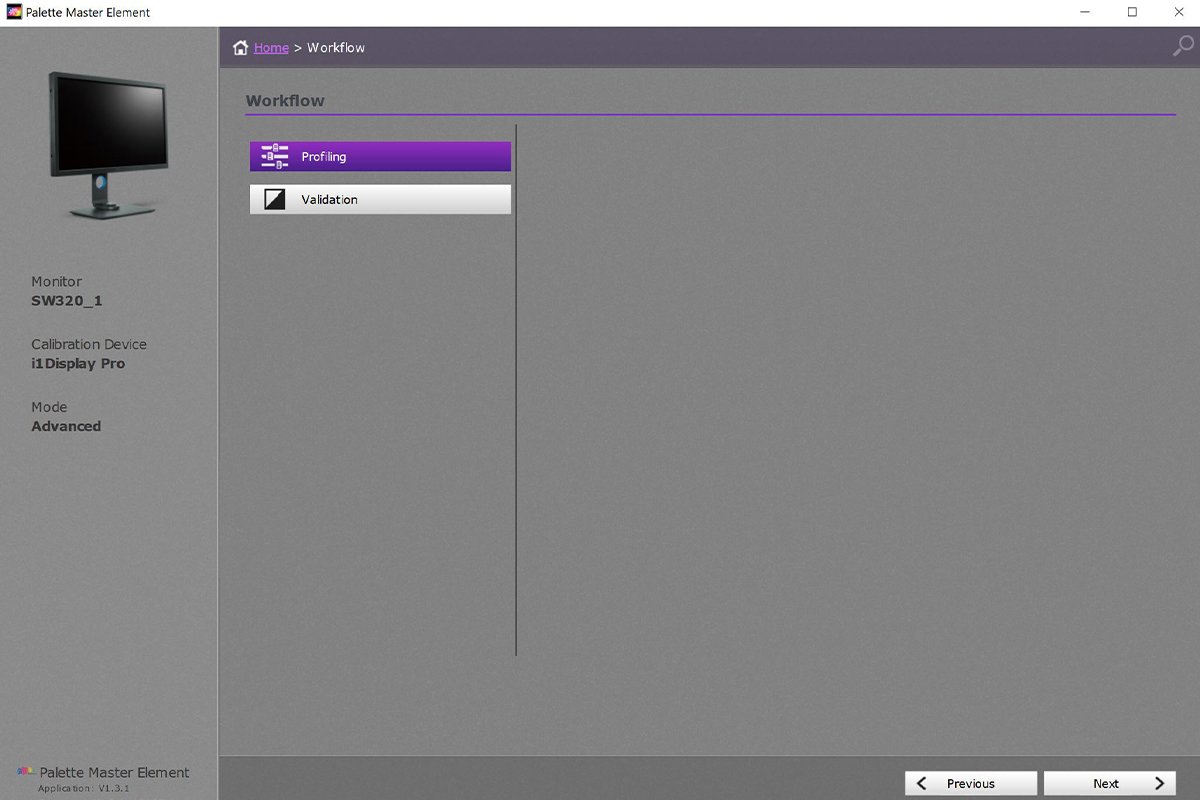
Click Next…
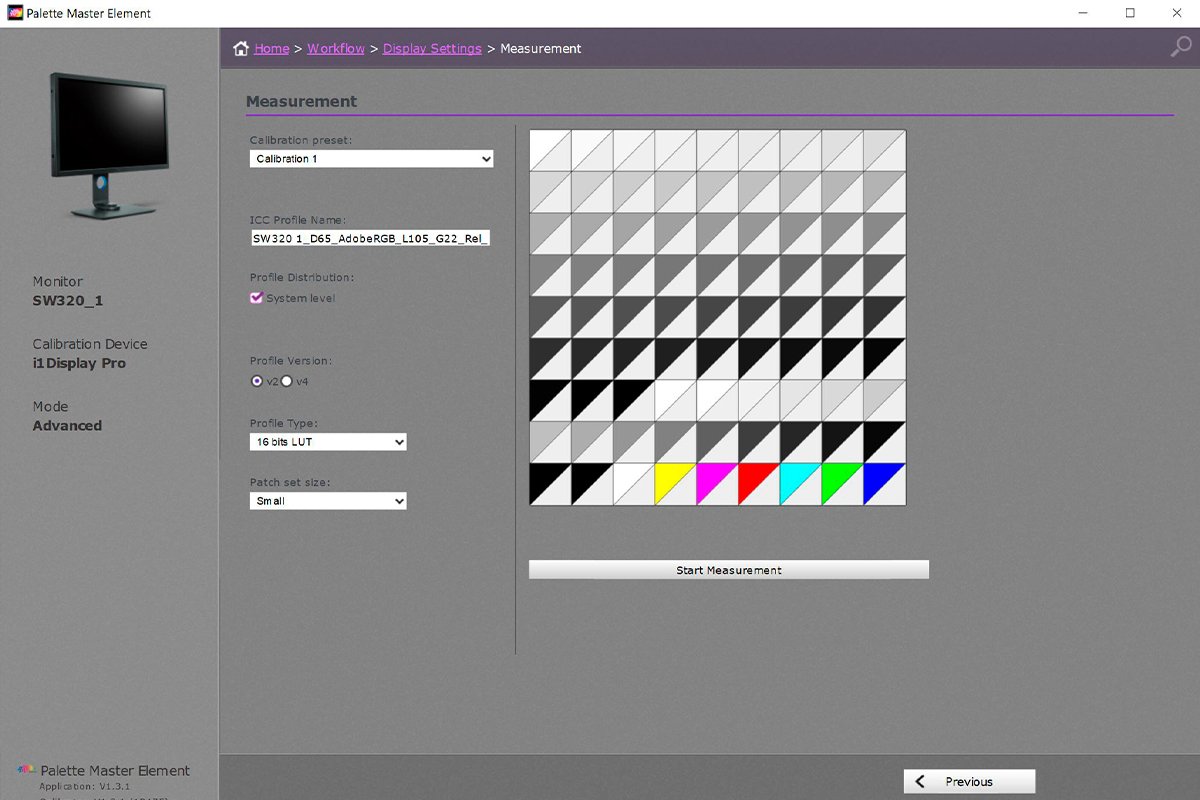
Click on Start Measurement…
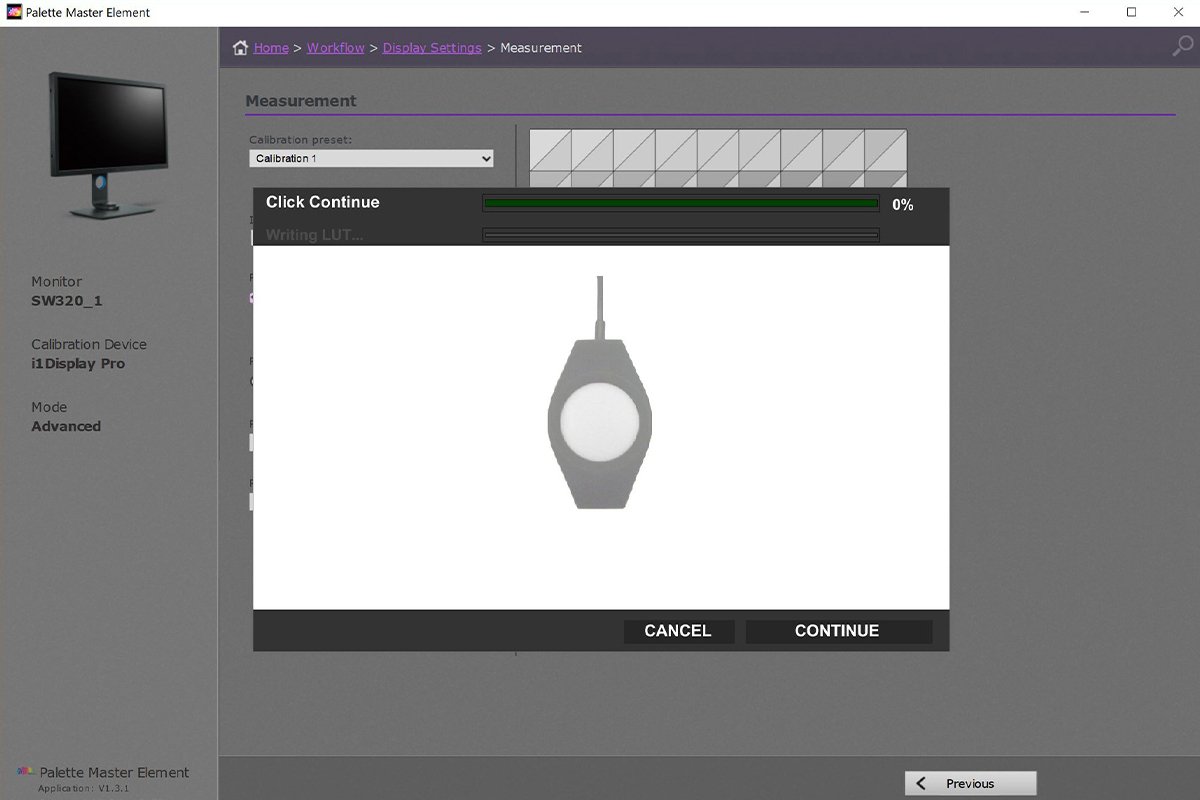
At this point you’ll then get a screen area pop up showing where to position your particular calibration hardware, then click Continue and let the process begin…
Now that the calibration process is underway, make sure not to alter the lighting in the room, don’t jump to another screen etc; just sit back and let the process continue uninterrupted. Oh and if your monitor has a monitor shade with the hatch at the top to drop the calibrator through, close it so that no light comes through onto the screen.
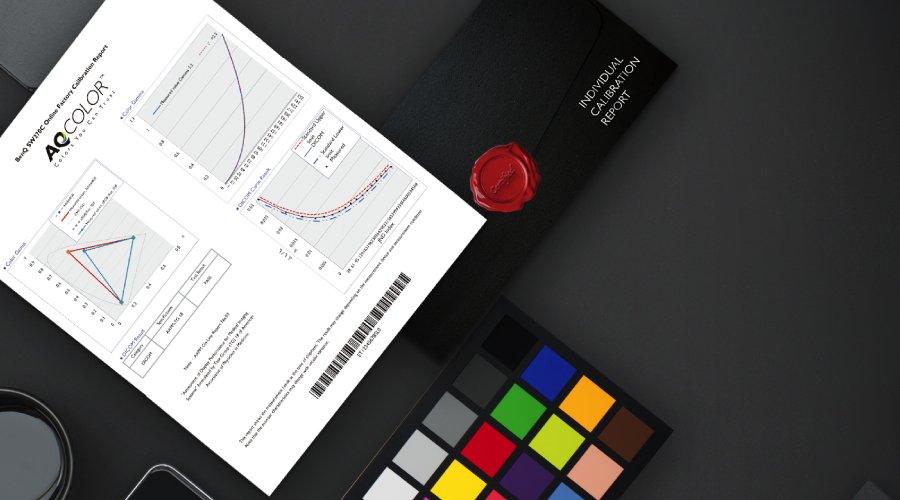
And that’s pretty much it. The process will take a few minutes to work through and at the end of it you’ll see a report show up on the screen giving the results of the calibration and what settings were achieved. You can at this time then verify the calibration if you like.
Now that you’ve gone through the calibration, the only issues you may encounter when printing is the brightness of the print compared to what you see on screen so we’ll cover this in the next post; I’ll also record a couple of videos going through the process.
In the meantime if you have any questions please feel free to make use of the comments section below and I’ll get back to you asap but please be mindful that I am in no way professing to be a colour management expert (far from it) however I do know through advice, lots of reading, lots of video watching and lots of trial and error, what I find works and gives great, consistent results.
Get One Free Year Pantone Connect

{{productsCount}}Result
{{item}}
{{item.productWordingTag}}
{{currency}}{{item.finalPrice| numberThousandsCommas | numberDecimalPoint}} Save {{currency}}{{item.saveAmount | numberThousandsCommas | numberDecimalPoint}} Save {{item.savePercent | numberThousandsCommas | numberDecimalPoint}}%
new device price {{currency}}{{item.regularPrice| numberThousandsCommas | numberDecimalPoint}}
{{item}}
{{itemTag.title}}
Max 4 products to compare reached.