How to Wirelessly Run Windows on Interactive Displays?
- BenQ
- 2021-05-19
If you need Windows to teach on interactive display in classrooms, there are several solutions to consider, including an install of a Windows OPS (open pluggable specification) module on your display. But then there’s also wondering how much that module would cost as opposed to simply connecting an external PC to the display via HDMI.
We recommend you watch the video below, where we're going to explore three different options that you can use to run Windows on an interactive display, while going over the pros and cons of each.
Option 1: Long HDMI & USB Cables
In the past, you may have connected your Windows PC via VGA to a projector and whiteboard setup. However, in the era of high quality 4K you need HDMI to get content on an interactive flat panel display. And since HDMI comes in alongside inevitable USB cables, the downside of this is long wires running all over the place, which isn’t just an eyesore and sometimes a pain to manage, but may also present safety concerns like kids and teachers tripping on cables.
Option 2: Windows OPS Computer
You could look for a solution such as a Windows OPS module. To use OPS, all you need is to install it directly into the proprietary slot on the interactive display panel. This enables you to log into Windows right from the display, just like you would from your laptop. The panel then acts like a giant touchscreen tablet, running Windows. You may be wondering why don’t interactive displays simply ship with OPS modules pre-installed. Well, there are three main reasons:
Why Wouldn’t Every Interactive Display Have Windows OPS?
- Windows OPS is expensive
To be frank, Windows OPS modules are expensive. They cost nearly twice as much as a similarly-equipped Windows laptop.
- Double software & IT costs
As a result, they double software and overall IT costs. Both the teacher’s laptop and the Windows OPS module require the same software licensing and security protection, so schools basically need to pay twice.
- Extra training
Extra training is a big factor. You need to provide extra training to make sure the teacher knows how to switch between their laptop and the OPS module, as well as everything that involves.
These are definitely big changes compared to the old whiteboard, which only needed the teacher’s laptop and some sort of passive, simple to use display.
Option 3: Wireless Transmission
There’s another solution which might be new to you, and it’s called InstaShow S. It’s nearly all-wireless and works great for addressing your interactive panel connectivity concerns.
What Is InstaShow S?
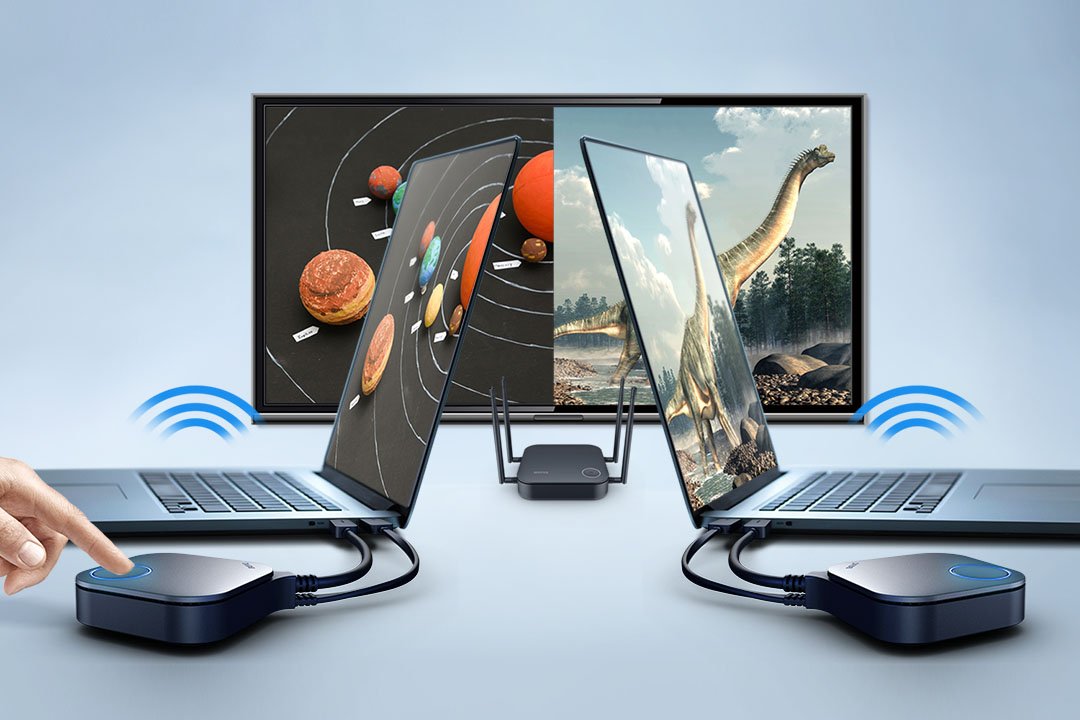
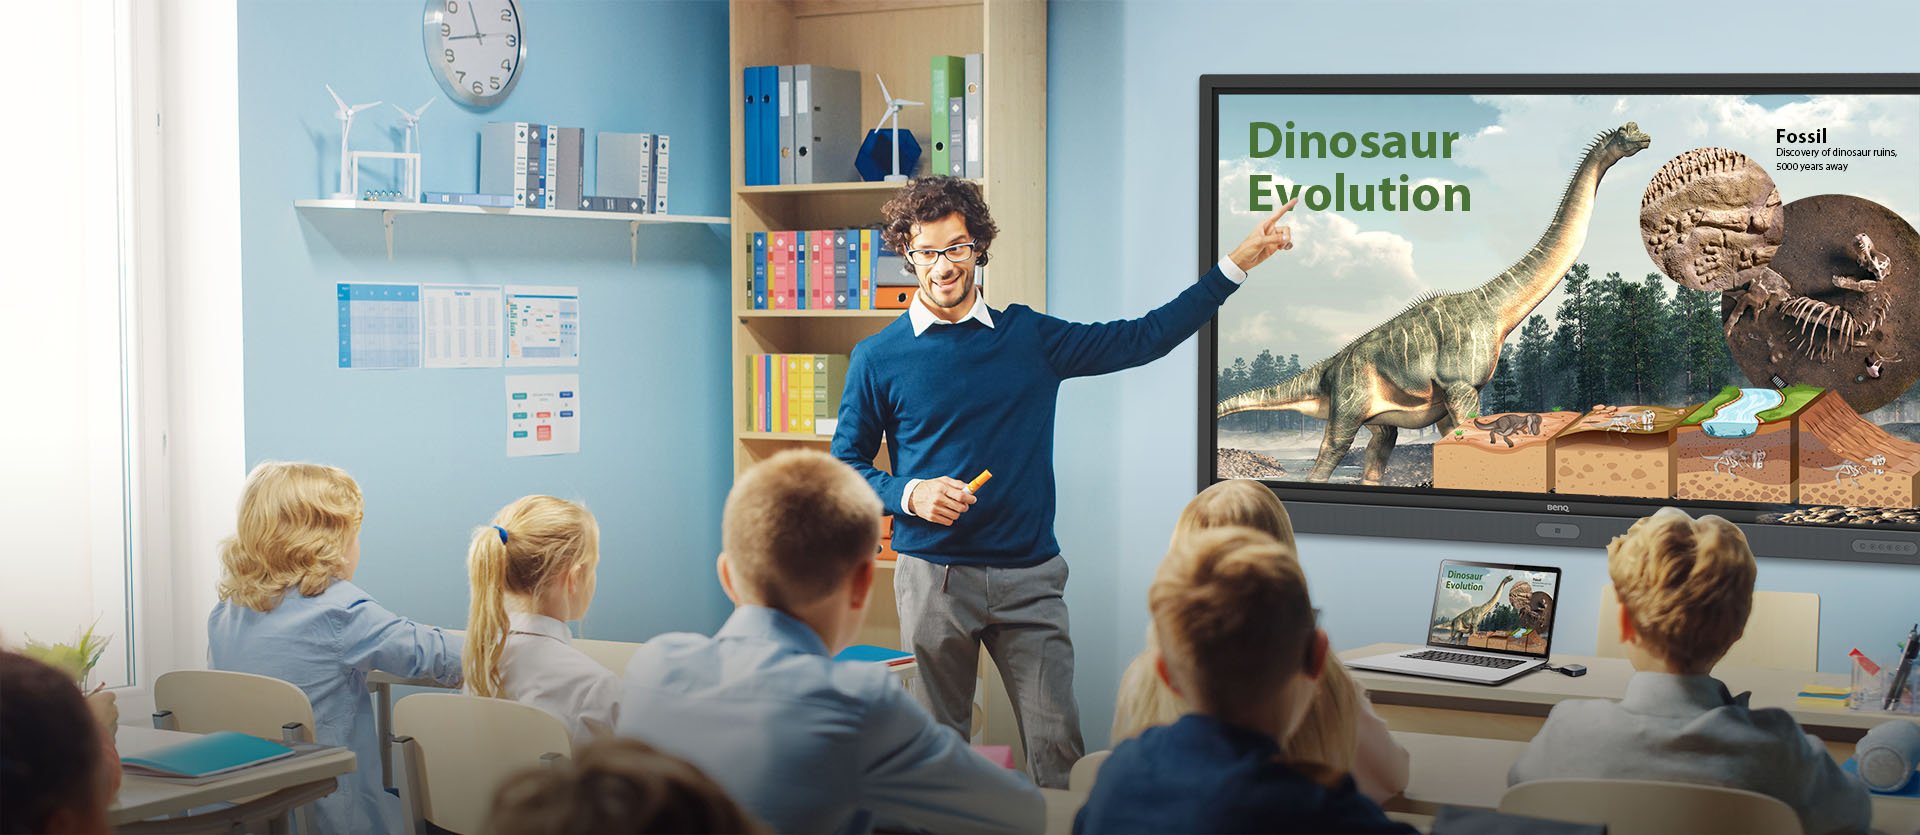
InstaShow S is a wireless presentation system that connects your Windows laptop to the interactive display. Teachers can share content on the interactive display without the hassle of connecting cables and with increased flexibility when in class.

How to Use BenQ InstaShow S?
Step 1. Connect the display with InstaShow S’s mounting equipment
InstaShow S arrives complete with mounting hardware so it can be placed on the back of your display, or if you have a projector you can actually place InstaShow S there. Then plug HDMI and USB cables from the InstaShow S console to the display, just like you would with your laptop.
Step 2. Connect InstaShow S
Plug the InstaShow S transceiver to your laptop’s HDMI and USB ports.
Step 3. Tap and play
When the light turns green, simply tap to start presenting from your laptop, and control the interface from the interactive panel.
InstaShow S supports up to four devices and its wireless range is over 40 feet. With InstaShow S, you can share content on your interactive display without having to rely on long cables and the mess they cause.
Which Option Suits You Best?
If you are okay with long cables, then the first option may work, as it’s by far the cheapest. If you have the budget and time available to schedule training, however, you can choose to use a Windows OPS module. Finally, if you prioritize flexibility, time saving, and cost-effectiveness, then InstaShow S works best by a country mile.
Well, if you need support with selecting the best way to run Windows on your classroom's Interactive Display, do not hesitate to contact our experts, who would be happy to hear about your particular situation and help you select the most fitting option based on your unique corcumstances.
To Recap, the Advantages of InstaShow S

It’s cable-free, so teachers have more flexibility when using their laptop and moving around at the same time. InstaShow S is less expensive compared to a Windows OPS module. Also, you can easily switch between operating systems. A big advantage is that you only have to manage one computer, with no extra security software to worry about or any outdated processors that need to run the latest version of your software years from now. In other words, InstaShow S offers better future proofing. InstaShow S is also compatible with anything that uses HDMI or USB, from Windows PCs, Macs, and Chromebooks, to digital microscopes and cameras. That opens up countless opportunities for students to share content on the interactive display at the heart of your class.


