{{item.name}}
Price: {{currency}}{{item.price| numberThousandsCommas | numberDecimalPoint}}
Qty: {{item.amount}}
By Scenario
Best Projector for World Football Best 4K Projectors Home Entertainment Video Streaming Sports Watching GV Series Portable Ceiling ProjectorsBy Trending Word
4K UHD (3840×2160) Short Throw 2D, Vertical/Horizontal Keystone LED Laser With Android TV With Low Input LagExplore Commercial Projector
Professional Installation Exhibition & Simulation Small Business & Corporation Education Golf Simulator Wireless Presentation
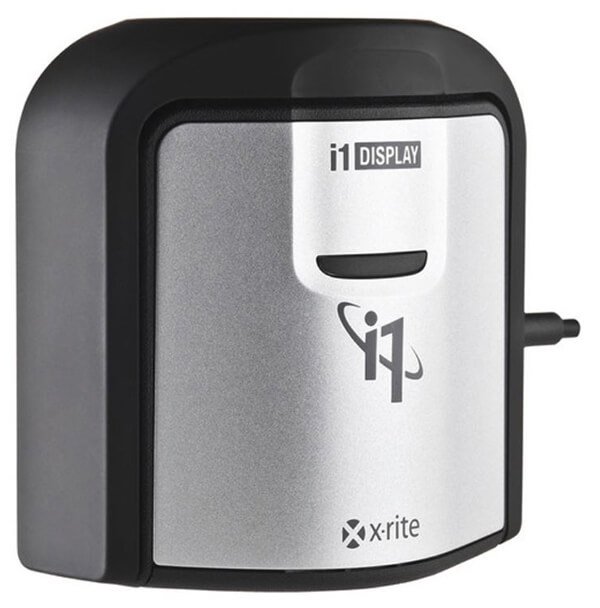
I can’t even begin to tell you how much money I have wasted over the past few years trying to get my images on screen to come out looking the same in print. In the beginning it was the colours I just couldn’t get right but that was soon fixed after I started calibrating my screen using a device such as the X-rite i1 Display Pro /Calibrite ColorChecker Display Pro. However despite the colours being correct, prints would also come back too light or too dark. No matter what I did, I just couldn’t get it right!
For quite some time I resorted to a workaround…
I would send off for sample prints. These would be 4 small versions of the same image (6” x 4” for example) but each file would be slightly different; one would have no adjustments made to it whereas the remaining 3 would have been brightened using Exposure in Lightroom by +0.10, +0.20 and +0.30 and then exported out with the following files names: test, test+1, test+2, test+3. When these prints came back from the Lab I would then compare them to the image on screen. The one that matched the nearest would then tell me what changes I needed to make before sending the main file to the Lab...does that make sense?
Now this method worked pretty well but it was still far from perfect as I could never really get the prints looking as close to the screen image as I would have ideally wanted. In addition it was also costing me more in both time and money.
The solution … Soft Proofing.
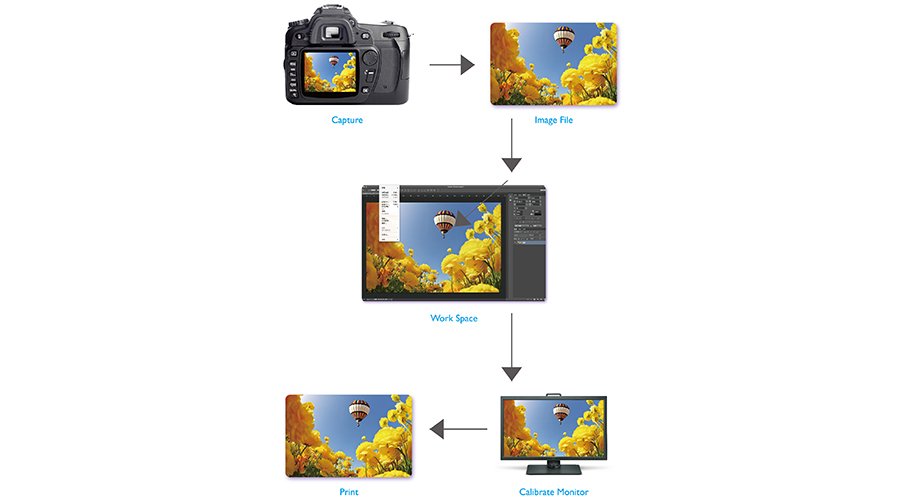
Basically Soft Proofing is a way of seeing what your images will look like in print before you actually send them off to be printed. Having this ability means you can compensate for how the printing process changes the images by making adjustments in Lightroom so that when you do then send the files to be printed they come back looking as near perfect as is possible thus saving you time and money.
Before we go through the Step by Step process of Soft Proofing, it’s important to say that all of this will be completely pointless unless you have calibrated your computer monitor, and do so on a regular basis. If your computer monitor isn’t displaying colour, brightness and contrast levels correctly, all the Soft Proofing will be of no benefit whatsoever...period!
I’m not going to take you through the Screen Calibrating process because of there being so many different products available, so many different software utilities and differing computer platforms, however I will share some settings that can be used across all of them.
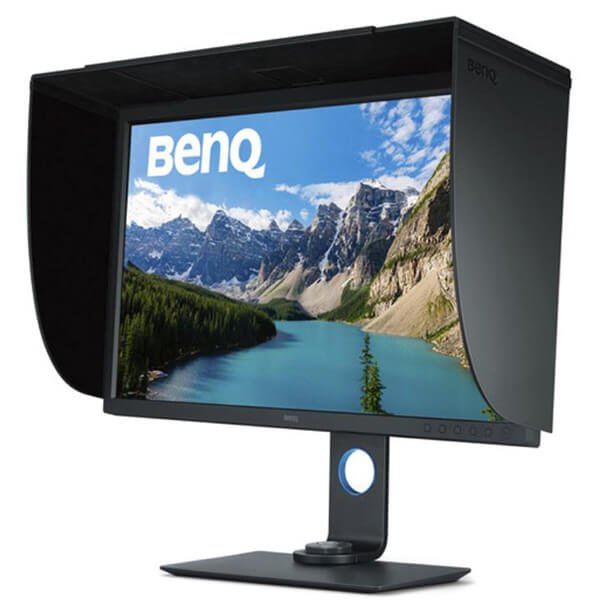
I use the ColorChecker Display Pro from Calibrite for calibrating all the screens I use; both desktop and laptop. It comes with it’s own software utility however because I use BenQ monitors I use their own native software called Palette Master.
You can check out the i1 Display Pro by Clicking here
Once plugged in, you then go through a few clickable options then pretty much let the i1 Display Pro do it’s thing and a short while later your screen is calibrated. Here are some settings though that you might want to give a try. I was given these settings by my friend and fellow Photographer Frank Doorhof and they work a treat!
Monitor Colour Temperature: D65/65K/6500 Kelvin
Gamma: 2.2
Light Output / Luminence Value: 120-130 cd/m^2
When it comes to calibrating your screen you’ll always get the best and most consistent results when you do the calibration in the same environment settings each time, and by this I mean calibrating at the same time of day in the same lighting.
In my own office / workspace I have blackout blinds and also use daylight balanced bulbs so using these means the room lighting is consistent when I’m looking at the screen.
I also use the BenQ range of monitors which come with a screen shade / hood which prevents light from outside the screen, spilling onto it and so giving you a false impression of what you’re looking at. A lot of today’s monitors come with these kind of shades.
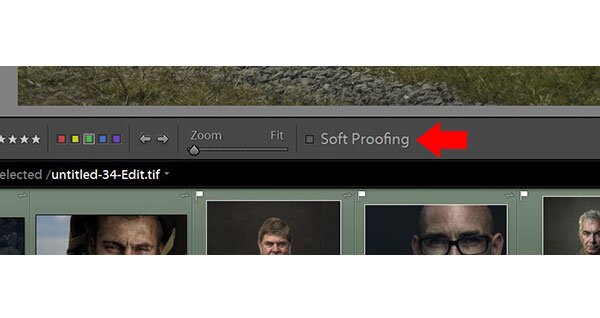
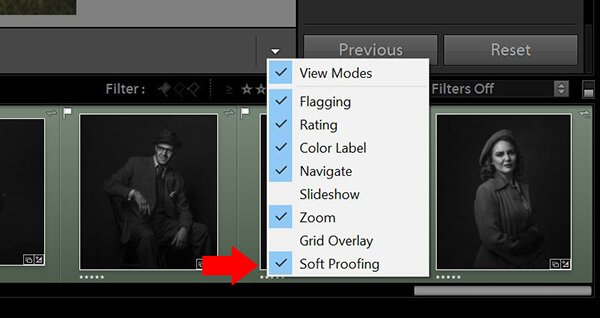
Ok so first things first, you’ll find the Soft Proofing checkbox underneath your picture on the left hand side when in the Develop Module. If you don’t see it there then you just need to make it visible by clicking to open the menu that is underneath your picture but on the right hand side.
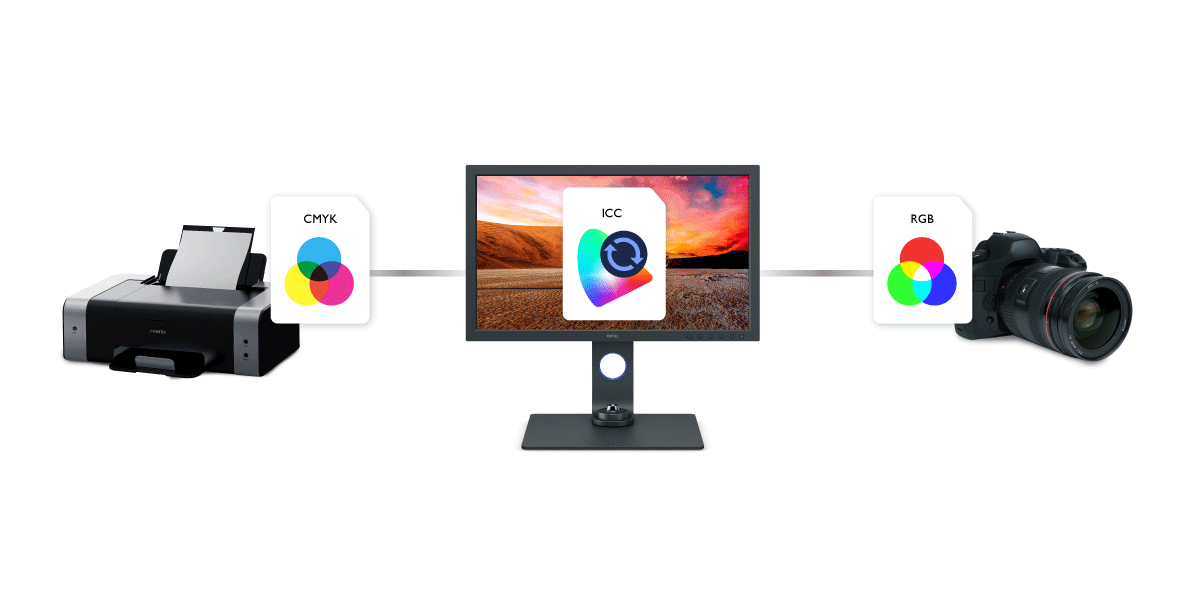
The key to soft proofing comes from using what are called ICC Profiles (ICC stands for International Colour Consortium) and in their simplest terms these are basically files that have been created by printing labs, manufacturers of printers and such like to allow us to see what images will look like when printed on different mediums (paper, canvas, metal…).
Where do I get them from?
Now I use a Loxley Colour Printing Lab for all my printing needs. They’re based in Scotland and on their website there’s a link to download their own specific ICC Profiles that are relevant for their printing process and their differing papers / mediums.
The reason I mention this is because ICC Profiles differ from Lab to Lab, from Printer to Printer and from Paper / Medium to Paper / Medium, meaning you need to download the relevant ones for the processes you use i.e. I wouldn’t use a Loxley Colour ICC Profile if I was sending image files to be printed by Bay Photo. Make sense?
So go visit or get in touch with your printing lab of choice to download their specific ICC Profiles or if you use Loxley Colour or fancy giving them a try here’s how you find their ICC Profiles from within their website:
Step 1:
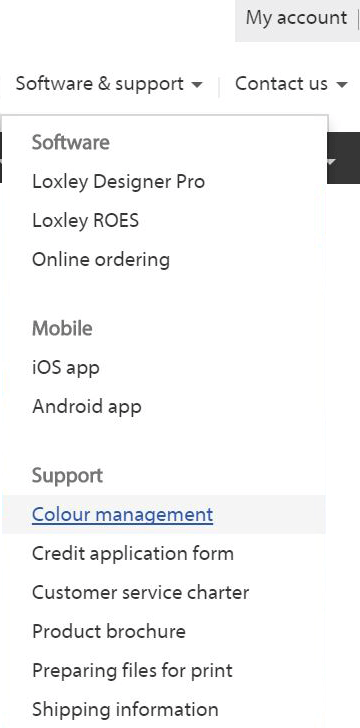
Go to www.loxleycolour.comand from the menu options click on Colour Management
Step 2:
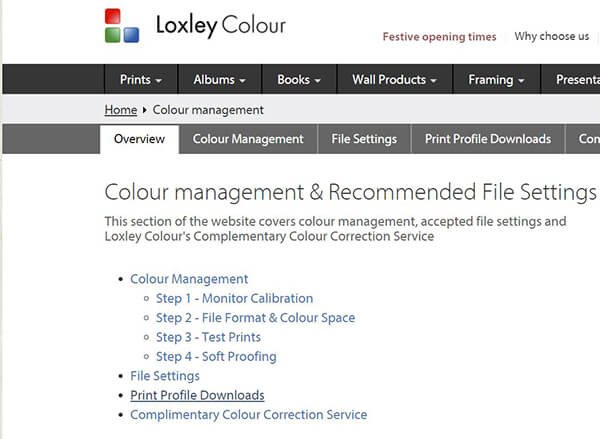
From the next screen, choose the option titled: Print Profile Downloads
Step 3:
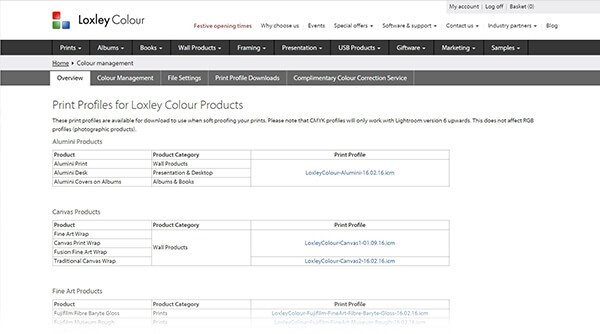
Now you will see listed all of Loxley Colours printing mediums (paper, canvas, metal…) and alongside them the name of the relevant ICC Profile to download.
Once download you then need to put them in the correct place in your computer so that later on the software you use (Lightroom, Photoshop) can see them.
Most times you’ll likely find that simply double-clicking on the profile name will then cause it to install correctly however if that doesn’t work for you here is where you need to place them into:
Windows:
C: > Windows > System32 > Spool > Drivers > Color
Mac:
Macintosh HD > Library > Colorsync > Profiles
So now you’re ready to go for the real process of soft proofing. In the next part, I will show you how to conduct the process of soft proofing in Lightroom.

{{productsCount}}Result
{{item}}
{{item.productWordingTag}}
{{currency}}{{item.finalPrice| numberThousandsCommas | numberDecimalPoint}} Save {{currency}}{{item.saveAmount | numberThousandsCommas | numberDecimalPoint}} Save {{item.savePercent | numberThousandsCommas | numberDecimalPoint}}%
new device price {{currency}}{{item.regularPrice| numberThousandsCommas | numberDecimalPoint}}
{{item}}
{{itemTag.title}}
Max 4 products to compare reached.