Projector
Explore All Projector Series
By Trending Word
4K UHD (3840×2160) Short Throw 2D, Vertical/Horizontal Keystone LED Laser With Android TV With Low Input LagExplore Commercial Projector
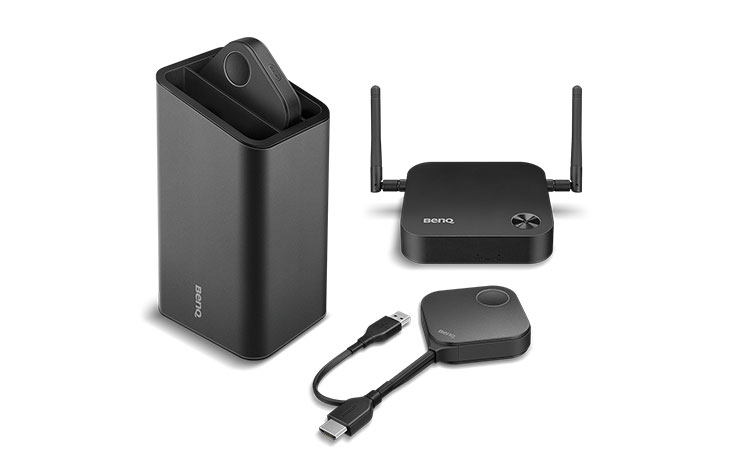
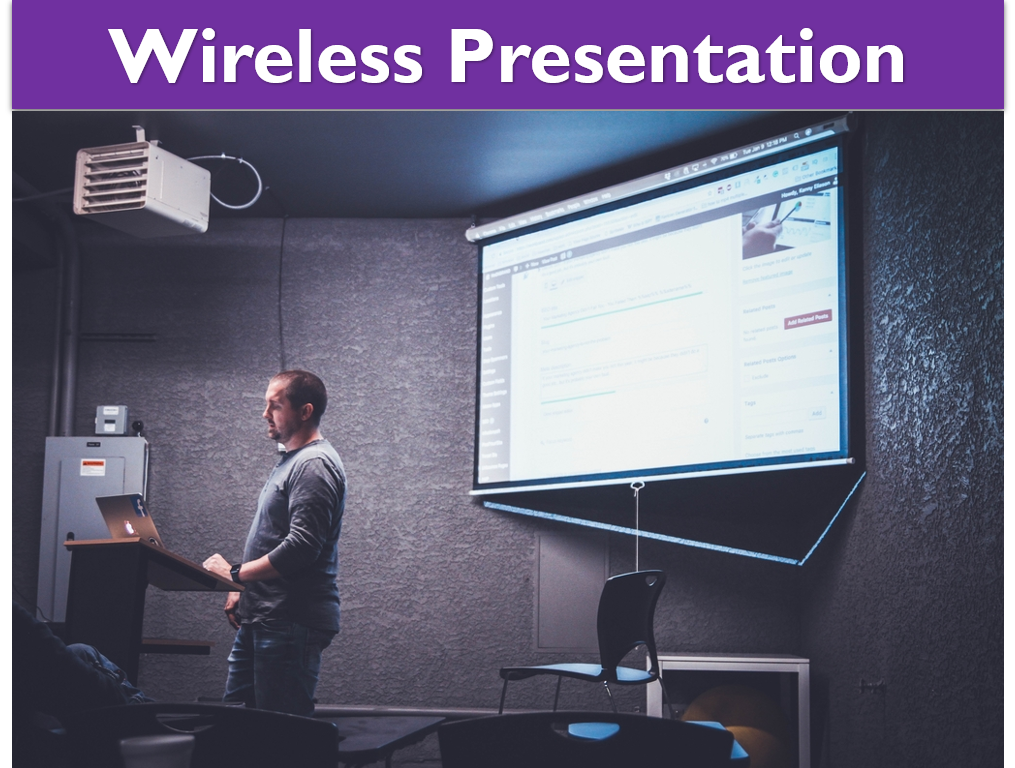
Professional Installation Exhibition & Simulation Small Business & Corporation Education Golf Simulator Wireless Presentation
Monitor
ZOWIE eSports
Golf Simulator
Wireless Presentation