Fine Art and Commercial Photographer / UK
Photographer Mark Wood splits his time between commercial work and teaching, whilst ensuring he makes time for his personal projects. Mark trained as a printmaker, utilizing the traditional techniques of etching and lithography to create fine art print, before moving to digital print in the mid 90’s.
In the world of photography, color space is an essential element. BenQ professional monitor series provide industry standard color space for every photographer to relive the moment. In this piece, BenQ Ambassador Mark Wood will showcase the steps of easily switching between AdobeRGB and sRGB on a BenQ PhotoVue monitor.
BenQ Color Critical Monitors can display 99% of Adobe RGB; this is an essential feature for reliable color managed workflows in photography and print design. However, in our multitasking, interdisciplinary, world we may have to assess the tone and color of our work in other color modes. Color modes include Adobe RGB (ARGB), sRGB, Rec.709, and HDR. If all these acronyms give you a collywobbles, worry not, I’ll try and stick to plain language.
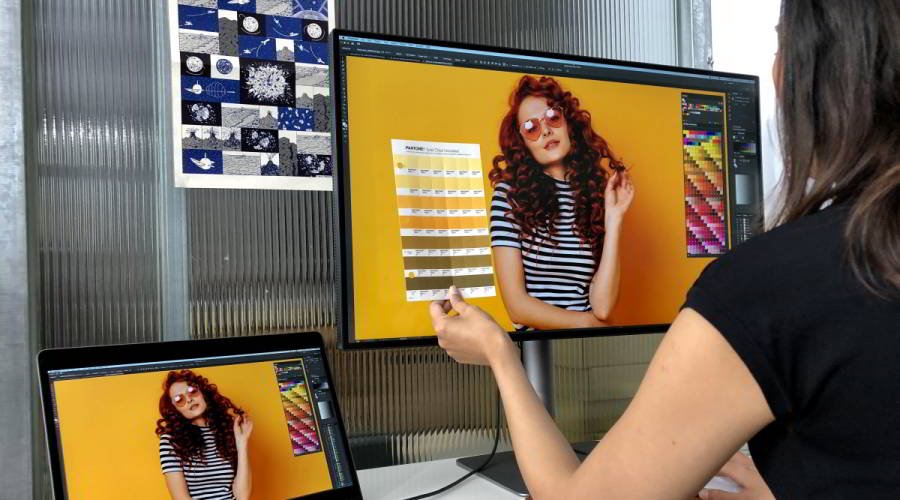
It’s wonderful to have the vast range of tones and colors of ARGB, though if you intend to share your work with an audience using standard monitors and tablet devices, they are likely to be viewing color in the sRGB mode; in plain language most computer users can only experience color in a less vibrant and tonally rich way. Figure 01 shows an emulation of the difference between ARGB and sRGB. Note the top left of the photograph on and around the guitar player’s head. In sRGB the colors are muted.
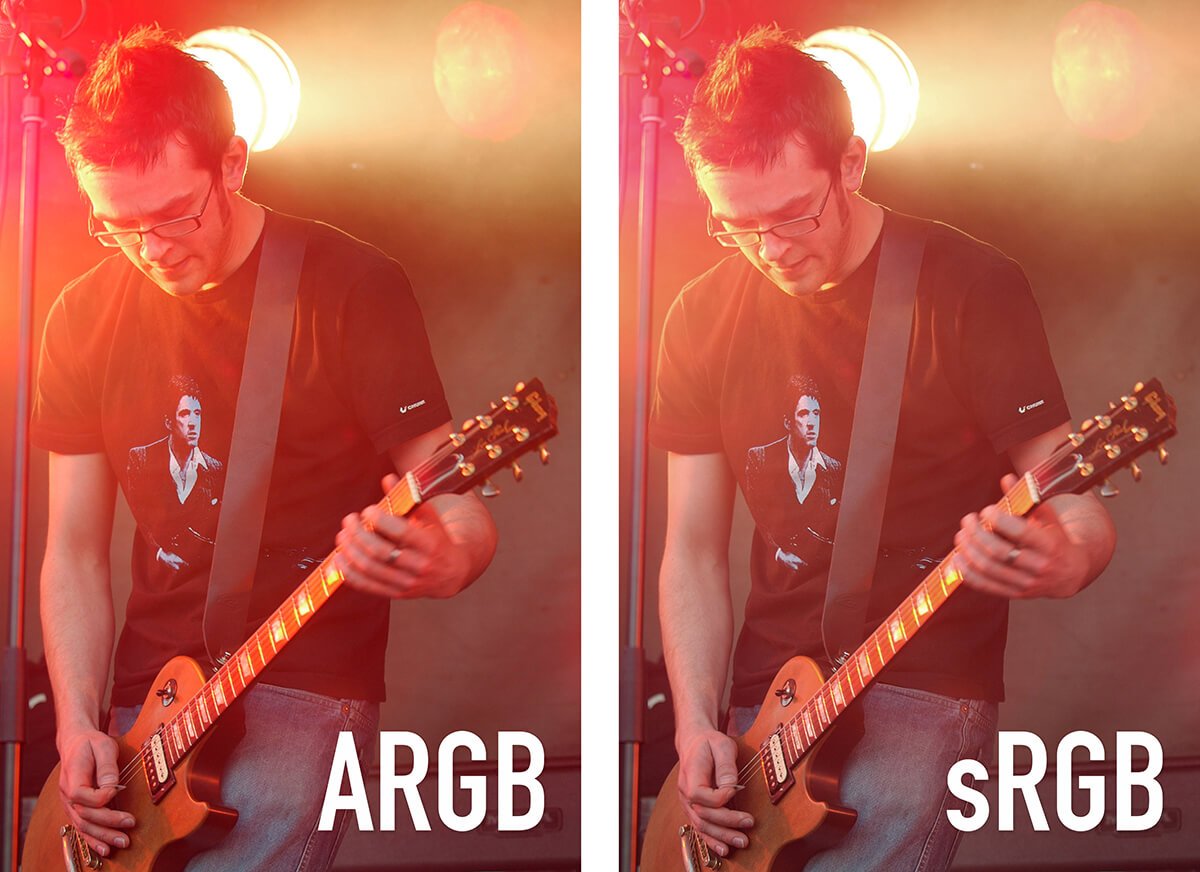
Figure 01: An emulation of the difference between ARGB and sRGB. Note the top left of the photograph on and around the guitar players head. In sRGB the colors are muted.
As a factory default, BenQ monitors lets users swap between ARGB and sRGB color modes with ease. Right out of the box the monitor is tuned to generic settings, but for Color Management to be successful you will need to custom calibrate and profile your BenQ Monitor.
The next section touches on the parts of BenQ’s Palette Master Element Software that are relevant to this article. For my full tutorial on Calibrating Color Critical Displays use this link: "Set Up Color Calibration Setting For Color Management" If you are familiar with using a calibrator, such X-rite i1 Display Pro /Calibrite ColorChecker Display Pro as the then read on.
The aim of this Pro Tip Tutorial is to explain how you can switch between custom calibrated Color Modes, principally between ARGB and sRGB.
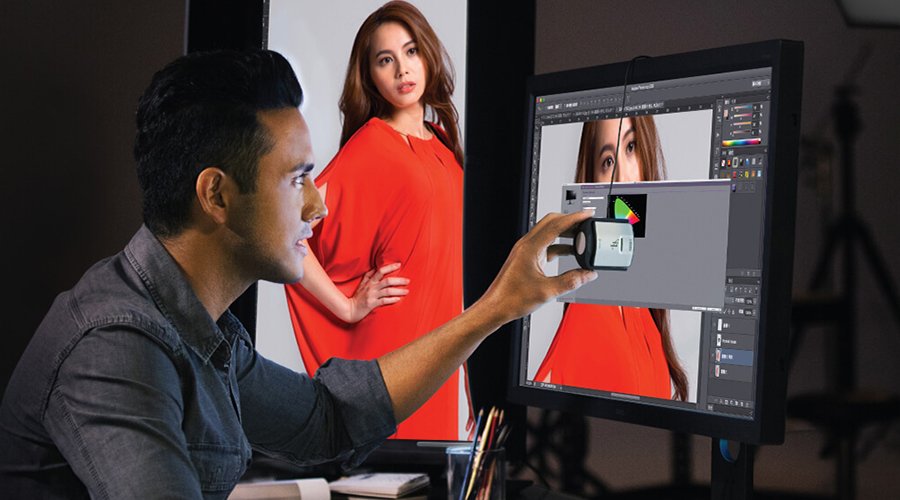
Step1: Connect your calibrator to your monitor and link to your computer. I’m using a BenQ SW320 and an X-rite i1 Display Pro /Calibrite ColorChecker Display Pro.
Step 2: Launch the Palette Master Element software and select the ‘Advanced’ radio button, then click ‘Start’. See Figure 2.
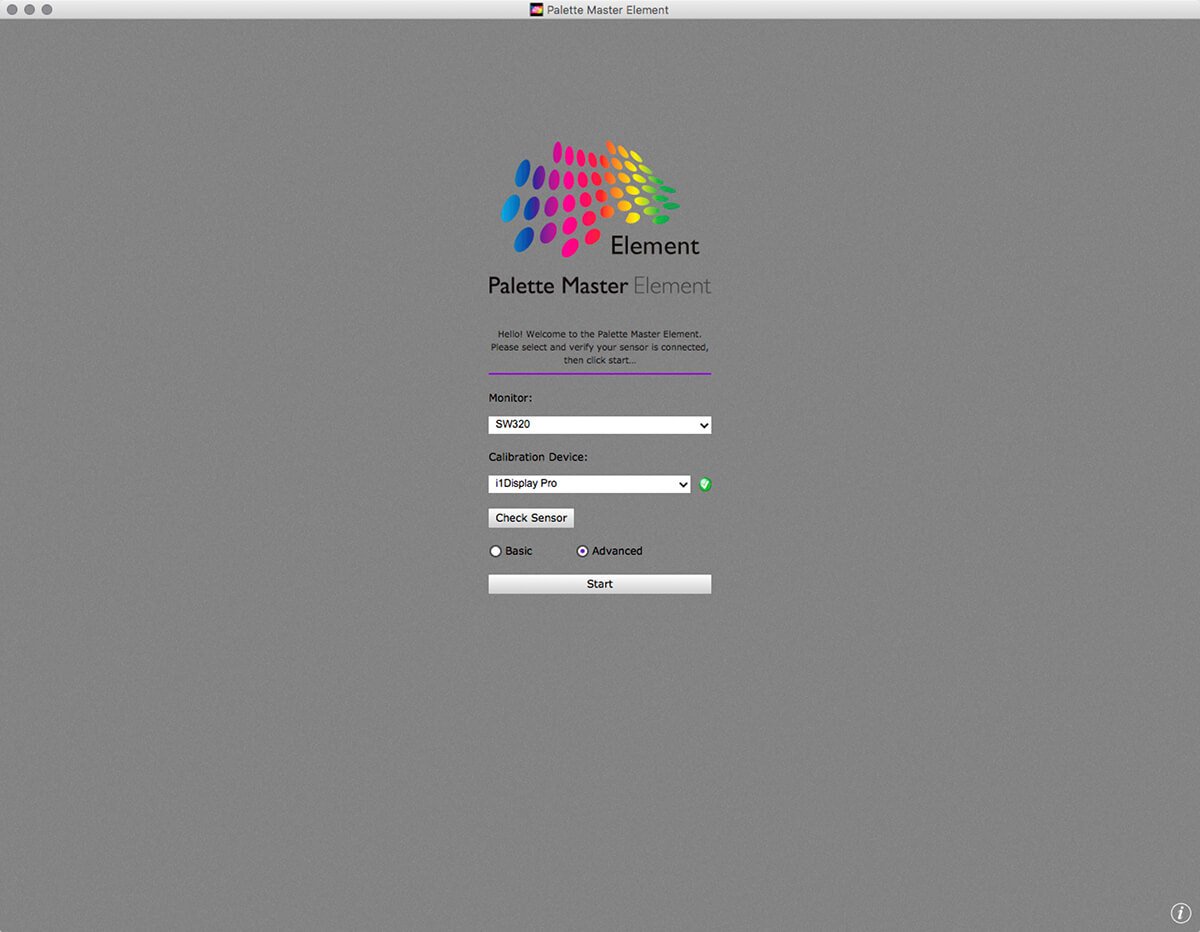
Figure 02: The splash screen for BenQ’s Palette Master Element software.
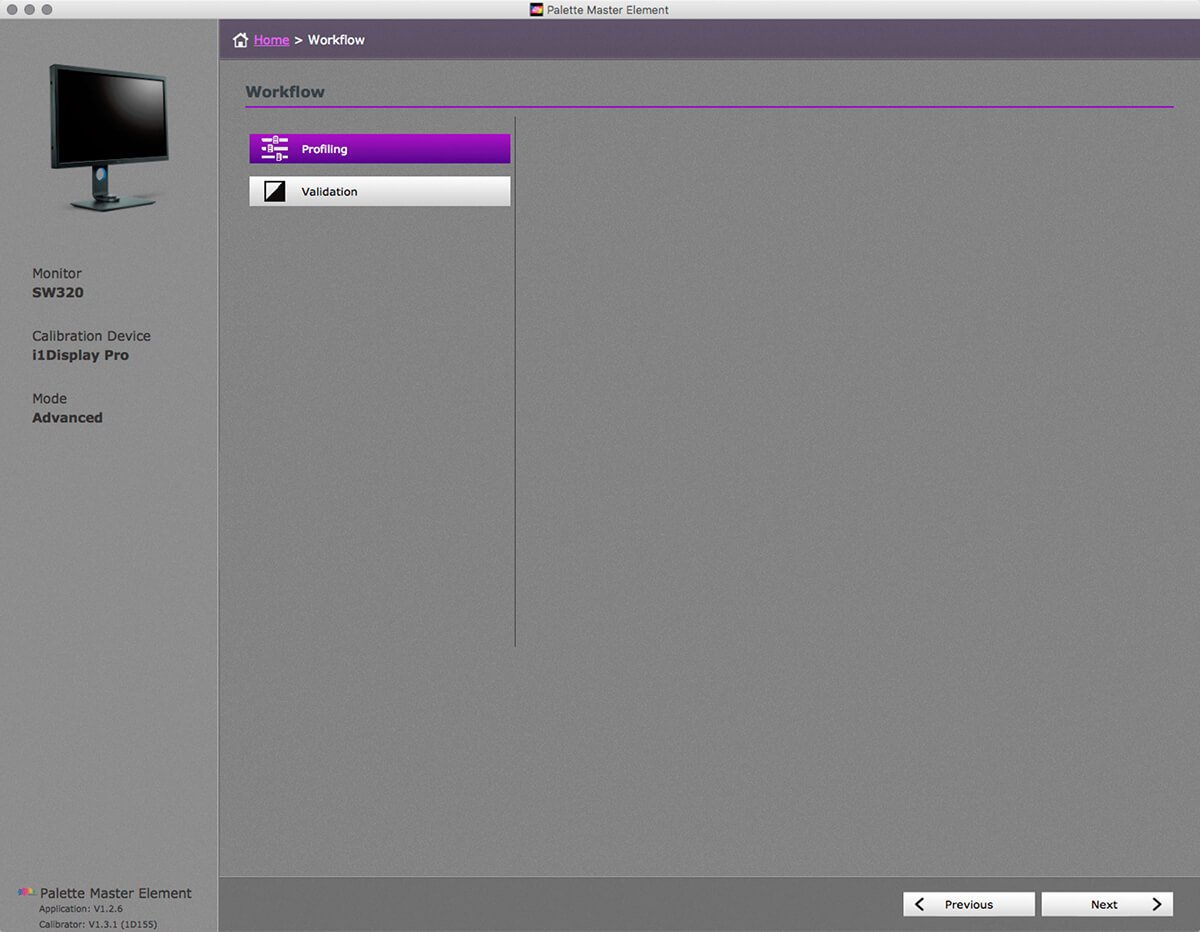
Figure 03: Choose Profiling for Step 3.
Step 3: Choose ‘Profiling’.
Step 4: Set the RGB Primaries to the color mode you want for your first custom calibration. In Figure 04 I have chosen ARGB. In the same window type in a custom Luminance. Then click ‘Next’. There are more details on all of this in my Calibrating Color Critical Displays tutorial.
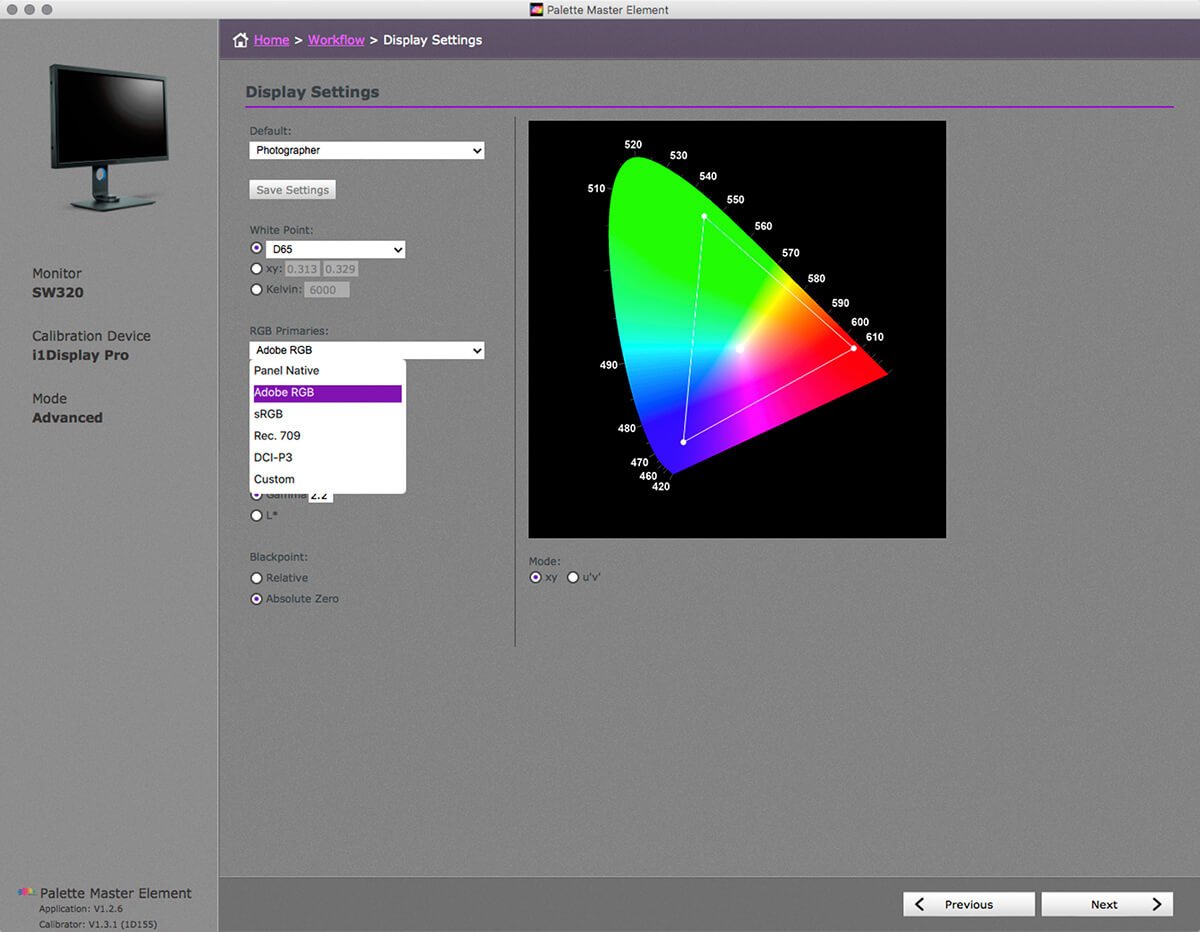
Figure 04: In Step 4 set the RGB Primaries to the color mode you want for your first custom calibration. Here I have chosen ARGB.
Step 5: There are several parameters to set. As this is the first custom calibration choose ‘Calibration 1’, see Figure 05. In addition I select ‘v4’ for Profile Version, ‘16bit-LUT’ for Profile Type, and ‘Large’ for the Patch Set Size. Click ‘Start Measure’.
The calibration process begins and the Palette Master Element software walks you though the remaining steps.
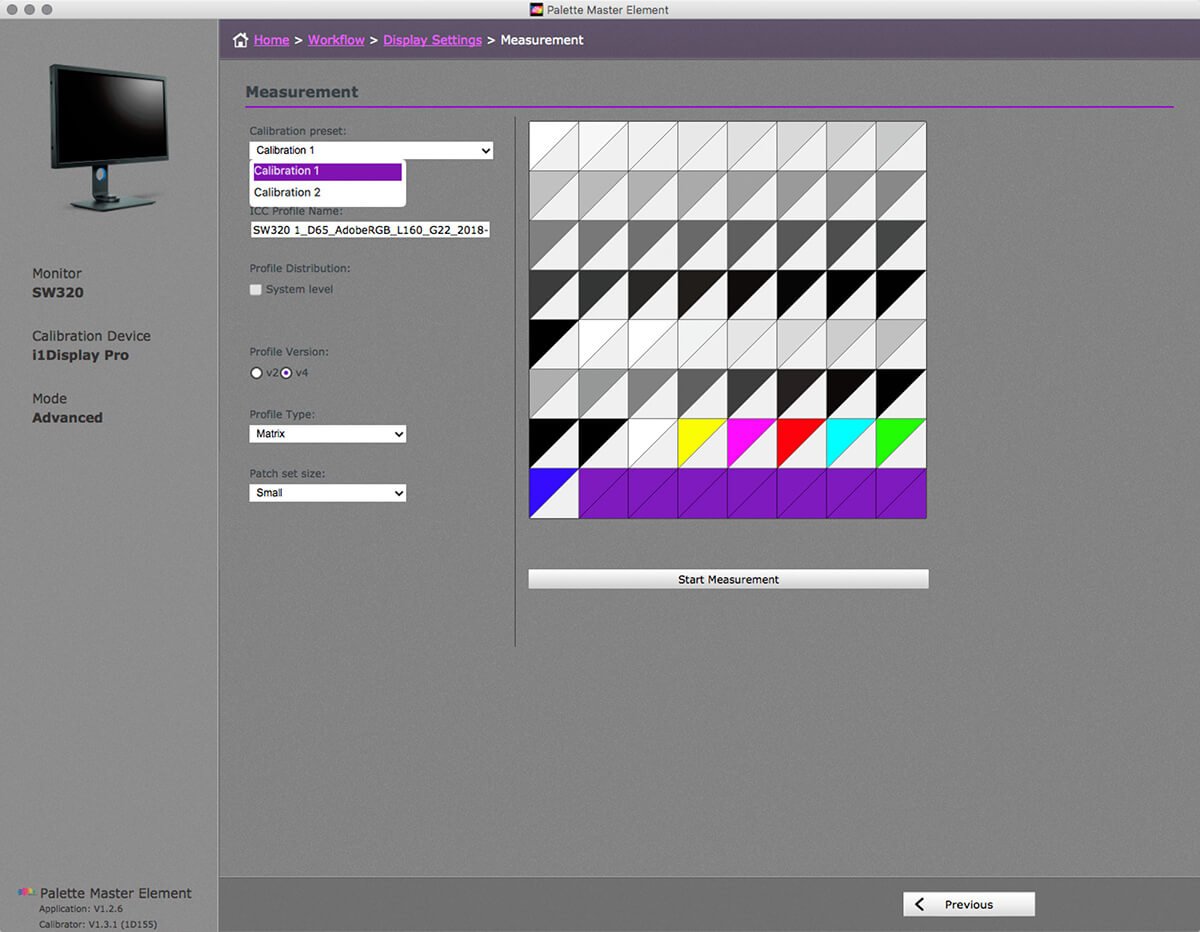
Figure 04: There are several parameters to set. As this is the first custom calibration choose ‘Calibration 1’
Step 6: Once the calibration is complete, you can run the calibration again. Though this time choose Calibration 2, rather than Calibration 1. I use Calibration 2 to make a customised sRGB profile. You might try different luminance values too, for ARGB working I prefer 120cd/m2, for sRGB you might choose 160cd/m2 which is a more common setting for monitors and tablets.
The second calibration, just like the first, will give you a customised and reliable setting. With two calibrations you can swap between color modes; ARGB for fine art and print design, and for photo-labs and onscreen work it would be sRGB.
Step 7: Swapping between custom color modes is easy, you can use the physical buttons on your monitor, or use the OSD HotKey Puck, I’ll explain how to set up the Puck in my next post. To swap between Color Modes using the monitor buttons, click any physical button on the front of your BenQ monitor. A menu appears on screen, it is the On Screen Display or OSD.
Click the physical button under the Color Mode icon, which is second from the left; the six circles forming a circle.
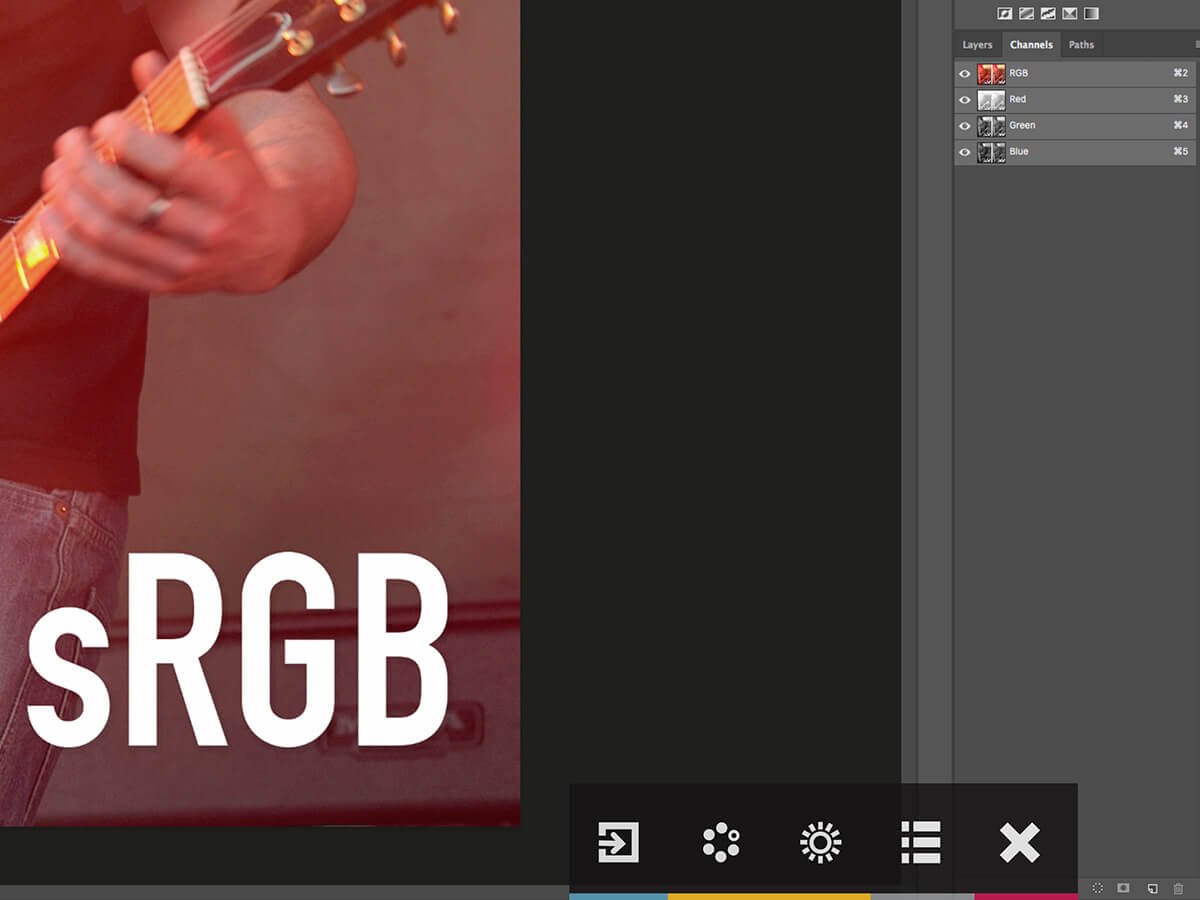
Figure 06: Clicking any physical button on the front of your BenQ Color Critical monitor reveals the On Screen Display or OSD.
Step 8: In the Color Mode menu of the OSD use the physical buttons on your monitor that correspond with the up and down arrows of the OSD to toggle between the two custom Calibrations. As stated in my introduction, if you intend sharing your work with an audience using standard monitors and tablet devices, those users are likely to be viewing color in the sRGB mode. You now have a way of seeing the full potential of your monitor for fine print work and then swapping to a mode similar to the one used on the majority of computer devices.
When you see your photographs and images with a sRGB preview you may want to adjust the tonal contrast and color saturation of your work to maximise its impact for your sRGB using audience. sRGB and Rec.709 are ideal color modes to use for video work.
In Part II I explain how to assign keys on the OSD Hotkey Puck so swapping between Color Modes is even quicker. To close where we began, BenQ Color Critical Monitors can display 99% of Adobe RGB; this is an essential feature for reliable color managed workflows in photography and print design, though for nearly all web design and video work sRGB or Rec.709 would be better.
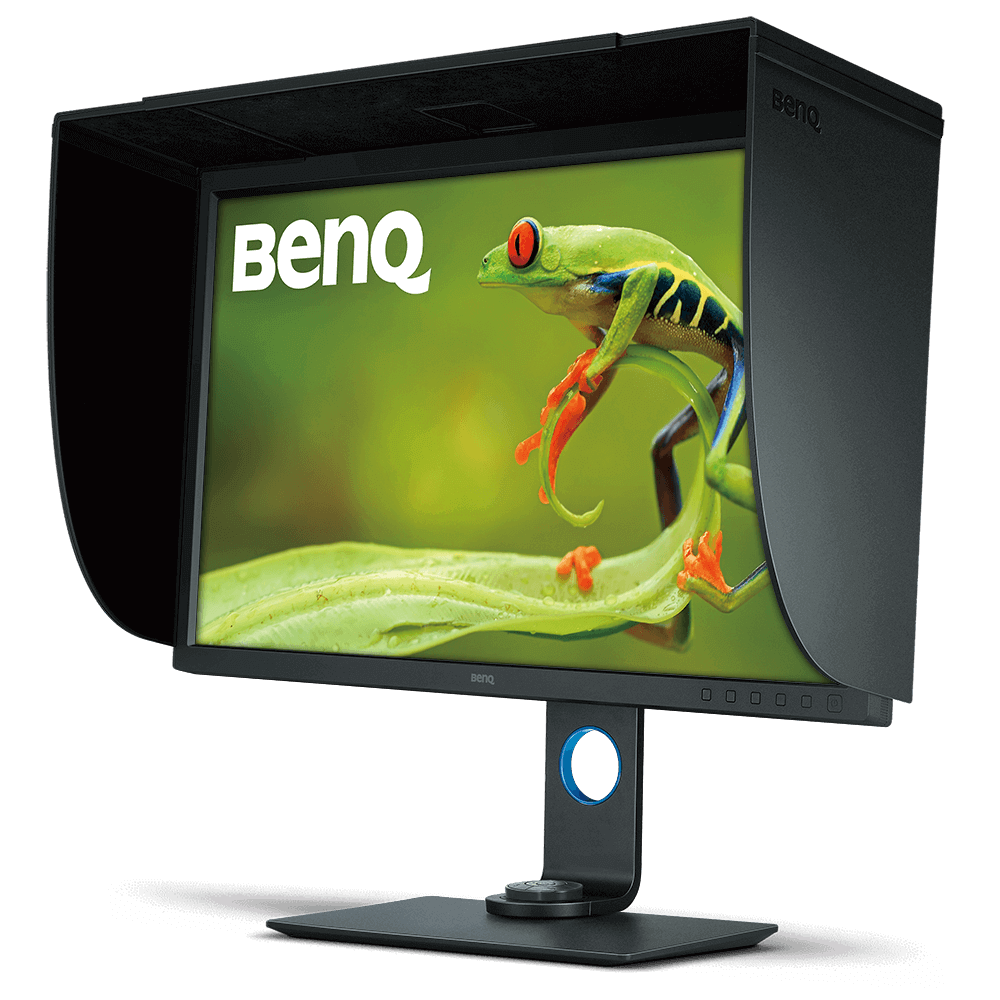
Photographer Monitor with 31.5 inch, Adobe RGB |SW320
- 31.5 Inch 3840 x 2160 UHD Resolution
- 99% Adobe RGB Color Space With IPS technology
- High Dynamic Range (HDR)