Search history
Clear
4 Ways to Present Class Materials to Students on Interactive Displays
- Teacher Tips 'N Tricks
- Interactive Displays for Education
- 2021-08-26
As modern education moves on from traditional paper-based content delivery and steers in the direction of fully digital learning, different teaching materials and methods are required.
This, of course, presents teachers with new possibilities and if executed right, can lead to numerous improvements in terms of student performance and learning efficiency. But, as usual, opportunities come with challenges.
Chances are, as part of digitization and modernization efforts at your school, your classes have been equipped with BenQ Interactive Displays. If that’s the case, this article is for you!
Teachers need to plan curricula with new digital tools, and aim at engagement and interactivity. Countless tools exist for teachers to implement, some ready to use, others calling for extensive customization.
But how exactly do you share the content you prepared to your students in the best way, and maybe even so that students can interact with it rather than take it in passively?

How to Best Share Class Content on Interactive Displays
A BenQ board is one of the best all-in-one tools a modern classroom can have. Not only does it connect to your computer and allows you to share your laptop screen with your students, it can also be a great standalone solution with great whiteboarding and collaborative capabilities. Connect to the internet and your cloud storage, and virtually any resources available to you via your computer are also ready for use on the BenQ board.
So, you’ve prepared your class materials. How to use your BenQ board to present them to your students? Here are 5 ways:
The first two solutions work directly on your interactive display (aka BenQ board) via the internet, while the last two require additional hardware.
Upload Your Files to Cloud Storage and Open Them on a BenQ Interactive Display
BenQ boards are connected to the most popular cloud storage services like Google Drive and Dropbox, and can be configured to connect to your school’s NAS. And the good news is that accessing cloud accounts is super easy.
Thanks to Tap ‘N Teach technology, teachers can log in to their own account in seconds and access private settings and all stored content, as well as all cloud services like Google Drive or Dropbox. You can even ask your IT manager to help configure auto-log in to designated accounts.
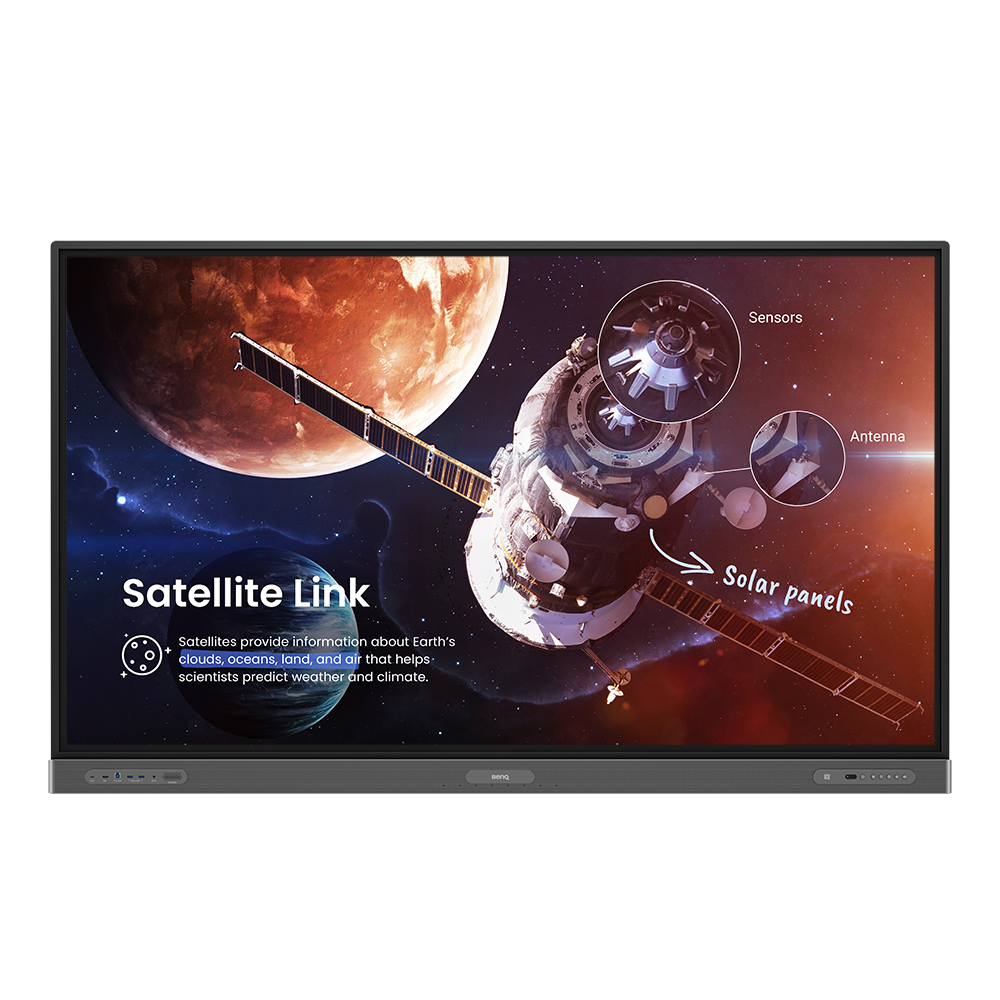
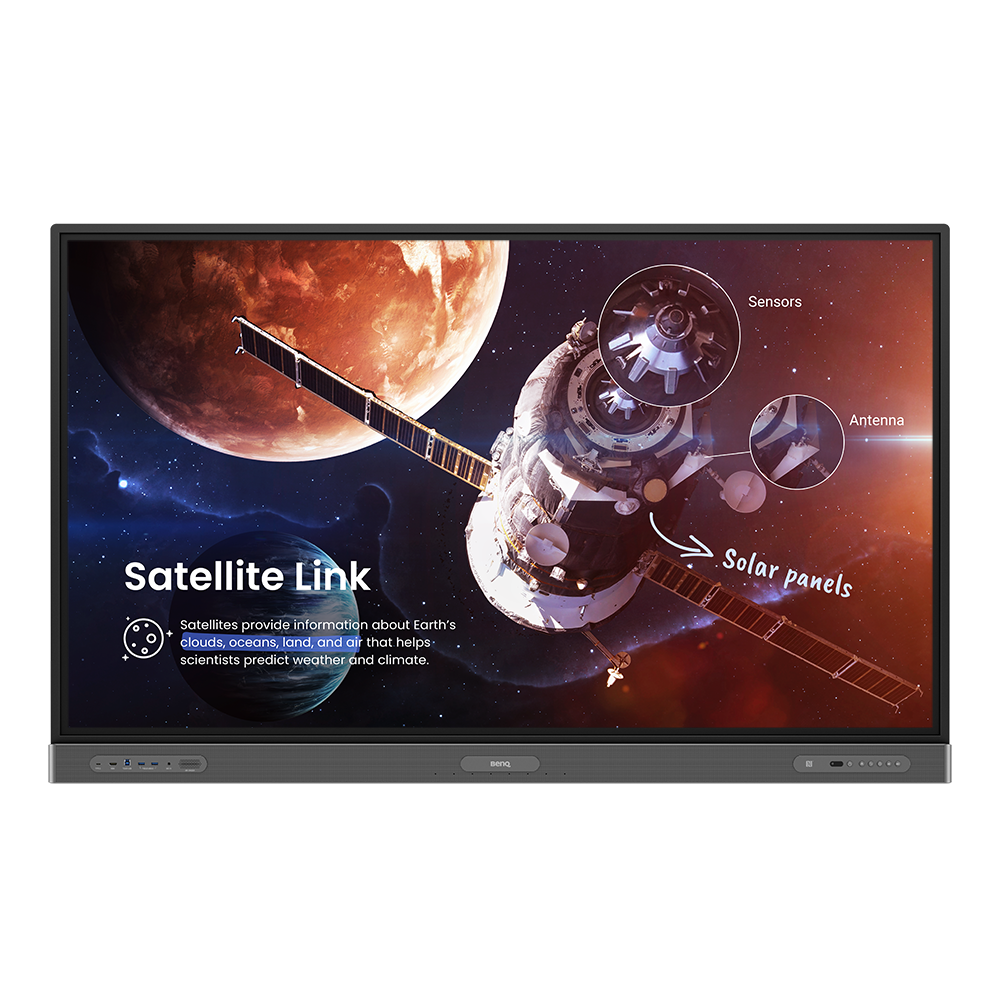
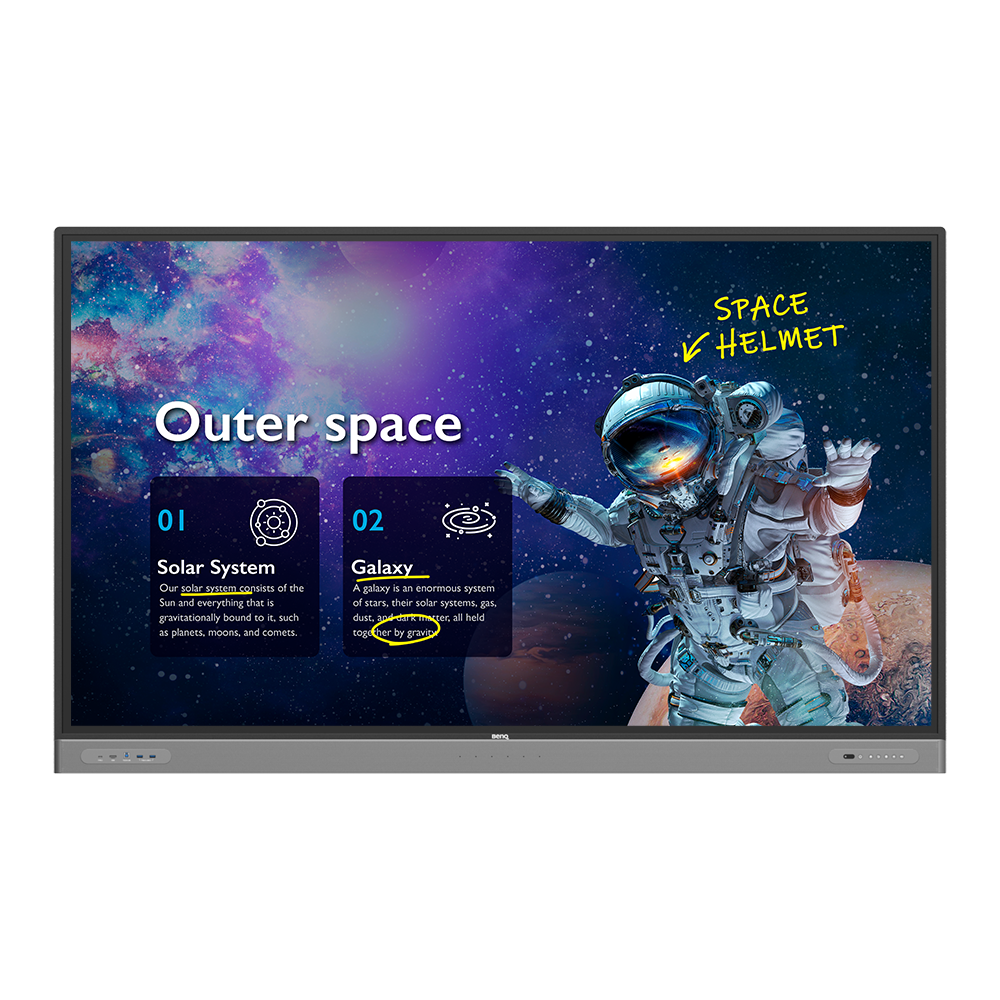
If you’re planning to show your students a PDF document, PowerPoint presentation, or images you’ve saved on your drive, we recommend you open them with EZWrite whiteboarding software. To do so:
1. Open the EZWrite app from the BenQ launcher or via the floating tool (press on the screen for a couple seconds with two fingers simultaneously)
2. In the right-bottom corner, find the “open” icon
3. Select the appropriate storage account
4. Load the document into EZWrite
The big advantage of this option is that EZWrite allows you to draw and annotate your presentations and documents. Think about it as your presentation becoming the background for your BenQ board.
EZWrite includes many helpful functions. Aside from basic marker and eraser tools, teachers can enable features like scoreboard, random pick, split screen, geometry tools, and many others. Moreover, if you enable collaboration mode, your students will also be able to annotate and edit the whiteboard!
With a little imagination and time, you can create great PowerPoint presentations that can become large, online boardgames. Ready-made presentations can also be downloaded directly from the internet.
This is a great step in the direction of gamification. Read on to learn how BenQ Interactive Displays can help you gamify your classroom.
Mirror Computer Screens Wirelessly with InstaShare Software
Sometimes you really need your students to see your laptop screen, where important content is located. Or maybe you have software on your computer that you would like to launch for your students to use?
For content that you cannot open directly on your BenQ board, InstaShare is a great, wireless way to mirror your computer screen to the board. What’s more, once mirrored, you control what is happening on the interactive display. And you can use the stylus that comes with your BenQ board as a mouse for your computer.
To project your computer screen onto a BenQ interactive display:
1. Download and launch the InstaShare app on your device (laptop, tablet, or smartphone)
2. Ensure your device and the BenQ board are connected to the same network
3. Launch the InstaShare app on your BenQ board
4. Find the device code and follow the on-screen instructions to connect your device to the board.
InstaShare 2, the latest version of the app, allows up to nine screens to be displayed at once. You control which device is displayed and whether that device screen can be controlled from the board.
This is a great tool for collaboration, and especially useful during the COVID-19 pandemic as it allows you and students to share content while maintaining social distancing.
Connect a PC to a BenQ Board Using HDMI or USB Type-C
In the past, you may have connected your Windows PC via VGA to a projector and whiteboard setup. However, in the era of high quality 4K, you need HDMI to get content on an interactive flat panel display. And since HDMI usually goes hand in hand with USB, the downside of this is long cables running all over the place, which isn’t just an eyesore and sometimes a pain to manage, but may also present safety concerns like kids and teachers tripping on cables. So while doable, we suggest aiming for wireless connectivity.
To do so:
1. Plug your HDMI cable into your computer's output HDMI socket (might be marked "OUT")
2. Plug your HDMI cable into your BenQ Board's input HDMI socket (you can find the number of the slot above the socket)
3. Set your computer's screen mirroring to "Duplicate" or "Extend"
4. On your BenQ Display, select the appropriate HDMI source number
You can replicate the same process to connect your PC to the Interactive Display via USB Type-C. Take same steps as in case of HDMI, except select USB-C ports instead of HDMI. Newest BenQ Interactive Displays feature front-facing HDMI and USB-C ports that make it more convenient and simple to complete the task.
Install a Slot-In Windows Computer in Your Interactive Display
You may want to look for a solution such as a Windows open pluggable specification module, or OPS module. All you need is to install it directly into the dedicated slot on the interactive display.
This enables you to log into Windows right from the display, just like you would from your laptop. The panel then acts like a giant touchscreen tablet, running Windows.
This is, however, a costly solution, and one that might require additional training, so it’s not as straightforward as InstaShare and InstaShow.
What Is the Best Option for Your Classroom?
We believe that to best leverage the advantages of having an interactive display in your classroom, you should make use of its whiteboarding features with EZWrite. Not only will this be the most engaging and interactive learning experience for your students, you will also not be tied to your desk and become free to conduct your class and interact with content in a natural manner, as could your students!
But most importantly, uploading content to cloud storage, which you likely already do when preparing for class, is the best way to quickly and seamlessly access teaching materials and create a truly inspiring learning environment for your students with the help of BenQ interactive displays. Access, connectivity, and quick sharing. Those are the foundations of classes made for the all-digital era of education.
Teacher Tips 'N Tricks
-
Trends & Knowledge
[Teacher Tips 'N Tricks] How to Use BenQ Interactive Display for Remote Teaching
Learn what you need to prepare and what steps to take to connect with your remote students in engaging way with BenQ Interactive Displays
2021.08.06 -
Trends & Knowledge
[Teacher Tips 'N Tricks] How to Digitize Your Classroom with BenQ Interactive Displays
A push for digitization of classrooms is a strong trend. Are you wondering what steps you need to take to achieve that goal? Read on to learn more.
2021.07.30 -
Trends & Knowledge
[Teacher Tips 'N Tricks] 3 Stages of Smart Classrooms with Interactive Displays
Learn how to reach the maximum educational potential of your classroom with the help of Interactive Displays from BenQ
2021.07.30
Talk to an Expert
Get in touch with our team to learn more about our germ-resistant displays and our education solutions.

ClassroomCare® Interactive Display
Learn more about germ-resistant interactive displays that enable modern, immersive, and engaging learning-
also in blended learning scenarios!