Search history
Clear
The Vital Role Depth of Field Plays in Creating a Successful Flight Simulator
- BenQ
- 2021-11-12

When building a successful flight simulator, the end goal is to provide the pilot with visuals that mirror what they would encounter in a real-world situation, including the ability to recreate accurate perspectives and sight lines, all in order to fully immerse them in the scenario they are rehearsing. To accomplish this, recent simulators have not only implemented components such as curved screens, but have also sought to push the limits of the screen’s curvature.
What this entails for designers when they consider the projectors to use in such simulators (i.e., projectors that support projection on curved screens), is that they will need to think beyond the specs which most are familiar with when purchasing a projector, such as brightness, color performance, resolution, and so on. Designers will need to also take into account aspects related to the space that the simulator will occupy including room size, the overall number of screens, installation location and position (height, angle, etc.), since these factors influence the effectiveness of the edge-blending process. In the midst of all these factors, one projector spec plays an outsized role in the level of success for the entire endeavor, as it is the one factor that determines from the outset whether the images projected on a dome screen are clear enough to fully engage the pilot during their training: Depth of Field (DOF).
What is Depth of Field? What Depth of Field Value is Best for a Flight Simulator Projector?
Depth of field refers to the distance between the nearest point in front of and the farthest point behind the projector’s focal plane where it can still produce an image that is considered in focus. To flip this definition around, all images produced by a projector within its DOF can be seen clearly by the viewer, while all images outside of it will appear blurry.

The HFOV and VFOV produce a concavity where the focus point for each point along the screen is different
As seen in the image above, when a flight simulator uses a dome screen, the screen will feature curvature along both the HFOV and the VFOV, which produces a concavity that the projector and its image has to deal with since the focus point will be different for each point along the screen. So as one moves from the outer edges of the projected image inwards, the screen moves farther away from the lens, producing the “depth” which a projector’s DOF has to incorporate. This is especially true for screens with a higher level of curvature.
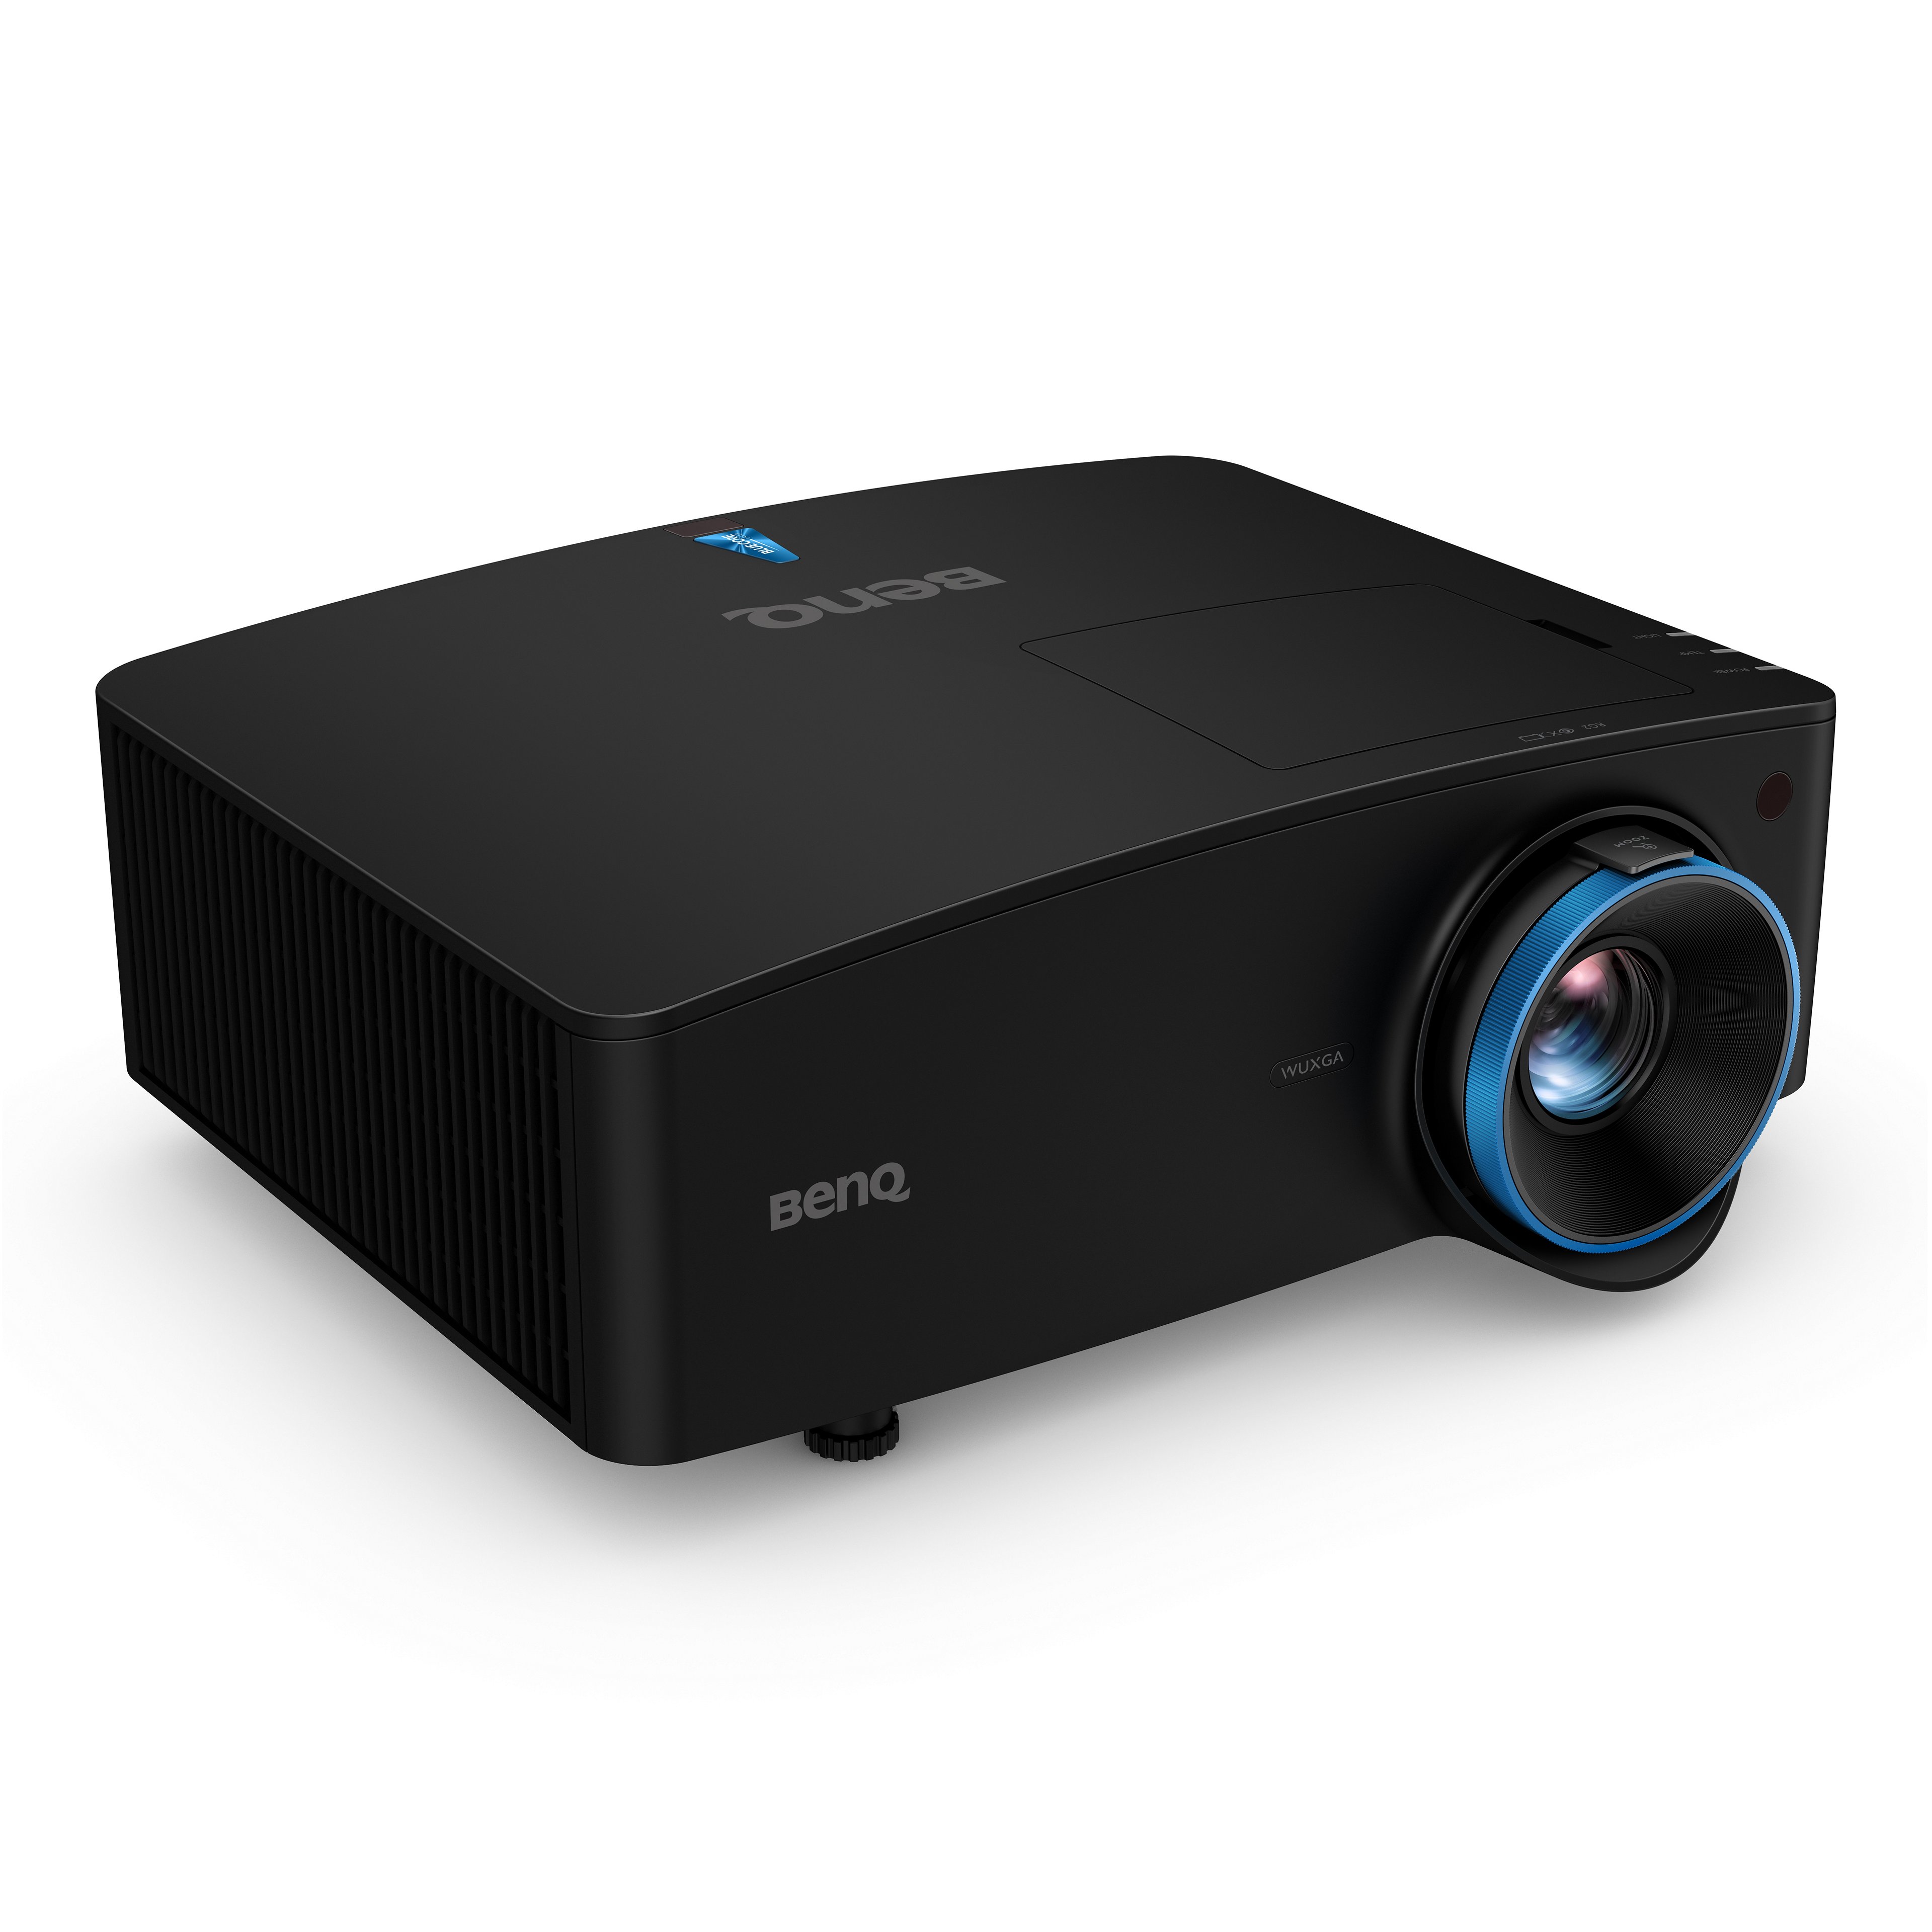
This idea can be more easily grasped using the following demonstration where a room featuring a screen with a 220-degree HFOV and 40-degree VFOV and three LU951ST short-throw projectors from BenQ’s Installation series of projectors is undergoing the edge-blending process. In this type of situation, calculating the most ideal DOF becomes a crucial step in the design process.
In this setup the middle projector projects a grid with a laser spirit level positioned in the center. Once the spirit level’s height is adjusted so that it is level with the center of the screen’s curvature, the spirit level is moved backwards until its horizontal line covers the distance between left and right edges of the grid. Then, as seen in the image below, the projector switches to a word pattern to check if the image is focused in all areas, including at the corners. At this point placing a laser range finder atop the laser spirit level allows you to calculate the depth of field, which as seen in the final image is essentially 0.8 m. So, in effect, if you want to project a fully focused image on a screen with a 220-degree HFOV, your projector should have a depth of field value of at least 0.8 m.

A word pattern is used to check if the image is focused in all areas for depth of field calculation purposes
What Other Features Should You Look for to Optimize the Image?
Outside of the discussion above, many designers will encounter issues, such as obstructions or spatial limitations, related to the simulator’s setting which will prevent them from being able to install their projectors in the most ideal location for projection. Whether it be dealing with ceiling height, plumbing, beams, pillars, or other structural items, the adjustments made to the position of the projectors in order to resolve such issues tend to create either oversized or undersized images, and/or overlaps in the edge-blending areas of the projected images, all of which make the integration of multiple images into a symmetrical whole that much more difficult. In instances like this, having a projector with zoom ratio and lens shift features will help easily resolve such setting-related issues.

Zoom adjusts the size of the image

Lens shift adjusts the position of the image
Examples to See Why Zoom Ratio and Lens Shift Matter
How Zoom Ratio Ensures a Perfect Fit for the Image
Using BenQ’s LU951ST Short-Throw Pro-AV projector in a hypothetical situation, if the installation height is 240 cm and the projected image (diagonal) needs to be 110 inch, you can calculate via BenQ Projector Calculator that with a zoom ratio of 0.81 to 0.89 the projector can be installed with a distance of 191.9 to 210.9 cm from the projection screen and still maintain a 110 in image.
What this means is that with a fixed projected image size and a variable zoom ratio, you will have a near and far boundary between which the projector can be installed and still maintain the given image size, in other words a buffer zone, with a further corollary that the higher zoom ratio, the larger the buffer zone you have to work with.

Use the installation height and target projected image size to calculate the installation distance via BenQ Projector Calculator
How Lens Shift Gives You Flexibility with the Image Position
Keeping the same conditions described above, when installed at the distance calculated by BenQ Projection Calculator, the LU951ST with its ±60% vertical lens shift range and ±23% horizontal range allows for a maximum vertical height of ±88.8cm and maximum horizontal distance of ±54.5 cm for you to move the image, giving you further flexibility in terms of installation.
Conclusion
The following are models from BenQ’s Installation series of projectors (along with their specs) that feature good depth of field values which we recommend for flight simulators.
Model |
Dimensions (W*H*D) |
Resolution |
Brightness | Zoom Ratio | Throw Ratio | Lens Shift |
Model LU960 | Dimensions (W*H*D) 479.6 x182.8 x 402 mm | Resolution 1920x1200 | Brightness 5500 lumens | Zoom Ratio 1.5X | Throw Ratio 1.127~1.697 | Lens Shift Vertical : ±62% Horizontal : ±24% |
Model LU960ST | Dimensions (W*H*D) 480 x402 x176.3 mm | Resolution 1920x1200 | Brightness 5500 lumens | Zoom Ratio 1.1X | Throw Ratio 0.77~0.84 | Lens Shift Vertical : ±62% Horizontal : ±24% |
Model LU951ST | Dimensions (W*H*D) 490 x159 x380 mm | Resolution 1920x1200 | Brightness 5000 lumens | Zoom Ratio 1.1X | Throw Ratio 0.81~0.89 | Lens Shift Vertical : ±60% Horizontal : ±23% |
Model LU935ST | Dimensions (W*H*D) 416 x166 x 351 mm | Resolution 1920x1200 | Brightness 5500 lumens | Zoom Ratio 1.1X | Throw Ratio 0.81~0.89 | Lens Shift Vertical : ±60% Horizontal : ±23% |
Model LK953ST | Dimensions (W*H*D) 490 x159 x380 mm | Resolution 3840x2160 | Brightness 5000 lumens | Zoom Ratio 1.1X | Throw Ratio 0.81~0.89 | Lens Shift Vertical : ±60% Horizontal : ±23% |
Model LK936ST | Dimensions (W*H*D) 416 x166 x 351 mm | Resolution 3840x2160 | Brightness 5100 lumens | Zoom Ratio 1.1X | Throw Ratio 0.81~0.89 | Lens Shift Vertical : ±60% Horizontal : ±23% |
You Might Also Like
-
Trends & Knowledge
How White Balance Adjustment Enables the Immersive Quality of Simulation Projection
Deploying multiple projectors to create a realistic wrap-around image canvas demands simulator installers conquer the challenge of White Balance Adjustment to achieve a seamless image ─ BenQ has the answer with its Optical and Colour Algorithm.
2021.08.16 -
Trends & Knowledge
DLP or 3LCD Projectors for Large Venues? The Difference is Dustproof Technology
BenQ is the world’s #1 DLP projector manufacturer. To achieve further advances in projector image quality, stability, and reliability, BenQ has been focusing on dustproof technology.
2019.07.02 -
Trends & Knowledge
What is a Laser Projector?
2020.04.18