Search history
Clear
Application of Image Resizing function for projector installation
- BenQ
- 2019-09-26
When buying a projector, the most important specs to consider aside from brightness, color, resolution and I/O etc. would be zoom ratio, focus, range, offset and lens shift. Prior to purchase, you need to take venue size and installation location into consideration, and pick a projector with matching lens specifications. In practice however, picking your top choice might not be feasible due to spec requirements or spec variances, common scenarios include insufficient lens shift causing projection displacement, ceiling mount height mismatch, inadequate focal length range etc. Or it can be an ideal match but too expensive for your budget. Even if you managed to find and installed a projector with suitable specs, you still can't avoid those problems entirely if it happened to be just a bare fit with the spec variances. Installation compatibility can be greatly improved if projectors can circumvent these hardware and variance issues through other means. In the following, we introduce some common digital image adjustment features for installation.
There're three functions in Digital resizing, which are Digital Shrink, Digital Shift and Blanking. Digital Shrink provides image downscaling, Digital Shift performs image displacement, while Blanking offers image cropping. Here are some scenarios for demonstration.
Case 1:
As seen below, when the projection is too large for the white screen even with Zoom adjustments, you can use Digital Shrink to scale it down by 0.05X.


Case 2:
As seen below, when the projection exceeds screen size with a directional displacement, using only Digital Shrink will not be enough to make the two fit, you would need Digital Shift to move the projection into the screen.


Digital Shrink and Digital Shift use image downscaling and displacement so that the projection matches the screen. The downside is that image shrinkage and compression might result in loss of detail. A proper installation therefore cannot fully rely on these digital adjustments, instead, it should prioritize correct calculation of optical specification, projection size and coordinates, with Digital Shrink and Shift as support to optimize the reasonable installation.
Case 3:
If you have a higher demand on image quality, and do not want the loss of detail due to Digital Shrink, consider using Blanking to crop your image. It is recommended to do cropping without affecting normal access (ex. preserve functional menus under PC signal), or try to sacrifice as little viewing region as possible.


How to apply different Image Resizing setting for different requirement?
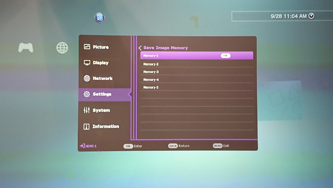
From these Cases, we know that through varying combinations of Digital Shrink, Digital Shift and Blanking configurations, users will be able to accommodate for different usage scenarios and resolution requirements, making position and size adjustments. Pairing that with Image Memory which saves your configurations as presets, you can simply apply different presets to meet different application requirements.
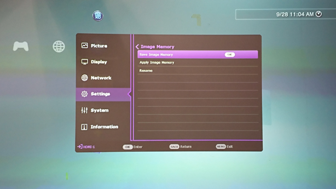
Save different presets, increase flexibility.
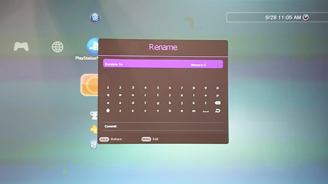
Name each preset so that they can be easily identified and applied by users