{{item.name}}
Price: {{currency}}{{item.price| numberThousandsCommas | numberDecimalPoint}}
Qty: {{item.amount}}


There are many reasons why golfers might want a full golf simulator setup in their garages. For starters, many people don’t have enough space in their home proper to swing a golf club without fear of hitting something other than the ball. Garages are open spaces that can be cleared of clutter if needed, and therefore offer an excellent choice for the setup of a golf simulator.
If you’d like help planning your garage golf sim setup, feel free to reach out to us here for personalized support.
When it comes to a garage golf sim setup, space is king. Unless you have a three-car super large garage, keep in mind space may still prove limited, especially if you plan on continuing to use your garage for vehicle storage. Basically, your garage still has to conform to the width, height, and depth requirements that any other room needs if you wish to use it for a golf simulator. It's helpful to swing your longest club in the area where you will be hitting. Test out the space by taking a few swings with your golf clubs. Your garage will need to be at least 9ft high x 10ft wide x 14ft deep to house the equipment necessary, including impact screens, launch monitors, projectors, the PC running the simulator software, curtains, turf, and more.
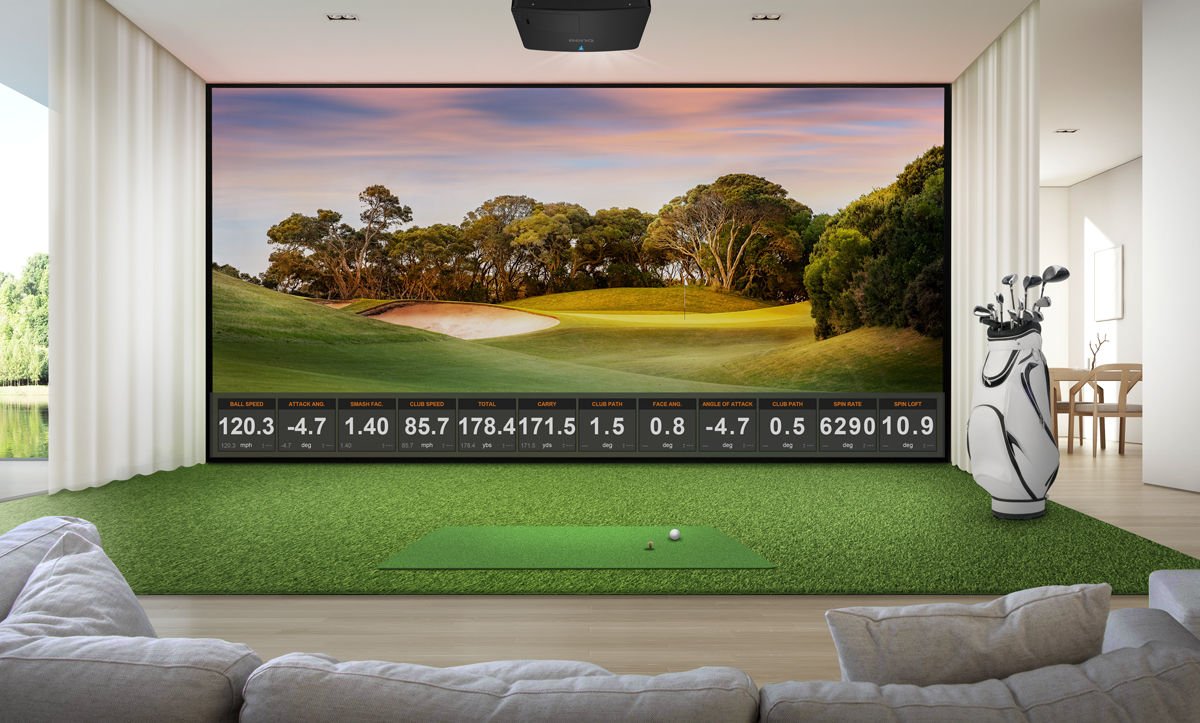
Beyond garage dimensions, the projector’s throw ratio also plays a role in whether your garage works for a simulator. A short throw between 0.69 and 0.89 is often the sweet spot, keeping the hitting zone clear and shadow-free. This makes swinging more comfortable and ensures a smoother golf simulation experience.
When measuring garage space, if you plan to use an overhead mounted launch monitor and/or ceiling mount your projector, you should proceed with care. If your garage is using an overhead door, lookout for headroom or clearance, so that the door doesn’t collide with the ceiling mounted projector. Overhead garage door tracks often sit 1-2 ft lower than the ceiling, which means you should measure ceiling clearance from the floor to the lowest point of the door tracks. Furthermore, occasionally a garage may have a sloped roof or there may be electronics placed high up, such as a sizeable terminal for garage door controls. These may also be restrictions that directly limit the space you can use.
Garage space is usually limited compared to a large living room, but as we said, the advantage is that garages can be cleared of obstructions more easily. Camera-based launch monitors, such as SkyTrak, ForeSight, and Uneekor can often be used in smaller spaces, compared to radar-based launch monitors. This is because they only need to view the ball’s starting position and forward of that and take a series of super high speed photos of your ball at impact and then use them to simulate your shot.
For the projector that brings the experience to life on screen, usually you will need a short throw projector with throw ratios ranging from 0.5 to 1.1 to help you put the projector where it is needed to fill the screen while being mounted safely outside the hitting area (and without casting a shadow). The short throw design can fulfill installation need in a more limited space. Also, projectors that offer vertical and horizontal lens shift help to align the image relative to the screen, or if they have keystone adjustment to square off the picture when the projector is placed off-center.
Additionally, a retractable hitting screen is an option. If the screen is fully retractable, it allows you to deploy and take it down as needed. If you need to make room for other things simply retract the screen, roll up the turf, and return your garage back to its original form.
When setting up a golf sim in your garage, there are a few more things you’ll need to keep in mind, so here are some tips to help give you a better golfing experience.
It is important to keep light off the screen while you are illuminating the playing area. Advances in LED and other lighting technologies make this easier and more affordable than in the past. These lights can help you put light where you want it for a bright playing area, while keeping your projected image looking spectacular. Make sure you get a model that dims and has an adjustable lighting angle, so you can not only control where the light goes but how bright you want it.
Every shot causes noise, depending on your impact screen setup and how close your hitting area is from the screen. One of the most effective ways of soundproofing your simulator room may be to stop the sound waves before they ever reach the walls. Installing golf simulator side panels and enclosures does just that. An enclosure will not only keep sound emissions down but also help prevent damage from any biffed shots or ricocheted balls.
The whole idea of a golf simulator is that you can use it all year round. Because most garages are not climate-controlled like the interior of a home, they are vulnerable to temperature and humidity changes outdoors. You can consider adequate heating in a garage golf simulator by insulating the garage walls and all around the garage door. You can use thermal curtains in golf simulators, deploy portable garage heaters, or install radiators. Beyond this, you might want to install a mini-split AC to heat and cool your garage as needed, or set up a regular AC unit if you only experience high temperatures. Also, humidity is very important and if your location is susceptible to high humidity, using a dehumidifier when playing in the garage may be needed.
We hope this has given you a helpful insight into what to consider when thinking about setting up your golf simulator in a garage. It’s quite different from putting a setup inside your home, so do proceed with care!
BenQ has trained staff to help you find the perfect golf simulator projector – within your room size and budget. To help you make the best decision, you can reach out to one of our experts to set up anything from a chat to a complete online demo, to help you find the right projector for your needs.

Recommended Products
{{item.productWordingTag}}
{{currency}}{{item.finalPrice| numberThousandsCommas | numberDecimalPoint}} Save {{currency}}{{item.saveAmount | numberThousandsCommas | numberDecimalPoint}} Save {{item.savePercent | numberThousandsCommas | numberDecimalPoint}}%
new device price{{currency}}{{item.regularPrice| numberThousandsCommas | numberDecimalPoint}}