{{item.name}}
Price: {{currency}}{{item.price| numberThousandsCommas | numberDecimalPoint}}
Qty: {{item.amount}}
By Scenario
BenQ 4K Home Cinema in Middle East Sports Watching Video Streaming Home Entertainment ProjectorsBy Trending Word
4K UHD (3840×2160) Short Throw 2D, Vertical/Horizontal Keystone LED Laser With Android TV With Low Input LagExplore Commercial Projector
Professional Installation Exhibition & Simulation Small Business & Corporation Education Golf SimulatorProjector
Monitor
Lighting
Interactive Display | Signage
In the previous article “What is HDR? The best image, close to reality”, we introduced some fundamental understanding of the “HDR” trend in recent years. We also covered the differences between HDR standards and the key points to keep in mind when filming HDR videos. Next, we are about to discuss filming in the post-production phase to understand how to delicately create good images with great textures that match HDR standards.
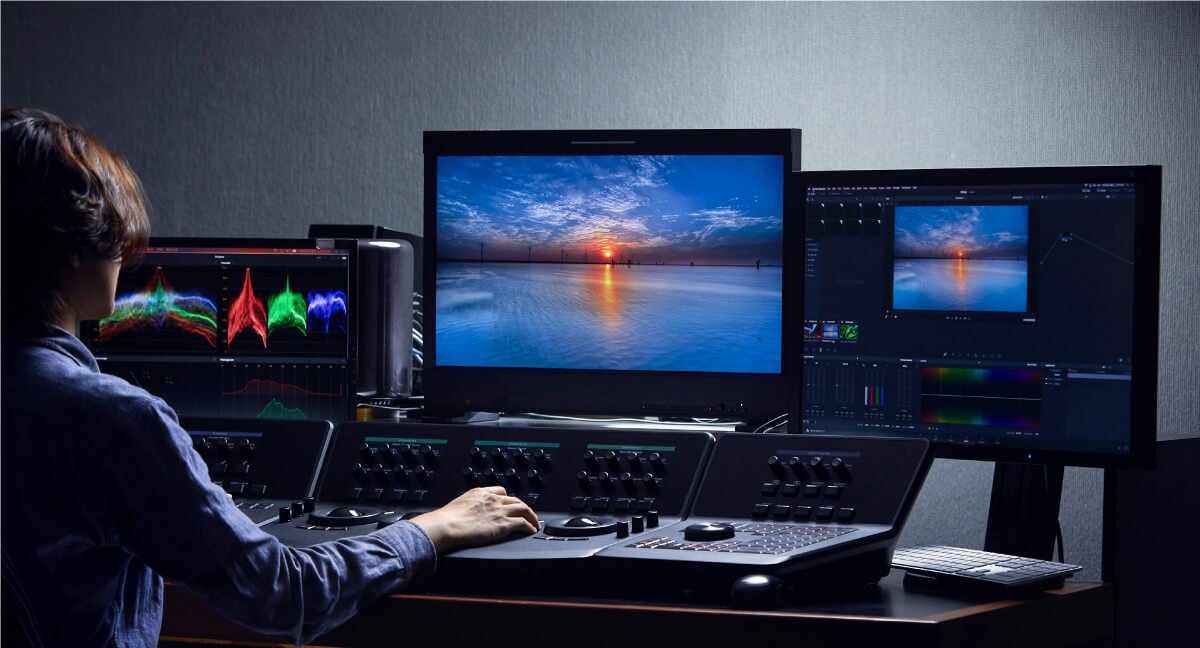
A colorist working in color grading suite
We will start from color grading in post-production, analyze what we need to take care of when doing color grading for HDR, the difference between that and conventional color grading, the basic workflow of color grading, and display devices required for the work. All these steps and aspects of understanding will affect how images are shown on the displays.
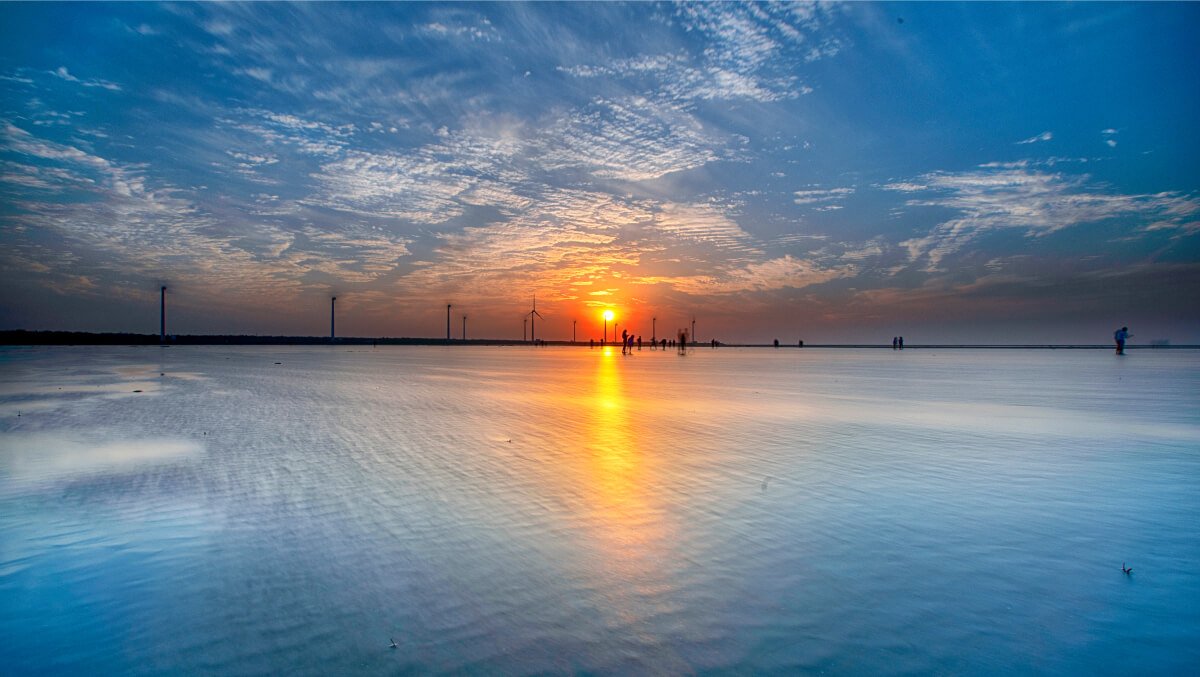
HDR image
The key to HDR technologies is “to faithfully present what human eyes can see”.
Color grading is an important step in video production. Even with ever-evolving cameras, the images captured are still different from what human eyes can see. Therefore, we need the color grading process in post-production to adjust the color, brightness and other details, such as fixing the color shifting and exposure issues. This process can make the visual focus of the film stand out; through the tonal changes between cool and warm color temperatures, color grading can even make a film more stylized.
When we process HDR video with color grading work in the post-production phase, more tonal details in highlights and shadows can be shown, presenting full details of the original footage and reproducing what human eyes can see in a faithful way. (However, sometimes based on the intention of the director or creator, HDR can be adjusted to deliver richer color or different styles, not necessarily following the principle of “presenting what human eyes can see”.)
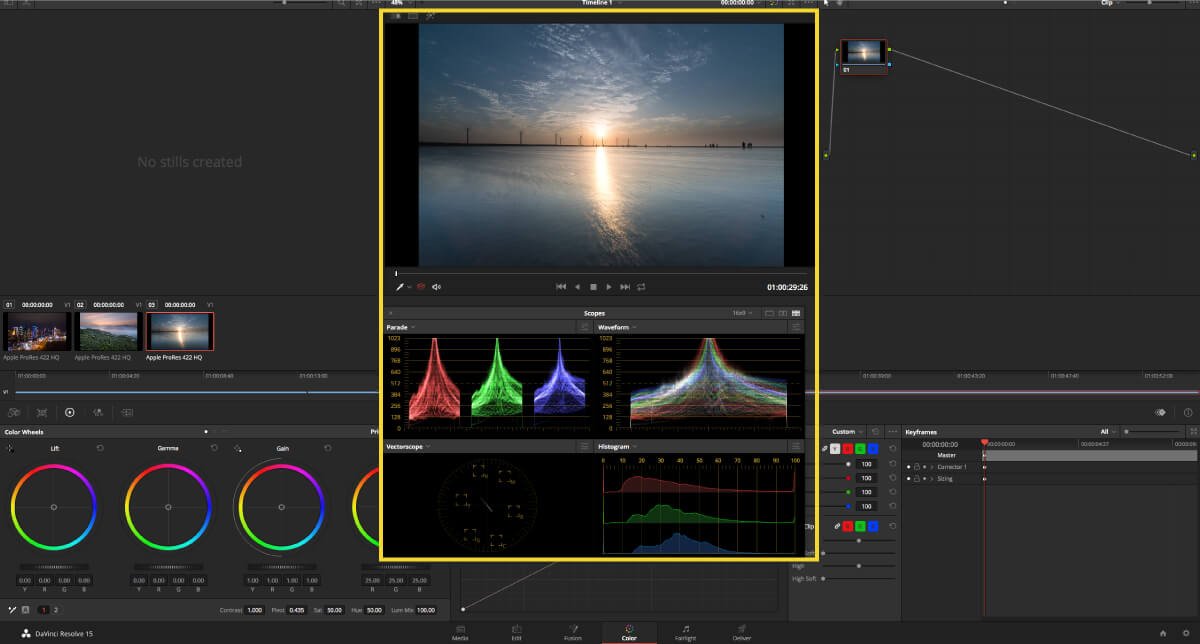
A color grading suite equipped with the color grading software and monitor for the video being graded
Many colorists use DaVinci Resolve Studio software for HDR color grading. It can be used for importing materials, setting up the color space, or restoring the color and brightness of the video. Also, an HDR monitor for the video being worked on is necessary to see the image being displayed; based on different kind of color grading requirements and the display to be used, there will be different workflows.
During the color grading process, the colorist uses the built-in waveform of DaVinci Resolve Studio to choose the scale of the waveform based on the exporting format and to monitor the images being adjusted. The maximum brightness the colorist sets shall not exceed the maximum brightness of the display. The colorist should also avoid generating noise during the color grading process.
Among the HDR standards, Dolby Vision and HDR 10 adopt PQ curve to replace gamma curve which was used in traditional SDR video. PQ curve simulates the fact that human eyes are more sensitive to details in the dark than in bright environments, and provides new EOTF, setting the maximum brightness at 10,000 nits, which is more suitable for the HDR color grading process.
Comparison of HDR images before and after color grading (Before / After)
HDR generates more details since it has more dynamic range, therefore requires more care when adjusting brightness and contrast. In general, the process of color grading an HDR video is quite similar to a conventional one, but there are few things to keep in mind:
1. Taking the distribution of signals on brightness levels into consideration
When dealing with traditional SDR video, there is a specific dynamic range that we are used to; therefore, there is a fixed, conventional reference we can follow. However, when we work with HDR images, since there is a wider range we can work within, we have to consider how to set the signals into the proper range in the software. For example, should we present the image in the traditional range of brightness and contrast, or should we adjust the ratio, exceeding the traditional range?
2. Adjusting the brightness to create a contrast
The dynamic range of HDR video is far wider than traditional video, therefore there are more details that have to be carefully taken care of. For example, a white light source and a white paper reflecting in the same video would need special attention. Through our eyes we would see the former is brighter than the latter, but in SDR video they would look similar. However in HDR video, we should be able to see the different brightness levels between the light source and the paper. Nonetheless, we still cannot let the light source “outshine” the subject in the image, which would distract the audience.
3. Dealing with “unnatural” lighting
One important point to be kept in mind when color grading HDR video is to deal with the unnatural lighting in the image. For example, certain glare in the scene may not be that obvious in SDR video, but they could stand out in HDR. The artificial light used in shooting natural sceneries or dark a scenes could stand out in HDR video. The best practice is to avoid these situations when filming. However, if it happens, it does require a colorist to process them in the post-production.
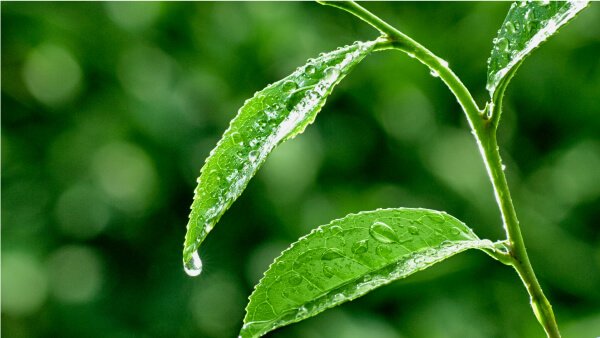
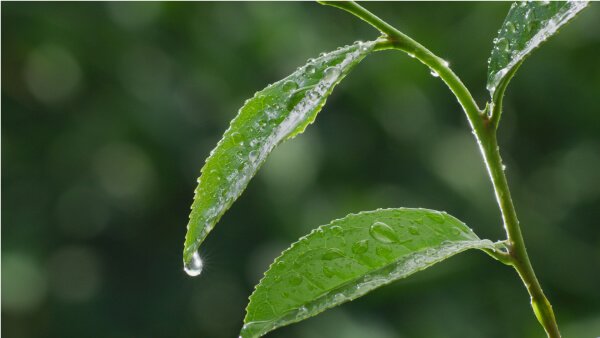
4. The devil is in the details
Since HDR shows the image in a very clear way, the details of the picture have to be taken care of. Examples include the texture of plants and flowers, the skin and lines on the human face, or the shades of colors in a cloud—HDR can show these nuances in brightness and color in a much clearer way than ever before. Still, sometimes the colorist will need to process it a little bit more to achieve this clarity, such as merging different clips to allow the subjects in the foreground and background to be all clearly and completely shown.
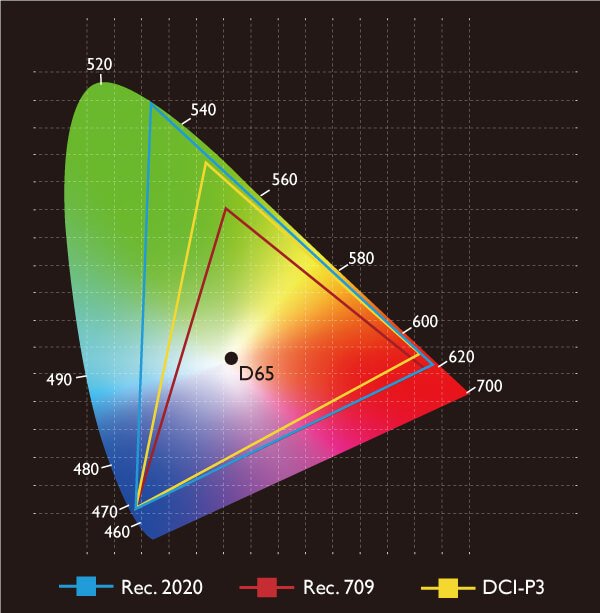
The graph shows the difference between Rec. 709, DCI-P3, and Rec. 2020
Color gamut is the term we use to describe the range of colors that human eyes can see from a display. The displays nowadays begin to adopt Wide Color Gamut technology to enhance the purity of the color and extend the color space. The most common Rec. 709 is the universal standard for modern-day HDTV and the wider color space DCI-P3 is the standard for digital cinema projections.
Based on UHD Premium, a standard set by UHD Alliance, the brightness of a HDR display should be able to reach 1,000 nits and the color space should be set to Rec. 2020 (BT. 2020). However, due to the limitations of current technology, the color space that most current HDR TVs can actually fully cover is DCI-P3. We are still working on a display that can fully cover all the colors of Rec. 2020.
Therefore, the color spaces used in color grading nowadays are still DCI-P3 or Rec. 709. A HDR monitor used in color grading should be able to fully cover these two color spaces to accurately show the original image for work.
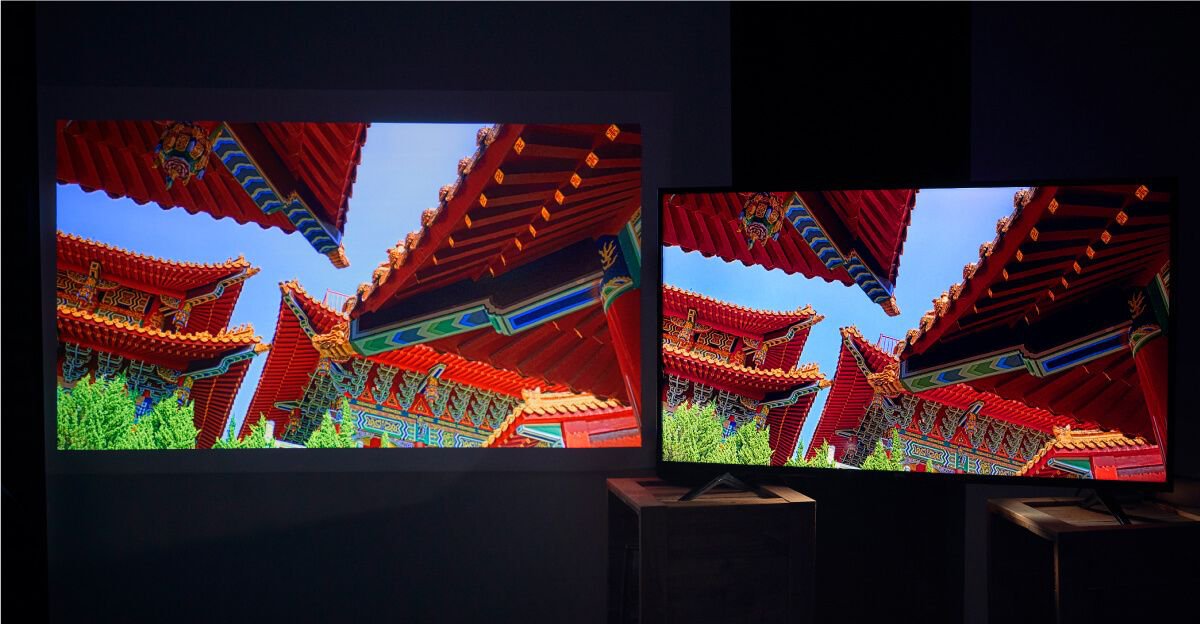
The comparison between HDR TV and the image of HDR projector. (Projector / TV)
In the past, when audience watched SDR videos, it was very common for them to see images of various brightness and colors due to different display devices. With HDR technology, as long as the filming and color grading are processed in accordance with HDR standards, and the display also supports HDR 10 or Dolby Vision standards, the display will read the metadata contained in the signals and automatically adjust the display to present the images in the best quality.
Therefore, there is no need to adjust color grading for different displays. However, the same video may have different effects when it is displayed on HDR TVs or projectors. In general, a home projector, due to its hardware constraint, the maximum brightness cannot reach 1,000 nits; instead, it may show more details in the shadows.
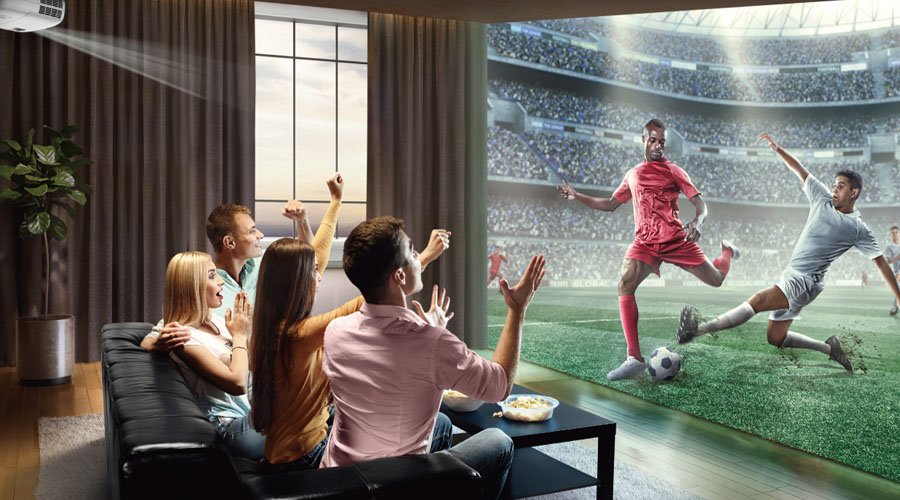
In addition to the above-mentioned image processing in post-production, the HDR displays and viewing environments are also factors that will affect the perceived image qualities. HDR TVs and HDR projectors each have their pros and cons, but both allow the audience to see the images faithfully presented. (Read more:Can Projectors Really Be HDR?)

{{item.productWordingTag}}
{{currency}}{{item.finalPrice| numberThousandsCommas | numberDecimalPoint}} Save {{currency}}{{item.saveAmount | numberThousandsCommas | numberDecimalPoint}} Save {{item.savePercent | numberThousandsCommas | numberDecimalPoint}}%
new device price{{currency}}{{item.regularPrice| numberThousandsCommas | numberDecimalPoint}}